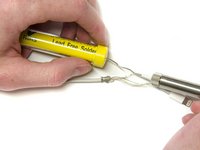
Ir para o conteúdo principal

How to Repair an Apple Lightning Cable

O que você precisa

  1. How to Repair an Apple Lightning Cable, How to Repair an Apple Lightning Cable: passo 1, imagem 1 %32 How to Repair an Apple Lightning Cable, How to Repair an Apple Lightning Cable: passo 1, imagem 2 %32 How to Repair an Apple Lightning Cable, How to Repair an Apple Lightning Cable: passo 1, imagem 3 %32
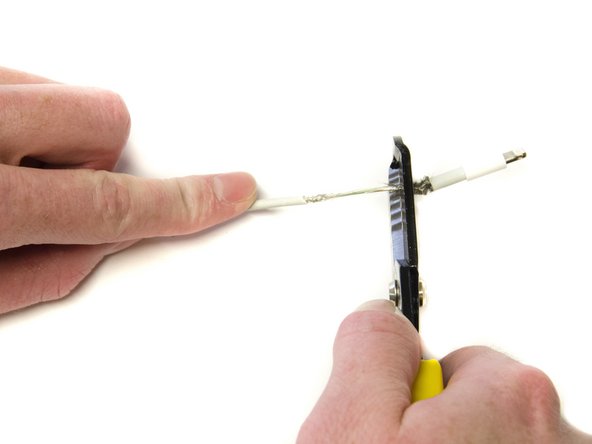
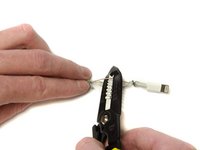
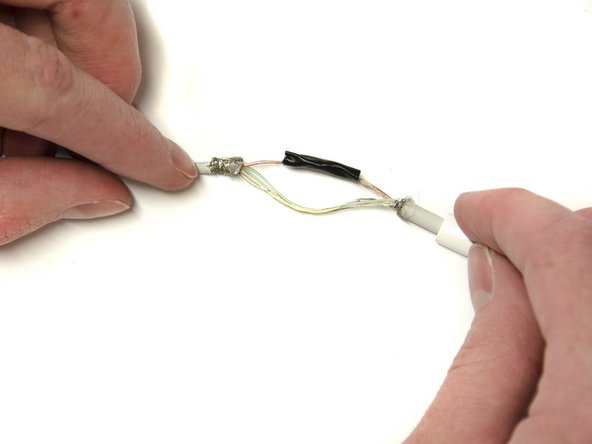
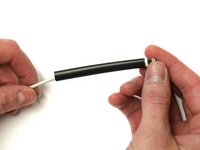
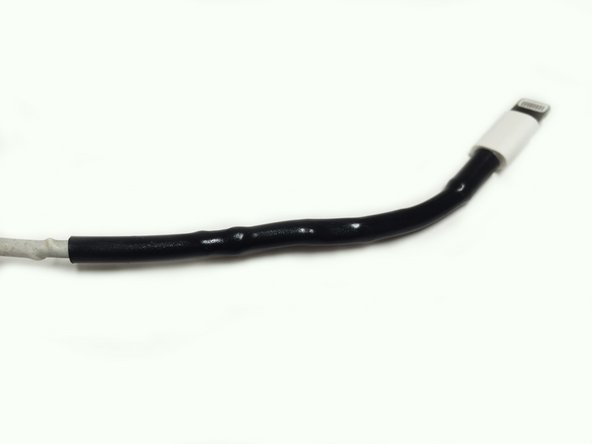
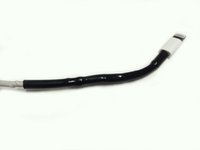
    • Locate the damaged area of your lightning cable.

    • Damage may differ from user-to-user.

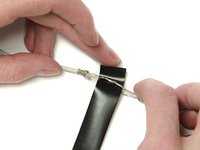
    • Use the 1.6 mm gauge on the wire strippers to strip a small portion of the outer jacket.

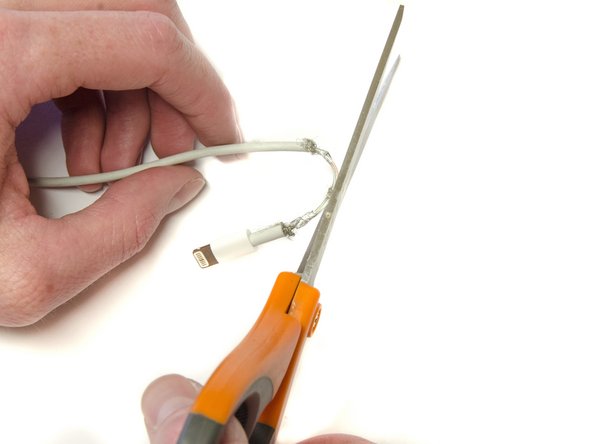
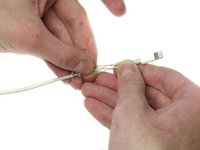
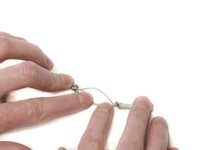
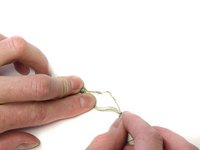
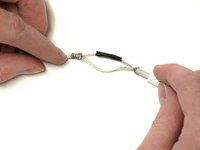
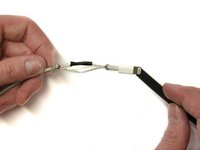
    • Peel the outer jacket from both sides of the damaged area, exposing the underlying metal jacket.

  2. How to Repair an Apple Lightning Cable: passo 2, imagem 1 %32 How to Repair an Apple Lightning Cable: passo 2, imagem 2 %32 How to Repair an Apple Lightning Cable: passo 2, imagem 3 %32
    • Carefully strip the metal jacket away from the underlying wires using the 1.0 mm gauge.

    • Use the scissors to cut the metal jacket off the cable.

    • Do not cut through the wires.

  3. How to Repair an Apple Lightning Cable: passo 3, imagem 1 %32 How to Repair an Apple Lightning Cable: passo 3, imagem 2 %32
    • Separate and examine the three main wires for any damage. Red (Power), White (Data), and Green (Data).

    • Separate the damaged wire from the other wires.

  4. How to Repair an Apple Lightning Cable: passo 4, imagem 1 %32 How to Repair an Apple Lightning Cable: passo 4, imagem 2 %32
    • Strip the wire around the damaged area using the 0.6 mm gauge and expose the copper wires underneath.

  5. How to Repair an Apple Lightning Cable: passo 5, imagem 1 %32 How to Repair an Apple Lightning Cable: passo 5, imagem 2 %32
    • Solder the exposed wires together, ensuring contact throughout the damaged area using the soldering iron.

    • Repeat for any other damaged wires.

    • Soldering guns reach very high temperatures. Inappropriate use may result in injuries.

    • To learn how to solder, follow the link on Como soldar e dessoldar contatos.

  6. How to Repair an Apple Lightning Cable: passo 6, imagem 1 %32 How to Repair an Apple Lightning Cable: passo 6, imagem 2 %32
    • Wrap the soldered part of the wire in a thin layer of electrical tape to insulate it from the other wires.

    • Repeat for all soldered wires.

  7. How to Repair an Apple Lightning Cable: passo 7, imagem 1 %32 How to Repair an Apple Lightning Cable: passo 7, imagem 2 %32
    • Slide the shrink tubing over the exposed wires to cover the bare wires on both ends.

  8. How to Repair an Apple Lightning Cable: passo 8, imagem 1 %32 How to Repair an Apple Lightning Cable: passo 8, imagem 2 %32
    • Use the lighter to shrink the tubing around the lightning cable.

    • Straighten out the cable as you apply heat to the heat shrink tubing.

Conclusão

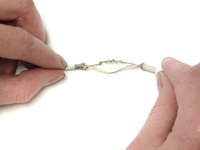
Repeat for any other damaged areas on lightning cable.

Redacted

Membro desde: 02/23/16

166 Reputação

Autoria de 1 guia

0Comentários do guia

Comentar

Visualizações:

Últimas 24 horas: 1

Últimos 7 dias: 9

Últimos 30 dias: 66

Ao todo: 805