Introdução
Backpacks can get ripped from frequent use, but you don’t need to throw them away. We will show you how to patch a rip with easy steps for a durable repair. Whether you’re a DIY pro or a beginner, you’ll find it easy to restore your backpack. Let’s get started!
O que você precisa
-
-
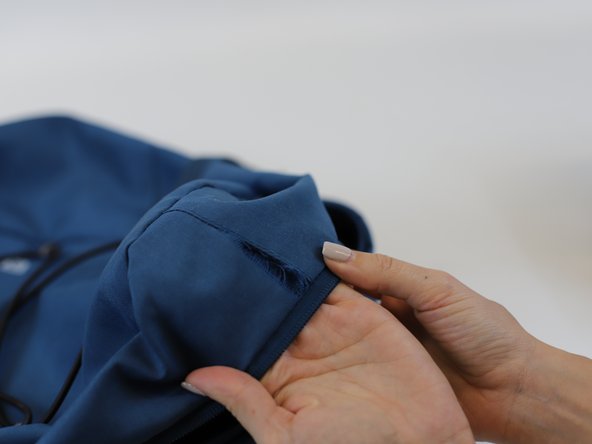
Identify the defective area and assess how large the damage is.
-
-
-
Use a pair of scissors to cut the loose threads and clean the area.
-
Use a similar color fabric to create your "own patch".
-
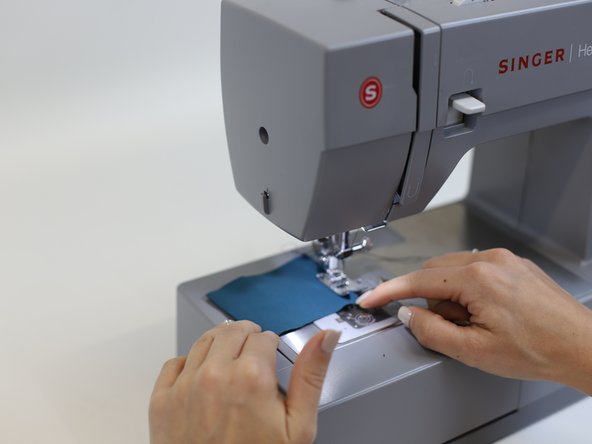
Tip: Cut a piece of fabric that is at least 1cm bigger than the tear (from each side). Use a sewing machine to create a hem around the border of the patch.
-
-
-
-
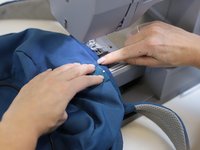
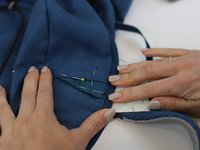
Use sewing pins to pin the area and set the patch in place.
-
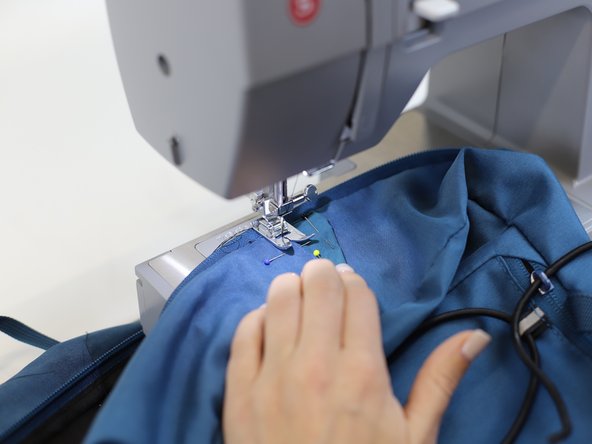
Start sewing follow the shape of the patch.
-
-
-
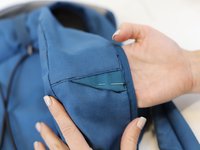
Once you have stitched the first side of the patch. Apply more sewing pins to set the patch in place and continue sewing.
-
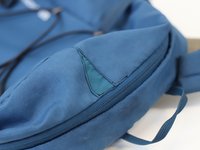
Tip: In this example, a square patch was used to repair the tear. For aesthetic reasons, a “triangle” shape was achieved by inserting part of the patch inside the tear and folding one side inward.
-
-
-
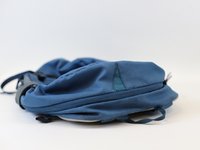
🛠️🏆👏 Congratulations! The repair is complete, and you're ready to go!
-


In need of another repair? Don't worry! Check out our other guides to find quick solutions for your favourite clothing, footwear and equipment!
In need of another repair? Don't worry! Check out our other guides to find quick solutions for your favourite clothing, footwear and equipment!

Equipe
