Introdução
This guide for the Hover-1 Maverick guides users in replacing the battery in their device. The battery is crucial in powering the hoverboard. Symptoms of having a faulty battery include the device not being able to move, hold a charge, or power on.
Before you begin, make sure your Hover-1 Maverick is off and not charging.
O que você precisa
-
-
Remove the twenty 15mm Phillips #1 screws from the shell of the hoverboard.
-
Remove the shell.
-
-


To reassemble your device, follow these instructions in reverse order.
Cancelar: não concluí este guia.
Uma outra pessoa concluiu este guia.

Equipe

Cal Poly, Team S2-G2, White Winter 2020 Membro de Cal Poly, Team S2-G2, White Winter 2020
CPSU-WHITE-W20S2G2
2 Membros
Autoria de 4 guias
2Comentários do guia
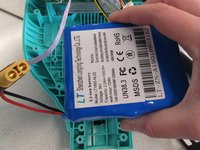
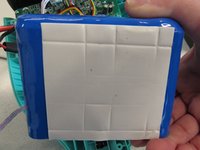
What voltage should the battery put out? Mines is 30v, charger is green at the wall but still the board won’t turn on
Where can I find that same battery i cant find one