Ir para o conteúdo principal

Hover-1 Coast Controller Battery Replacement

O que você precisa

  1. Hover-1 Coast Controller Battery Replacement, Controller Battery: passo 1, imagem 1 %32 Hover-1 Coast Controller Battery Replacement, Controller Battery: passo 1, imagem 2 %32 Hover-1 Coast Controller Battery Replacement, Controller Battery: passo 1, imagem 3 %32
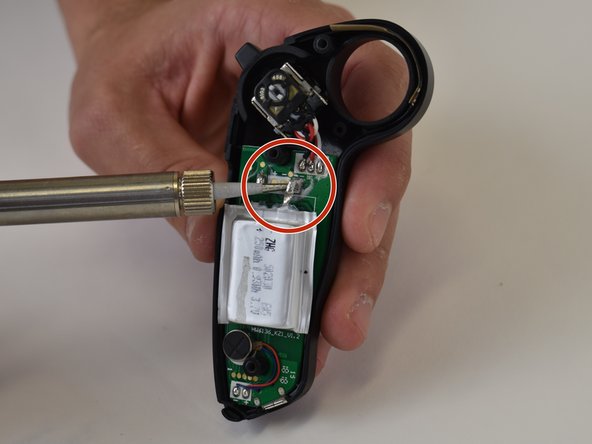
    • Identify the three screws and using a Phillips #1 screwdriver loosen the the screws.

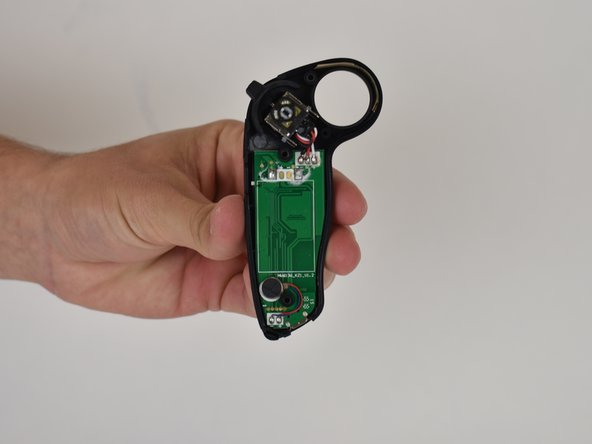
    • Remove the three screws.

  2. Hover-1 Coast Controller Battery Replacement: passo 2, imagem 1 %32 Hover-1 Coast Controller Battery Replacement: passo 2, imagem 2 %32 Hover-1 Coast Controller Battery Replacement: passo 2, imagem 3 %32
    • Pull the backside of the controller off.

    • The inside of the controller should look like this.

    • The marked area is the battery.

  3. Hover-1 Coast Controller Battery Replacement: passo 3, imagem 1 %32
    • Remove the black foam piece covering the battery.

  4. Hover-1 Coast Controller Battery Replacement: passo 4, imagem 1 %32 Hover-1 Coast Controller Battery Replacement: passo 4, imagem 2 %32
    • Desolder the battery connections from the motherboard.

  5. Hover-1 Coast Controller Battery Replacement: passo 5, imagem 1 %32 Hover-1 Coast Controller Battery Replacement: passo 5, imagem 2 %32
    • Using a plastic opening tool, pry the battery off the motherboard.

    • The inside of the controller should look like this.

Conclusão

To reassemble your device, follow these instructions in reverse order.

0 comentários

Adicione um comentário

Exibir estatísticas:

Últimas 24 horas: 0

Últimos 7 dias: 4

Últimos 30 dias: 8

Duração total: 391