Introdução
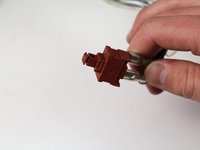
The power switch allows the Hoover Power Path Pro Advanced to turn on with the press of the power button. A defective power switch will not allow the user to control the on and off state of the device and needs to be replaced.
O que você precisa
-
-
-
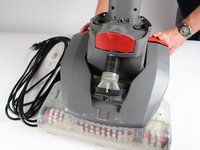
Remove the lower brushroll from the bottom of the cleaner.
 Pergunte ao FixBot
-
-
-
Use a long #2 Philips head to remove the 8 numbered screws on the bottom of the cleaner (They will also be indicated on the bottom of the vacuum).
-
-
-
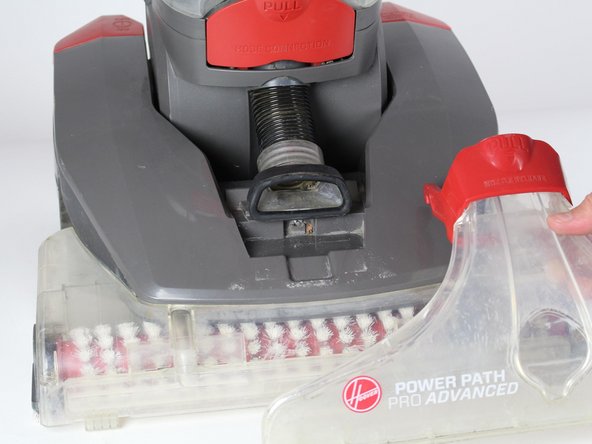
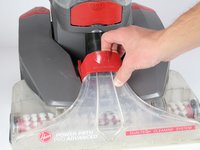
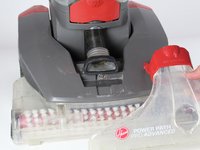
Pull the red handle to remove the front suction unit from the cleaner.
-
-
-
-
Unscrew the hose by using a Phillips #2 to detach it from the top cover of the cleaner.
-
-
-
Push down on the handle release button. Lift the edge of top cover connected to this button.
-
Repeat the above step for the "On/Off" button.
-
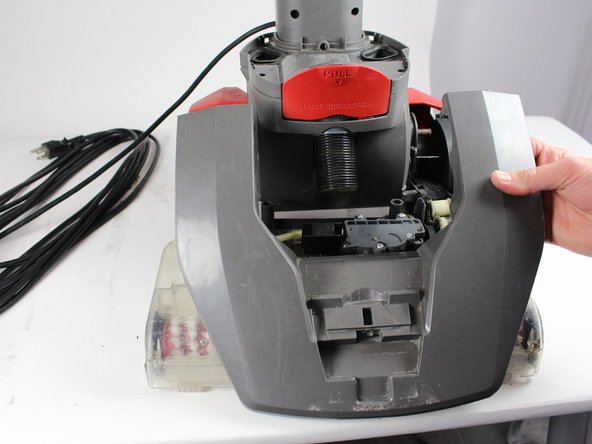
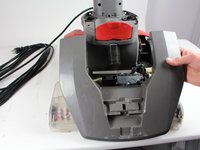
Pull entire top cover off.
-
-
-
Use a long #2 Philips head to remove the two screws from the arched grey piece.
-
-






To reassemble your device, follow these instructions in reverse order.
Cancelar: não concluí este guia.
4 outras pessoas executaram este guia.

Equipe

Cal Poly, Team S16-G5, Banghart Winter 2018 Membro de Cal Poly, Team S16-G5, Banghart Winter 2018
CPSU-BANGHART-W18S16G5
5 Membros
Autoria de 54 guias
3Comentários do guia
What is the part number?
Thanks so much!!
you have to test the switch, mine tested ok which led me to the fuse between the motor and switch. It was bad, parts warehouse part # 440004065 does the trick.
