Ir para o conteúdo principal
Participe da comunidade de reparos - Criar conta

Hamilton Beach 70740 Power Cord Replacement

Guia arquivado
Este guia é mantido exclusivamente para fins históricos. Use a versão atualizada do guia para executar o reparo.

O que você precisa

    1. Hamilton Beach 70740 Power Cord Replacement, Base Removal: passo 1, imagem 1 %32 Hamilton Beach 70740 Power Cord Replacement, Base Removal: passo 1, imagem 2 %32 Hamilton Beach 70740 Power Cord Replacement, Base Removal: passo 1, imagem 3 %32
      • Hold the food processor upside down and remove the two screws indicated with a screwdriver. Once unscrewed, remove the two rubber suction pads.

      Pergunte ao FixBot

      Comentar

    2. Hamilton Beach 70740 Power Cord Replacement: passo 2, imagem 1 %32 Hamilton Beach 70740 Power Cord Replacement: passo 2, imagem 2 %32
      • Use a spudger to remove the 4 rubber base pads located at the corners of the device.

      Pergunte ao FixBot

      Comentar

    3. Hamilton Beach 70740 Power Cord Replacement: passo 3, imagem 1 %32
      • Unscrew all 4 screws that are located beneath the pads with a screwdriver and remove the plastic grey base.

      Pergunte ao FixBot

      Comentar

    4. Hamilton Beach 70740 Power Cord Replacement: passo 4, imagem 1 %32
      • Remove the screws indicated with a screw driver.

      Pergunte ao FixBot

      Comentar

    5. Hamilton Beach 70740 Power Cord Replacement: passo 5, imagem 1 %32
      • Remove the two screws behind the knob with a screwdriver.

      Pergunte ao FixBot

      Comentar

    1. Hamilton Beach 70740 Power Cord Replacement, Motor/Cord: passo 6, imagem 1 %32
      • Use a regular nylon spudger to remove the plastic caps at these locations with moderate pressure.

      • When working with electronics, it's important to choose a tool that's ESD-safe to avoid accidental damage to the device. The regular black nylon spudger or a plastic opening tool should be used whenever possible.

      • Apply pressure at the edge of the plastic cap circles. Apply stress elsewhere may damage the device.

      • Note that the plastic caps are glued

      Pergunte ao FixBot

      Comentar

    2. Hamilton Beach 70740 Power Cord Replacement: passo 7, imagem 1 %32
      • Remove the 4 screws located under the plastic caps with a screw driver.

      Pergunte ao FixBot

      Comentar

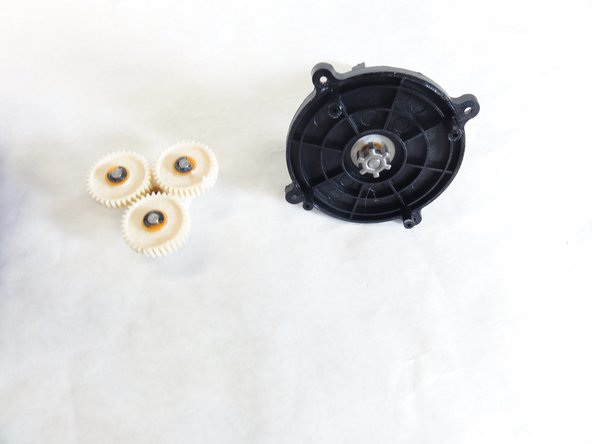
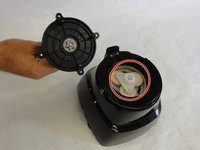
    3. Hamilton Beach 70740 Power Cord Replacement: passo 8, imagem 1 %32 Hamilton Beach 70740 Power Cord Replacement: passo 8, imagem 2 %32
      • Lift and remove the plastic gears at the center of the device.

      • Remove any grease residue underneath the plastic gears.

      Pergunte ao FixBot

      Comentar

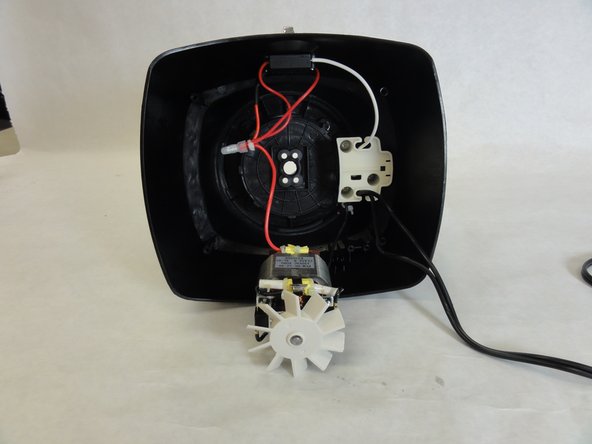
    4. Hamilton Beach 70740 Power Cord Replacement: passo 9, imagem 1 %32 Hamilton Beach 70740 Power Cord Replacement: passo 9, imagem 2 %32
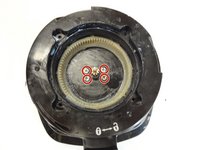
      • Remove the remaining screws to unhinge the motor located at the center of the device using a screw driver.

      Pergunte ao FixBot

      Comentar

    1. Hamilton Beach 70740 Power Cord Replacement, Power Cord: passo 10, imagem 1 %32
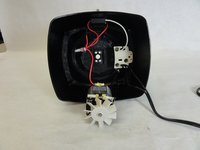
      • Solder the highlighted section of the power cord, and undo the wiring. Using soldering wire connect a new line with the soldering iron.

      • Learn more about soldering here.

      Pergunte ao FixBot

      Comentar

    2. Hamilton Beach 70740 Power Cord Replacement: passo 11, imagem 1 %32
      • Connect the other end of your power cord to the motor terminal.

      Pergunte ao FixBot

      Comentar

Conclusão

To reassemble your device, follow these instructions in reverse order.

Cancelar: não concluí este guia.

David Gedeon

Membro desde: 09/17/15

806 Reputação

Autoria de 6 guias

Equipe

IUPUI, Team 1-1, Baechle Fall 2015 Membro de IUPUI, Team 1-1, Baechle Fall 2015

IUPUI-BAECHLE-F15S1G1

4 Membros

Autoria de 32 guias

0Comentários do guia

Comentar

Visualizações:

Últimas 24 horas: 1

Últimos 7 dias: 2

Últimos 30 dias: 20

Ao todo: 574