Ir para o conteúdo principal
Participe da comunidade de reparos - Criar conta

HTC Touch Pro 2 Display Screen Replacement

O que você precisa

  1. HTC Touch Pro 2 Display Screen Replacement, Battery: passo 1, imagem 1 %32 HTC Touch Pro 2 Display Screen Replacement, Battery: passo 1, imagem 2 %32 HTC Touch Pro 2 Display Screen Replacement, Battery: passo 1, imagem 3 %32
    • Apply pressure and slide upward to remove back cover.

    • Lift the back cover up away from the phone.

    Pergunte ao FixBot

    Comentar

  2. HTC Touch Pro 2 Display Screen Replacement: passo 2, imagem 1 %32 HTC Touch Pro 2 Display Screen Replacement: passo 2, imagem 2 %32
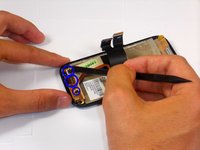
    • Lift battery upward on the upper right-hand side to remove it.

    • Check the battery to make sure there's no bent corners.

    Pergunte ao FixBot

    Comentar

  3. HTC Touch Pro 2 Display Screen Replacement, Housing: passo 3, imagem 1 %32 HTC Touch Pro 2 Display Screen Replacement, Housing: passo 3, imagem 2 %32
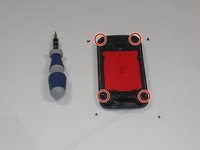
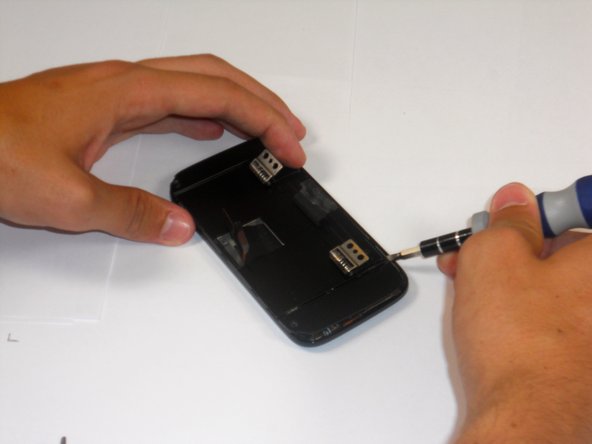
    • Using a T5 screwdriver, remove the four screws in corners as shown.

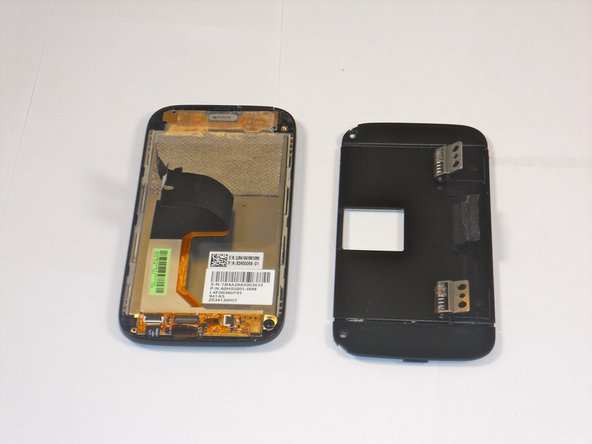
    • Lift the top portion of the rear case.

    • Potential for device damage: There is a ribbon attached on the back of this part that requires caution to remove.

    Pergunte ao FixBot

    Comentar

  4. HTC Touch Pro 2 Display Screen Replacement: passo 4, imagem 1 %32 HTC Touch Pro 2 Display Screen Replacement: passo 4, imagem 2 %32 HTC Touch Pro 2 Display Screen Replacement: passo 4, imagem 3 %32
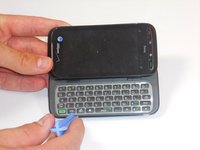
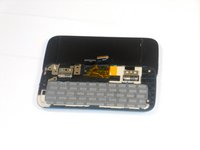
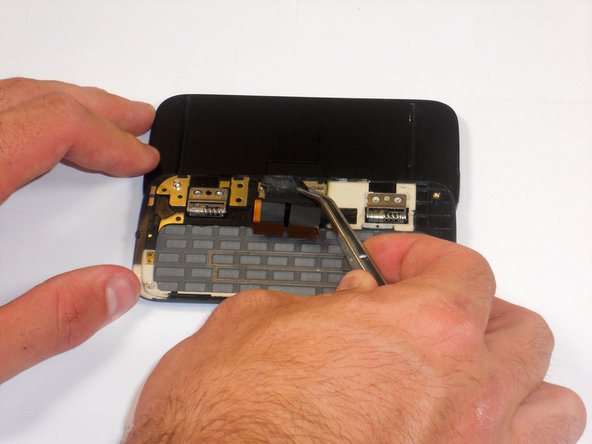
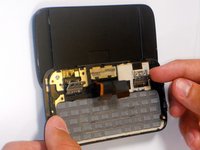
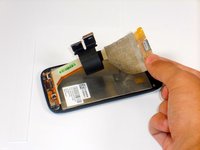
    • Using an IfixIt Plastic Tool, detach the plastic casing from the keyboard. This may require some force.

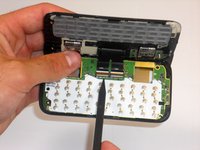
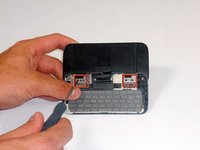
    • Using a spudger or other thin tool, carefully pry up ZIF connectors as shown. This will allow the black ribbons to detach from the keyboard.

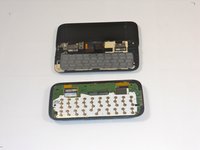
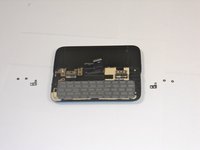
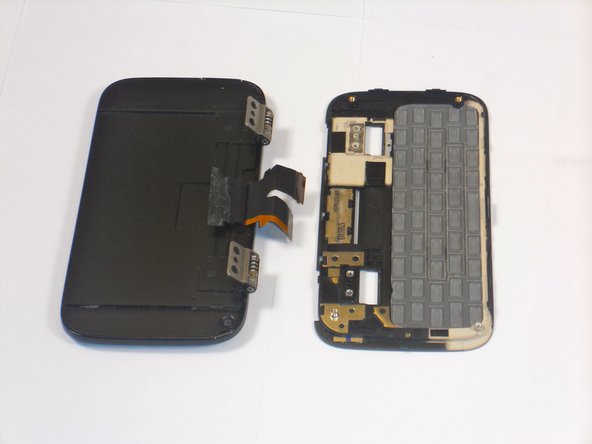
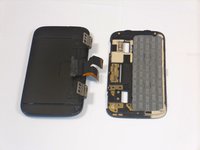
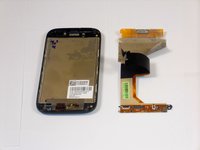
    • Slide the two parts away from each other so that the black ribbons slide through the slots and you will now have housing into two parts.

    Pergunte ao FixBot

    Comentar

  5. HTC Touch Pro 2 Display Screen Replacement, Display Screen: passo 5, imagem 1 %32 HTC Touch Pro 2 Display Screen Replacement, Display Screen: passo 5, imagem 2 %32 HTC Touch Pro 2 Display Screen Replacement, Display Screen: passo 5, imagem 3 %32
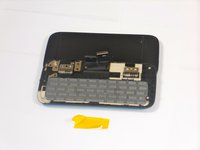
    • Peel the off yellow ribbon slowly.

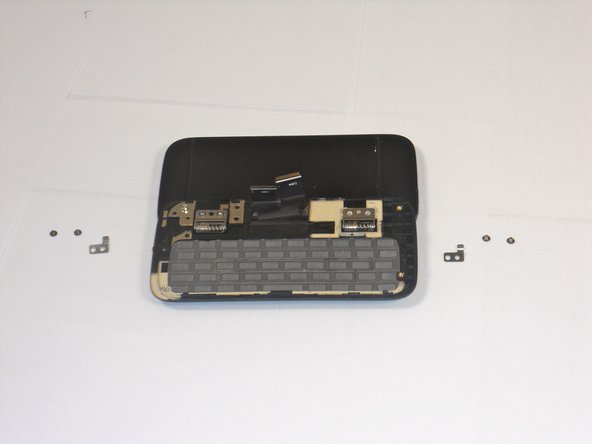
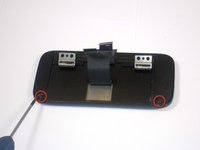
    • Unscrew the fours screws in red squares (two in each square) using a 00 screwdriver.

    • After the screws are out you will be able to easily take off the small metal pieces.

    Pergunte ao FixBot

    Comentar

  6. HTC Touch Pro 2 Display Screen Replacement: passo 6, imagem 1 %32 HTC Touch Pro 2 Display Screen Replacement: passo 6, imagem 2 %32 HTC Touch Pro 2 Display Screen Replacement: passo 6, imagem 3 %32
    Ferramenta utilizada neste passo:
    Tweezers
    $4.99
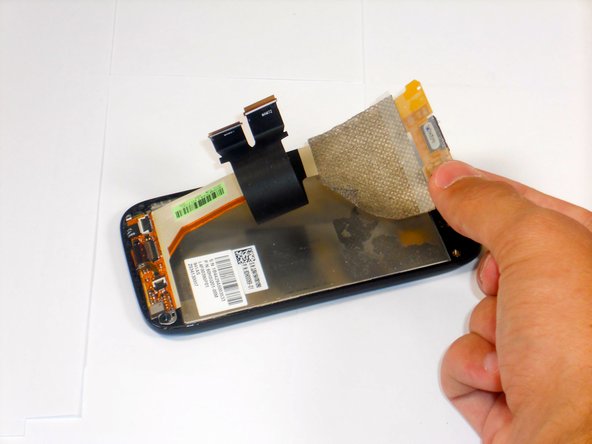
    • Gently peel off the yellow tape.

    • Carefully pull the dual black strip off using force.

    • Behind the dual black strip is very sticky piece of grey tape. Use tweezers with a grip at end to peel it off, be careful not to rip the grey tape.

    Pergunte ao FixBot

    Comentar

  7. HTC Touch Pro 2 Display Screen Replacement: passo 7, imagem 1 %32 HTC Touch Pro 2 Display Screen Replacement: passo 7, imagem 2 %32
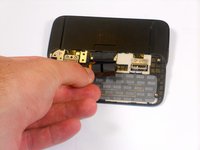
    • Lift up the metal hinges up.

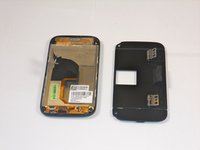
    • Lift the keyboard frame off separating the key board from the screen.

    Pergunte ao FixBot

    Comentar

  8. HTC Touch Pro 2 Display Screen Replacement: passo 8, imagem 1 %32 HTC Touch Pro 2 Display Screen Replacement: passo 8, imagem 2 %32 HTC Touch Pro 2 Display Screen Replacement: passo 8, imagem 3 %32
    • Unscrew the two screws shown using a 00 phillips screwdriver.

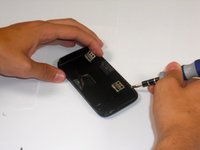
    • Wedge a flat head screwdriver or metal prying tool between the flat face and rounded edge of the phone casing. Then, slide and pry around the entire piece until the face comes off.

    Pergunte ao FixBot

    Comentar

  9. HTC Touch Pro 2 Display Screen Replacement: passo 9, imagem 1 %32 HTC Touch Pro 2 Display Screen Replacement: passo 9, imagem 2 %32 HTC Touch Pro 2 Display Screen Replacement: passo 9, imagem 3 %32
    • Use a spudger to lift up the three black latches that secure the flat electrical wire. Then, pull the wire out of the latches being careful not to rip them.

    • Carefully, peel the silver electric tape off (force required).

    Pergunte ao FixBot

    Comentar

Conclusão

To reassemble your device, follow these instructions in reverse order.

Cancelar: não concluí este guia.

5 outras pessoas executaram este guia.

Melinda Phan

Membro desde: 04/17/11

438 Reputação

Autoria de 9 guias

Equipe

Cal Poly, Team 9-64, Walters Spring 2011 Membro de Cal Poly, Team 9-64, Walters Spring 2011

CPSU-WALTERS-S11S9G64

5 Membros

Autoria de 18 guias

0Comentários do guia

Comentar

Visualizações:

Últimas 24 horas: 2

Últimos 7 dias: 6

Últimos 30 dias: 64

Ao todo: 12,016