Introdução
This guide will be detailing the steps necessary to fix a number of common issues with the screen of an HTC Rezound. Please keep in mind that the display and the screen of your Rezound may be fuzed. That means that to replace one you'll need to replace both. Other than that, the adhesive tape on the display is tricky, so take your time! Have fun fixing your tech!
O que você precisa
-
-
Use a plastic opening tool or your fingers to get into the groove between the cover and case. Remove the back covering so that the red battery is visible.
 Pergunte ao FixBot
-
-
-
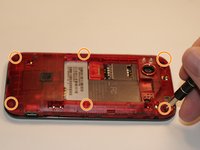
Unscrew the six screws (Torx T4 size) shown in the photo.
-
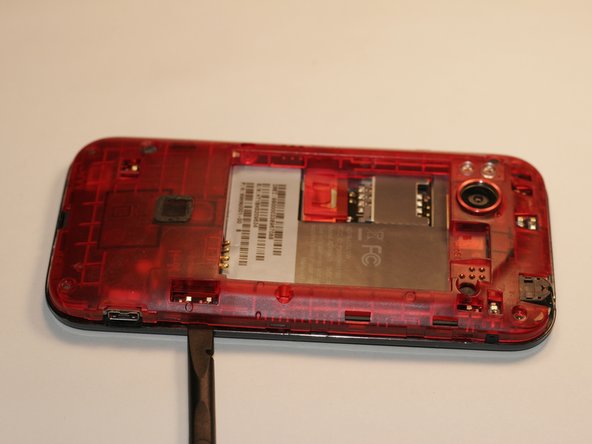
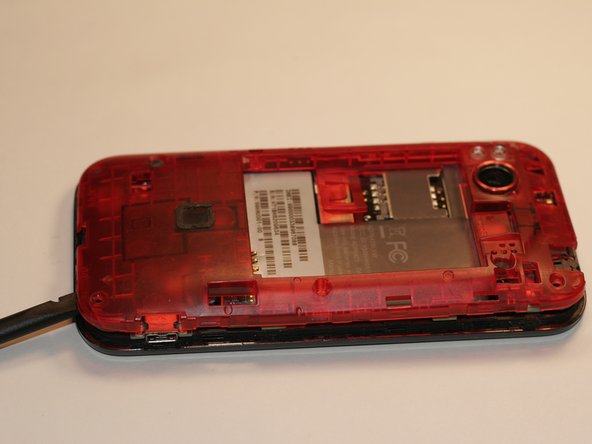
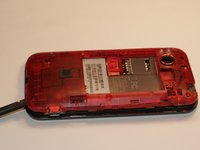
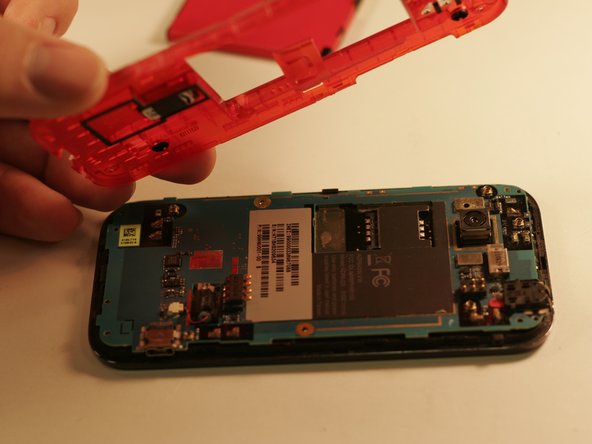
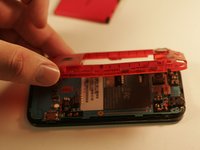
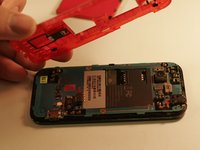
Use the spudger to pry the casing off of the phone.
-
-
-
-
After the red casing is removed, the following components should be visible:
-
Main Camera
-
Headphone Jack
-
Vibration moter
-
-
-
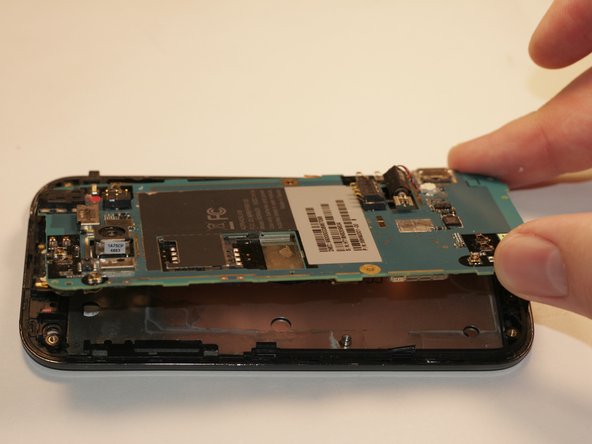
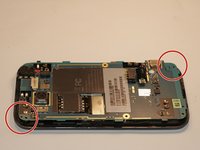
Remove the 2 screws (Torx T7 size), which are located on the upper left and lower right sides of the device.
-
-
Ferramenta utilizada neste passo:Tweezers$4.99
-
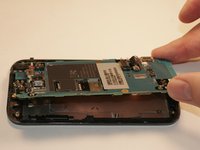
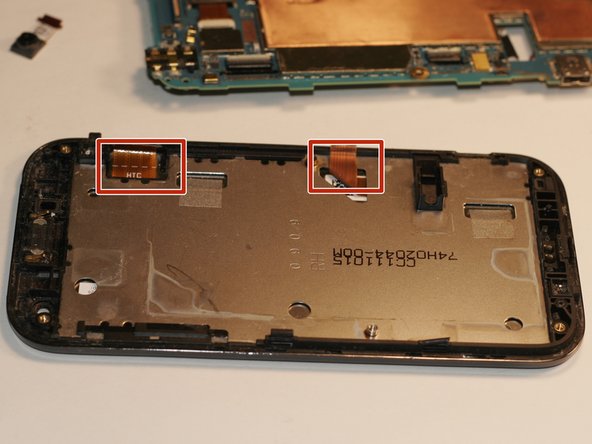
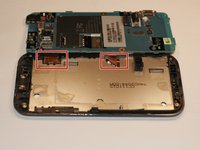
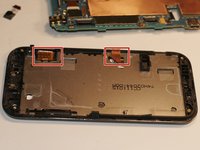
Using tweezers, flip the latch on the ribbon cables connecting the logic board to the screen and display. The screen and display for the HTC Rezound are likely fused to one another, so if you are replacing one you will likely need to replace both of them.
-
At this point all that's left is to insert the ribbon cables of your replacement into the same slot on the motherboard!
-






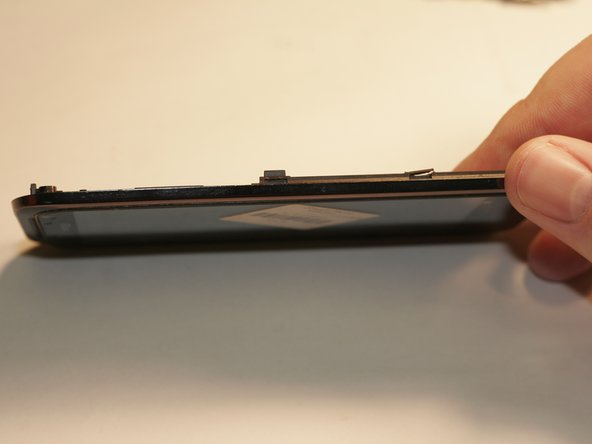

To reassemble your device, follow these instructions in reverse order.

Equipe

University of Alabama, Team S3-G12, Bedsole Spring 2018 Membro de University of Alabama, Team S3-G12, Bedsole Spring 2018
UA-BEDSOLE-S18S3G12
4 Membros
Autoria de 12 guias
