Introdução
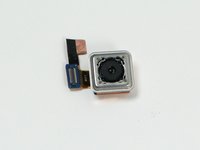
Users will be able to replace their damaged camera and regain functionality. The camera replacement requires the removal of both the motherboard and the camera chip to remove the camera. Be careful not to damage any other components during the repair.
O que você precisa
-
-
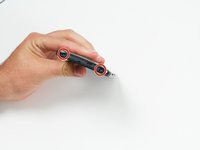
The microSD card tray is located on the upper right hand side of the phone, above the volume buttons. To open the tray, insert a microSD card eject tool, or a paperclip, into the small hole in the microSD card tray.
-
Then press the tool or paperclip to eject the microSD card tray.
-
-
-
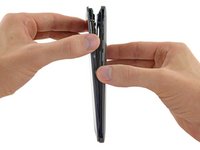
Insert a SIM card eject tool or a paperclip into the small hole besides the SIM card tray, located on the upper section of the left edge of the phone.
-
Press to eject the tray.
-
-
-
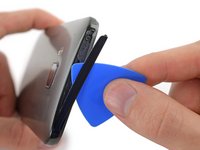
Using a plastic opening pick or a spudger, gently pry and remove the cover on top of the case.
-
Remove the two 4 mm T5 Torx screws on the top of the case.
-
-
Ferramenta utilizada neste passo:Tweezers$4.99
-
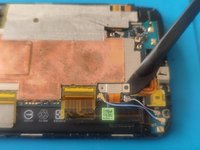
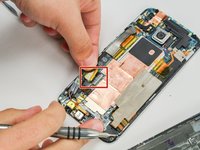
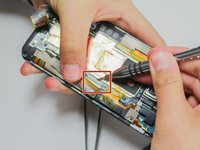
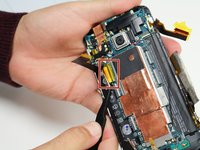
Use a pair of tweezers to get underneath the white and blue cable connectors and gently push them upwards to disconnect them.
-
-
-
-
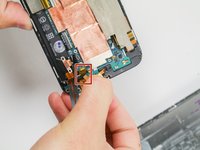
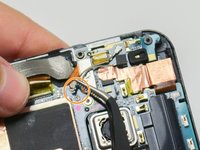
Use a pair of tweezers to lift the vibrator out of its slot.
-
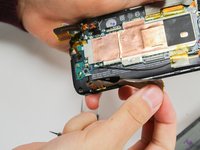
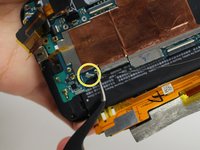
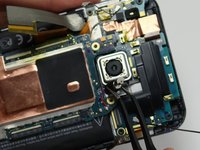
Use an iOpener or heat gun to loosen the adhesive at the bottom of the motherboard.
-
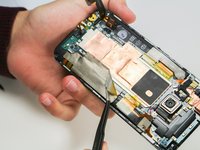
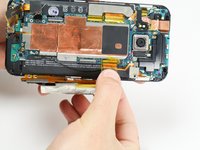
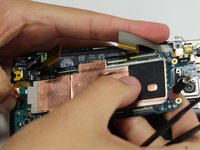
Use a plastic opening tool, or a spudger, along the edges of the case to gently pry the motherboard out of the case.
-
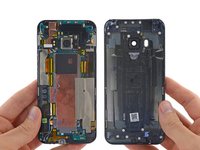
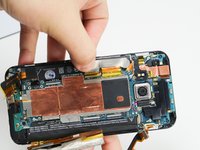
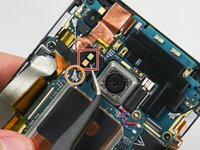
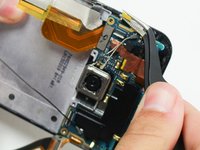
Gently lift the motherboard out of the case, beginning from the top corner (near the camera).
-
-
-
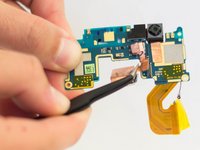
Remove the four 3 mm T5 Torx screws that secure the daughterboard.
-


To reassemble your device, follow these instructions in reverse order.
To reassemble your device, follow these instructions in reverse order.
Cancelar: não concluí este guia.
7 outras pessoas executaram este guia.
Equipe

Cal Poly, Team 6-16, Maness Spring 2015 Membro de Cal Poly, Team 6-16, Maness Spring 2015
CPSU-MANESS-S15S6G16
Membros da 4
Autoria de 16 guias
3 comentários
In an attempt to replace the rear camera, the small black insert spaces for one of the SEVERAL ribbon cables breaks, the top portion where pins are located. I didn't discover this until after putting in the new camera. I was extremely careful when handling the cable and connector but I believe the connecting socket was already damaged and removing the ribbon and yellow tape delivered the killing blow. This resulted in the the phone not powering back on and increasing the repair cost of the phone too high (plus the connector was located on the main motherboard and I don't know how that repair would be done or if that would just reset the entire phone) I would honestly give this phone a 0/10 repairability. This was my first attempt at repairing a phone and I feel very defeated, that the phone just wasn't meant to be repaired with such weak connectors and rear camera glass in the first place. As for the guide, it was pretty good, more pictures and a possible video would be great.
Just fixed my camera. Don't know why its rated as hard. As long as you are careful and follow the instructions with the recommended tools anyone with basic tool familiarity can succeed. It did take almost 1.5 hours and I would recommend a lighted position able magnifying glass to assist in seeing the small parts. Awesome instructions. thank you for giving me a working camera again.