Introdução
Does your screen have cracks or did you recently shatter your display? Use this guide to replace the display assembly on your HTC One M9. This assembly includes the touchscreen (digitizer) and the LCD panel. Click the following link for more information about obtaining these parts.
O que você precisa
-
-
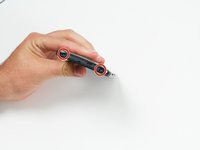
The microSD card tray is located on the upper right hand side of the phone, above the volume buttons. To open the tray, insert a microSD card eject tool, or a paperclip, into the small hole in the microSD card tray.
-
Then press the tool or paperclip to eject the microSD card tray.
-
-
-
Insert a SIM card eject tool or a paperclip into the small hole besides the SIM card tray, located on the upper section of the left edge of the phone.
-
Press to eject the tray.
-
-
-
Using a plastic opening pick or a spudger, gently pry and remove the cover on top of the case.
-
Remove the two 4 mm T5 Torx screws on the top of the case.
-
-
Ferramenta utilizada neste passo:Tweezers$4.99
-
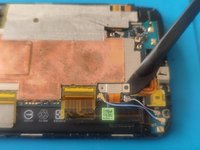
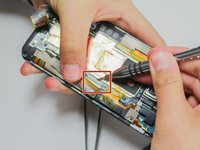
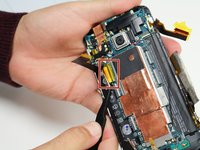
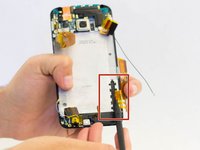
Use a pair of tweezers to get underneath the white and blue cable connectors and gently push them upwards to disconnect them.
-
-
-
-
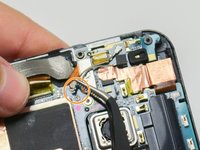
Use a pair of tweezers to lift the vibrator out of its slot.
-
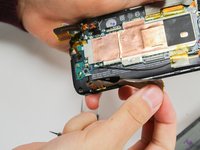
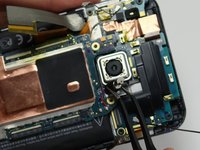
Use an iOpener or heat gun to loosen the adhesive at the bottom of the motherboard.
-
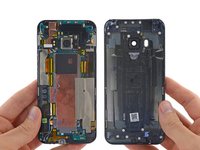
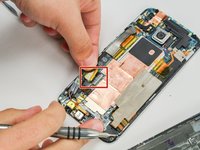
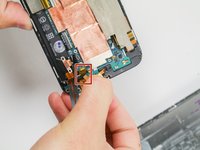
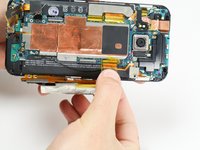
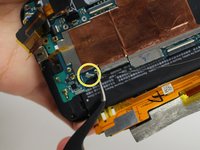
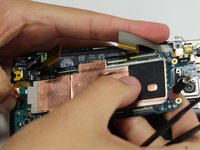
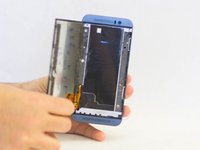
Use a plastic opening tool, or a spudger, along the edges of the case to gently pry the motherboard out of the case.
-
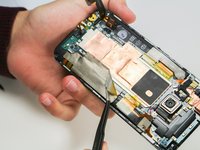
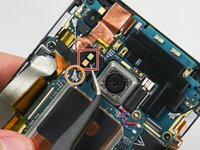
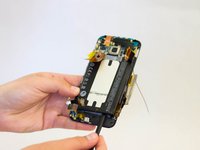
Gently lift the motherboard out of the case, beginning from the top corner (near the camera).
-
-
Ferramenta utilizada neste passo:Tweezers$4.99
-
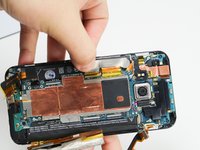
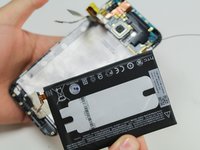
Using tweezers, remove the tape from the bottom of the battery.
-
Use a spudger to carefully pry the battery up from the display assembly.
-
-
-
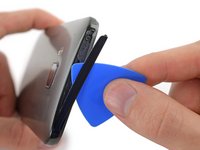
Gently pry around the display assembly to separate the display from the rest of the device.
-
After a visible gap has appeared between the screen and phone, gently pull off the screen from the casing.
-
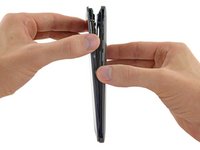
Carefully pull the display cable through the rest of the device.
-


To reassemble your device, follow these instructions in reverse order.
To reassemble your device, follow these instructions in reverse order.
Cancelar: não concluí este guia.
18 outras pessoas executaram este guia.
Equipe

Cal Poly, Team 6-16, Maness Spring 2015 Membro de Cal Poly, Team 6-16, Maness Spring 2015
CPSU-MANESS-S15S6G16
Membros da 4
Autoria de 16 guias
3 comentários
half this guide can be skipped, all you need to do is:
disconnect the battery
disconnect LCD flex and peel off the conductive tape
heat LCD up
Slide a thin plastic tool in under the LCD (can be anything, like the hard-ish plastic used in blister packs), there is only tape along the sides, start at the top center of the lcd. Seriously just slide it down and cut the tape (it's super strong!)
Now just lift the battery up about 3mm (on the same side as the lcd flex) and slide the lcd out, flex and all..
Total repair time is HALVED and you don't mess up the rest of the RF shielding tape.
Total of just 4 screws need to be removed!
:)
hope this helps :)