Essa tradução foi gerada por um programa e ainda não foi revisada por uma pessoa. Falas essa língua? Dá uma olhada.
O que você precisa
-
-
-
Use uma espátula para soltar os dois pés de borracha mais próximos da dobradiça do aparelho.
-
Repita este processo para o outro lado do aparelho.
-
Os pés de borracha inferiores não possuem parafusos escondidos sob eles e, portanto, não é necessário removê-los.
 Pergunte ao FixBot
-
-
-
Remova os 11 parafusos Phillips PH-0 de 5 mm (circulados)
-
-
-
-
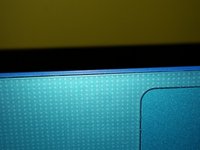
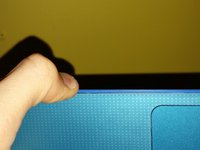
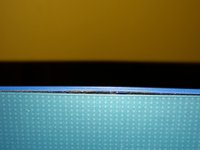
Use o dedo para alavancar a carcaça externa azul sobre o teclado
-
Continue esse processo ao redor das bordas do dispositivo
-
Talvez seja necessário usar uma espátula para alavancar as bordas mais rígidas, como ao redor das portas de E/S
-
Não levante o teclado assim que todos os clipes estiverem soltos, pois ainda existem vários cabos conectados
-
-
-
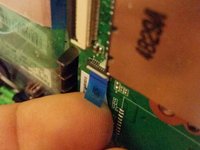
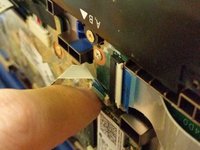
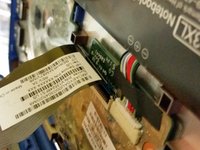
Desconecte o conector do botão LIGA/DESLIGA removendo a fita protetora, usando a unha para levantar o clipe de retenção branco e puxando o cabo plano para fora
-
Desconecte o conector do touchpad usando a unha para levantar o clipe de retenção preto e puxando o cabo plano para fora
-
Desconecte o conector do teclado usando a unha para levantar o clipe de retenção preto e puxando o cabo plano para fora
-
O conjunto do seu teclado agora pode ser removido com segurança
-
-




Para a remontagem de seu dispositivo, siga estas instruções na ordem inversa.
Cancelar: não concluí este guia.
Uma outra pessoa concluiu este guia.


