Introdução
If the screen of your laptop is black when powered on, or cracked, it should be replaced. With the purchase of a new screen, follow these steps to replace it completely.
O que você precisa
-
-
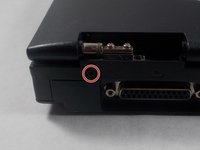
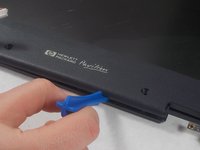
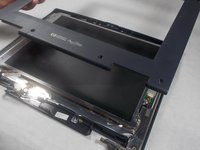
Open your laptop. Beneath the screen, there is a large plastic piece that contains slots for a speaker, the power button, and numerous indicator lights.
-
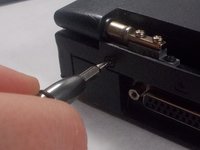
To remove this, pry it open with a spudger tool gently. It should pop out of place.
 Pergunte ao FixBot
-
-
-
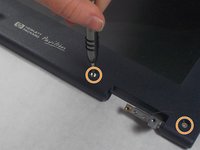
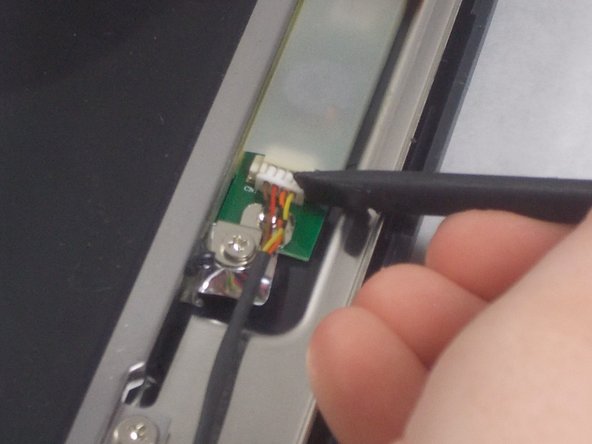
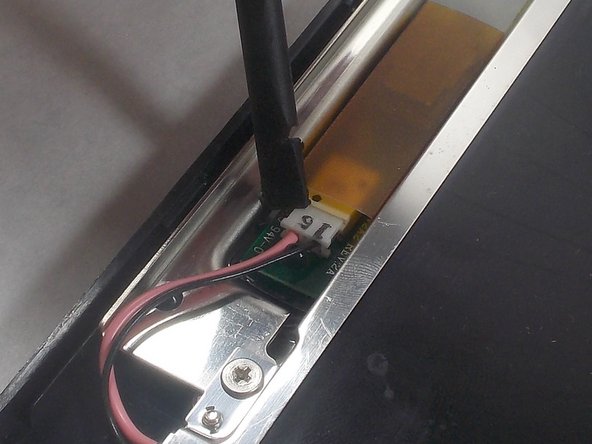
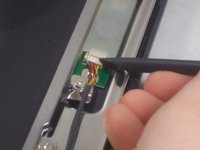
Gently use a spudger tool or your fingers to disconnect the LCD cable from the screen.
-
-
-
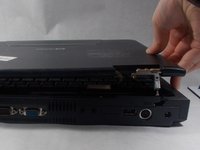
Remove the 1 cm screw with a Phillips #1 screwdriver to allow the screen and top of the laptop to be separated from the keyboard and bottom.
-
Lift the entire top away from the bottom, and set bottom half of the laptop aside.
-
-
-
-
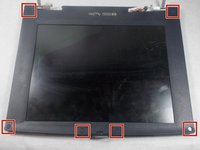
Remove the 6 rubber screw caps with a metal spudger.
-
After removing the 6 rubber screw caps, use a Phillips #1 screwdriver to unscrew the six 6mm screws.
-
-
-
To separate the plastic cover, use a plastic opening tool to undo each plastic connecting clip between the two.
-
Remove the top plastic cover once all connections have been released.
-
-
-
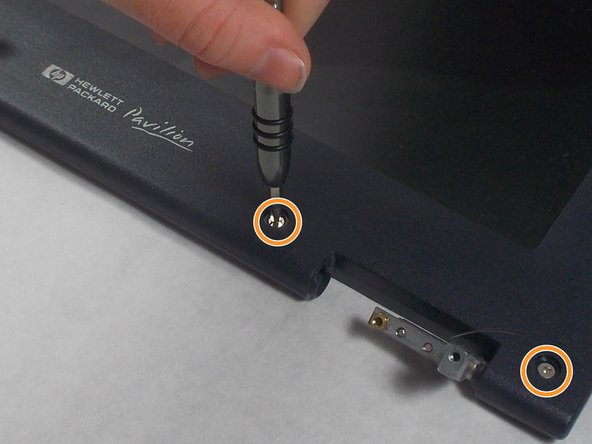
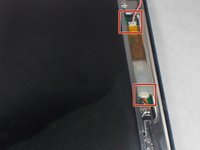
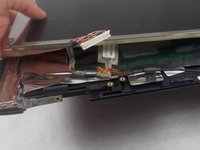
At each corner, there is a 1 centimeter silver screw connecting the screen frame to the laptop. Remove these using a Phillips #1 Screwdriver.
-
-
Ferramenta utilizada neste passo:Tweezers$4.99
-
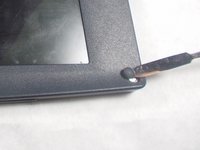
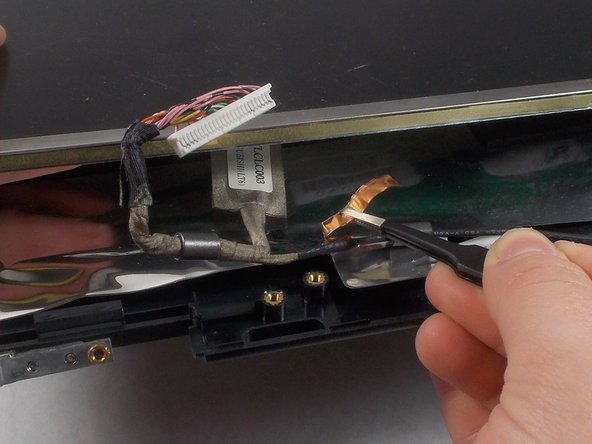
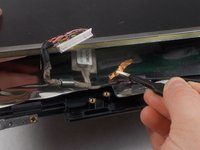
There should be thin piece of copper 'tape' holding the LCD cable down. Remove this gently with tweezers.
-
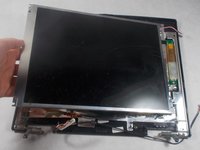
Remove the screen from the device.
-


To reassemble your device, follow these instructions in reverse order.
Cancelar: não concluí este guia.
Uma outra pessoa concluiu este guia.
Equipe

UMass Dartmouth, Team S3-G8, Peak Spring 2018 Membro de UMass Dartmouth, Team S3-G8, Peak Spring 2018
UMASSD-PEAK-S18S3G8
3 Membros
Autoria de 8 guias