Introdução
This guide instructs you how to remove the RAM. You will need the screwdriver listed in the tools section.
O que você precisa
-
-
-
Step 1 – Battery: Locate the battery release slider on the bottom of the laptop and move it in the direction of the arrow to the unlock position.
-
The yellow highlighted edge of the battery should pop up slightly when the switch is moved
 Pergunte ao FixBot
-
-
-
Step 2: Using the edge of the battery that has popped up, lift the battery out of the computer.
-
-
-
-
-
-
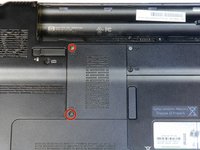
Remove the two 3.5 mm diameter head and 7 mm long screws using the Philips PH1 screwdriver.
-
Set the cover with attached screws to the side.
-
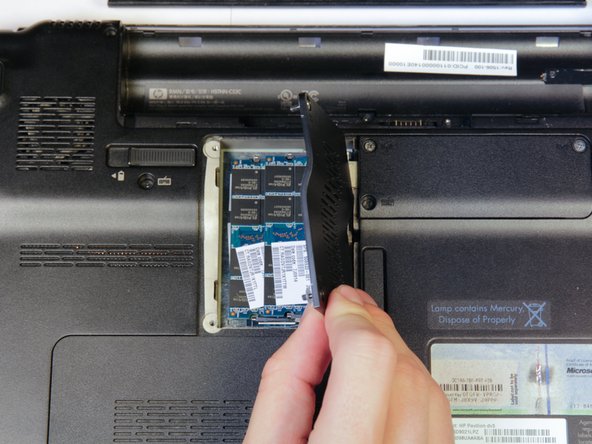
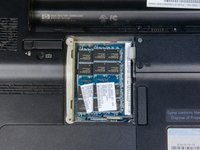
The RAM will now be exposed
-
-
-
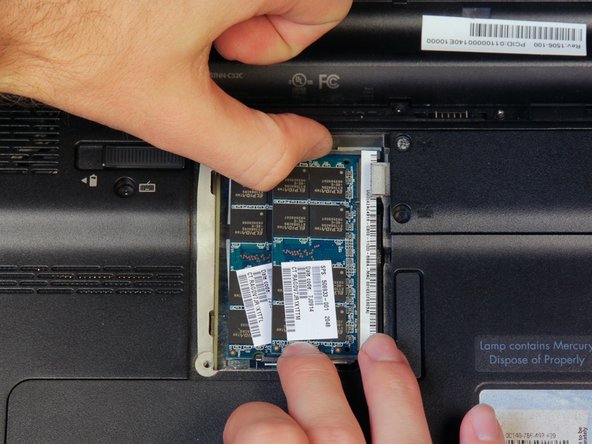
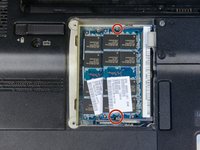
Find the two clips located on each side of the RAM.
-
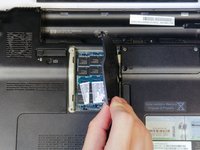
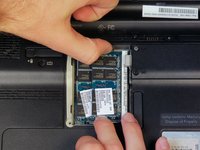
Using both hands, simultaneously grab each clip and open them away from the RAM stick.
-
-
-
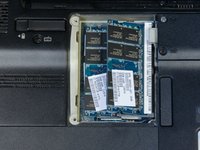
If there is a second RAM module present (as shown), repeat steps 2 and 3 to remove it.
-
-






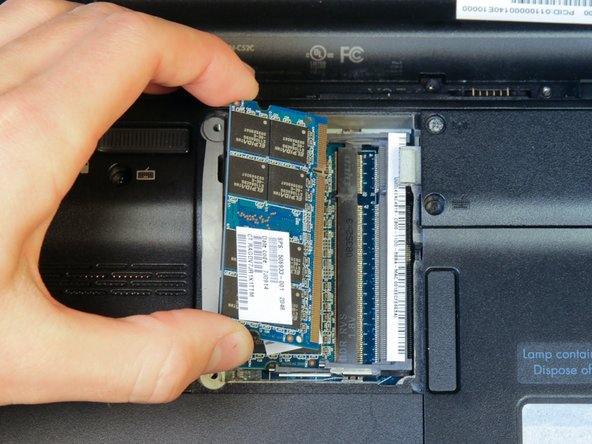

To reassemble your device, follow these instructions in reverse order.
Cancelar: não concluí este guia.
2 outras pessoas executaram este guia.

Equipe

Cal Poly, Team 14-10, Forte Fall 2013 Membro de Cal Poly, Team 14-10, Forte Fall 2013
CPSU-FORTE-F13S14G10
4 Membros
Autoria de 5 guias
