Introdução
If the screen in your computer is black and the display is the problem you can follow this step by step instructions to replace your display.
O que você precisa
-
-
-
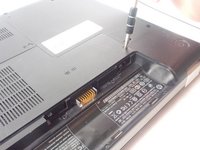
Slide the lock to the right, located slightly above the battery location.
-
While pulling the lock, pull the battery out, keeping it flat and parallel to the laptop so that it slides out easily.
 Pergunte ao FixBot
-
-
-
-
-
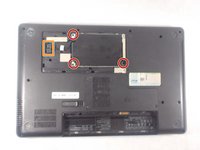
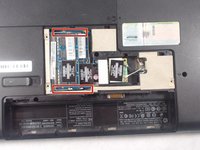
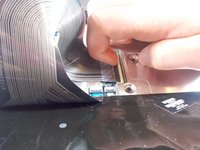
Loosen the 2 Phillips 2.5x6 screws in the rectangular panel with a Phillips #1 screwdriver.
-
Gently remove the panel with a plastic opening tool.
-
-
-
Unscrew the three 3x4 Phillips screws holding the hard drive in with a Phillips #1 screwdriver.
-
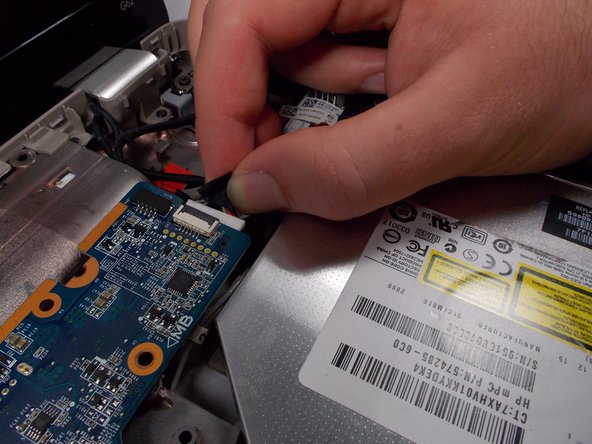
Pull the hard drive cable out of the motherboard.
-
Pull the hard drive out of the computer.
-
-
-
-
-
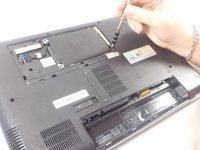
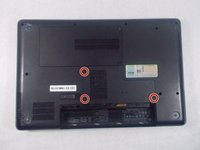
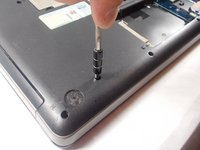
Unscrew the three Phillips 2.5x6 screws in the L-shaped panel on the back with a Phillips #1 screwdriver.
-
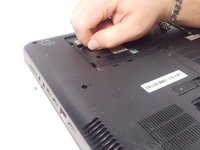
Use a plastic opening tool to gently pry the panel free from the laptop.
-
-
-
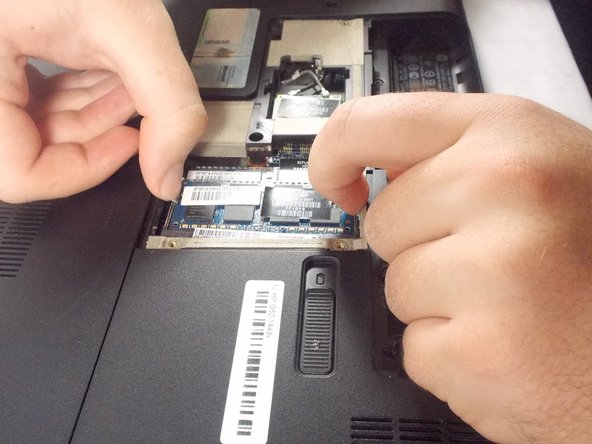
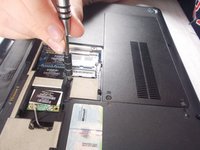
Pull the two metal clips to the top RAM module outwards parallel to the laptop.
-
After the RAM module pops up, gently pull in out from the computer.
-
Repeat for the second RAM module.
-
-
-
-
-
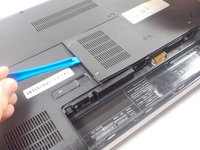
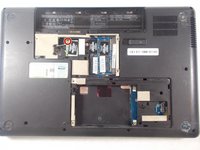
Remove the 3 Phillips 2.5x5 screws (closest to the battery slot) and the 2 Phillips 2.5x6.5 screws with a Phillips #1 screwdriver.
-
-
-
Use the Phillips # 1 screwdriver to unscrew the 2.5x6 Phillips screws holding the L-shaped back panel.
-
Gently use a plastic opening tool to remove the panel.
-
-
-
Unscrew the final Phillips 2.5x5 keyboard screw with a Phillips #1 screwdriver.
-
-
-
-
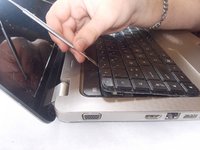
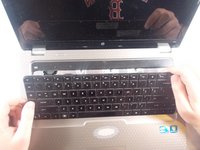
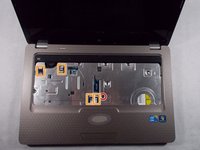
Flip the laptop so the top is facing up again and open the cover.
-
Use a metal spudger to pry the keyboard up and pull it back.
-
-
-
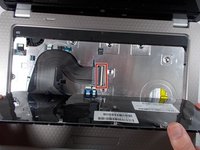
Pull up the latch that connects the keyboard connector the the motherboard.
-
-
-
-
-
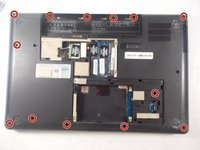
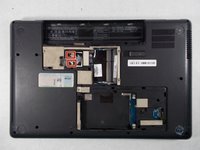
Remove four Phillips PM2.5x3 screws in the battery bay, and remove ten Phillips PM2.5x6.5 screws on the base enclosure with a Phillips #1 screwdriver.
-
-
-
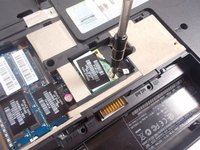
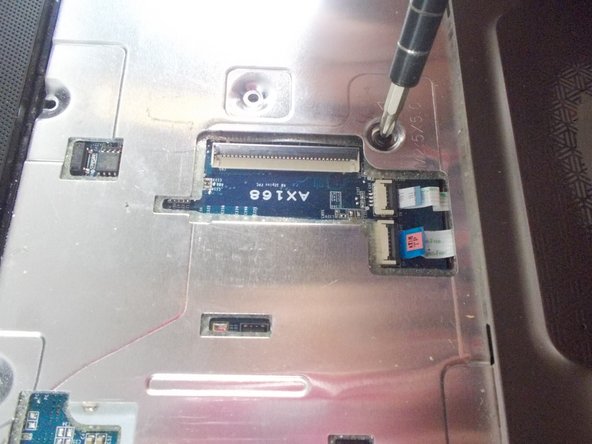
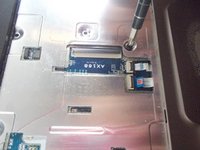
Remove the Phillips PM2.0×3.0 screw that secures the WLAN module to the computer with a Phillips #0 screwdriver.
-
-
-
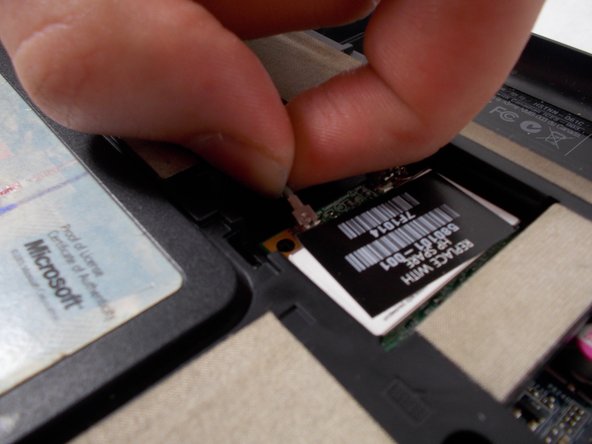
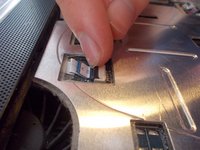
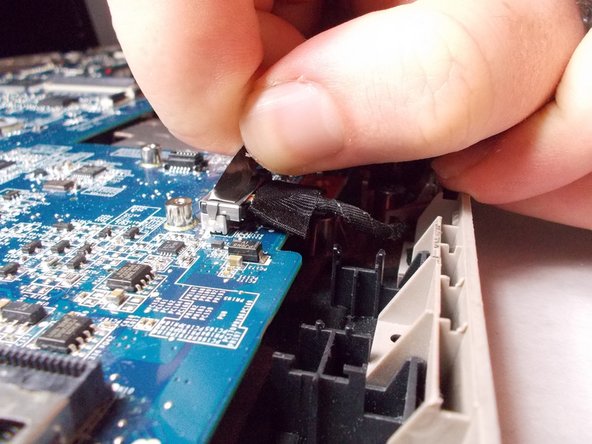
Disconnect the two wires that attach the card to the motherboard by pulling them up individually.
-
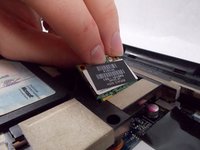
Grab the card gently and pull it out after it pops up.
-
-
-
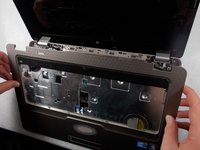
Flip the laptop over so that the top is facing upwards.
-
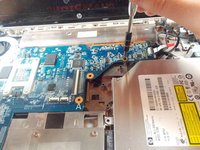
Remove the Phillips PM2.5×6.0 screw that secures the top cover to the computer with a Phillips #1 screwdriver.
-
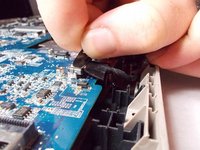
Disconnect the 4 connectors to the motherboard.
-
-
-
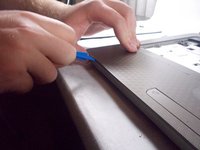
Take off the cover by prying open the cover with a plastic opening tool.
-
Lift the edge near the display first until it pops out, and then remove the cover by pulling it out.
-
-
-
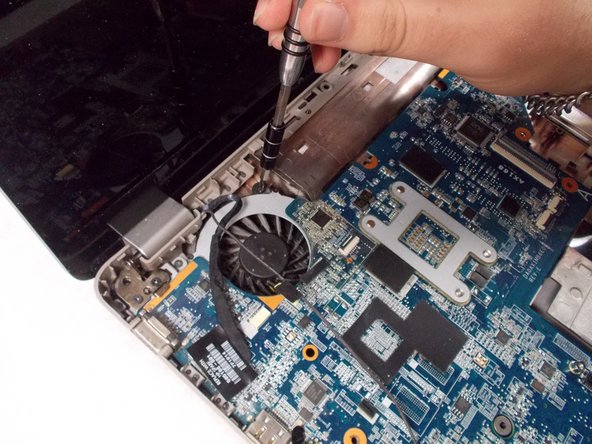
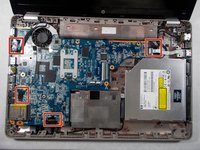
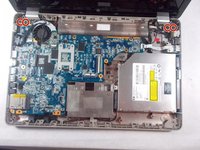
Remove the two motherboard screws and the fan screw that holds it on the the rest of the computer with a Phillips #1 screwdriver.
-
-
-
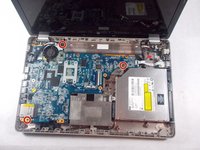
Lift up the right side of the motherboard and pull it out to the right carefully.
-
-
-
-
-
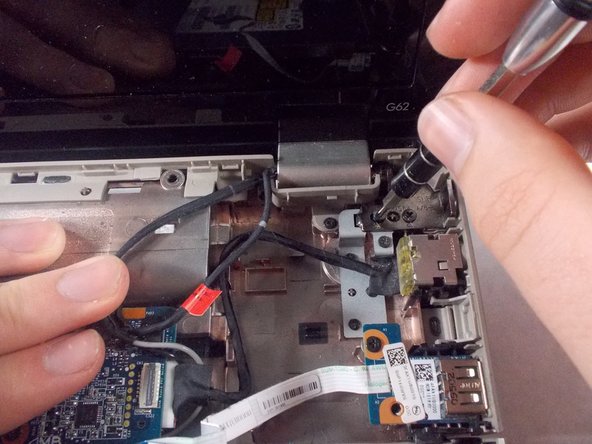
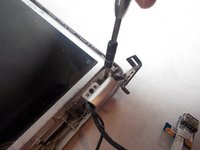
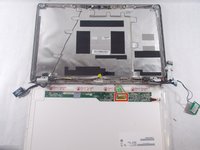
Remove the 4 screws holding the display to the body of the laptop with a Phillips #0 screwdriver.
-
Remove the screen from the laptop body.
-
-
Ferramenta utilizada neste passo:Tweezers$4.99
-
Find and remove the 2 cover stickers that are over the screws on the bezel using tweezers. These cover stickers are located on the bottom of the screen near the screen hinges on both sides of the screen.
-
After you remove the cover stickers you can remove the Two Phillips PM2.5×6.0 screws that are underneath with a Phillips #1 screwdriver
-
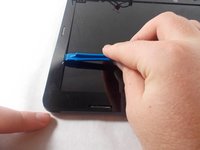
Start prying the screen bezel away from the screen case with a plastic opening tool and carefully snap it out from the front of the screen.
-
-
-
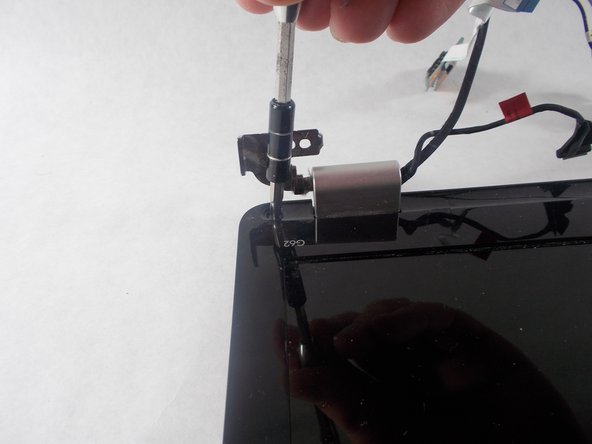
After the bezel is removed you have to remove the 6 screws on the bottom corners and two that are located on the top corner with a Phillips #1 screwdriver.
-
-
-
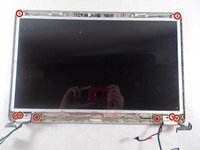
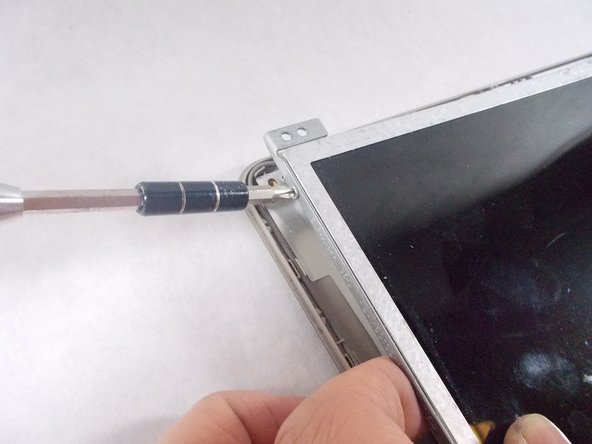
Then you with a Phillips #1 screwdriver must remove the 4 screws that are on the edges of the screen, which are holding the screen to the screen brackets. There are 2 on each edge.
-
-
-
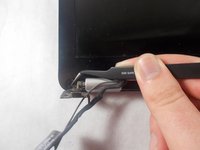
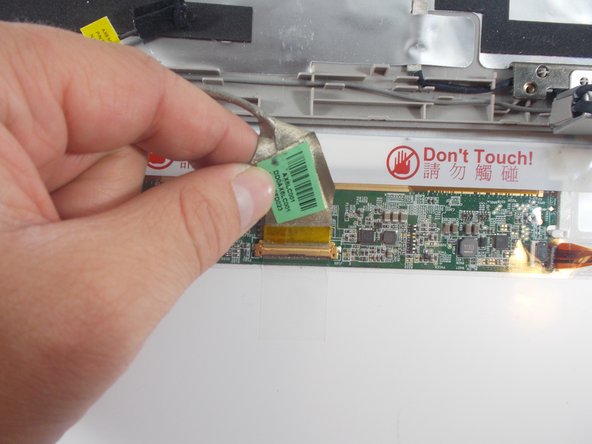
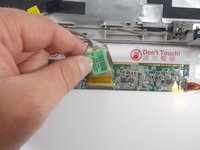
Lastly, place the back of the screen facing towards you and carefully unplug the connector.
-
The screen should then be disconnected and ready to be replaced.
-
-


To reassemble your device, follow these instructions in reverse order.
Cancelar: não concluí este guia.
5 outras pessoas executaram este guia.
Equipe

UMass Dartmouth, Team S4-G8, Julie Fall 2017 Membro de UMass Dartmouth, Team S4-G8, Julie Fall 2017
UMASSD-JULIE-F17S4G8
3 Membros
Autoria de 7 guias