Ir para o conteúdo principal
Participe da comunidade de reparos - Criar conta

HP G60 RAM Replacement

O que você precisa

    1. HP G60 RAM Replacement, Battery: passo 1, imagem 1 %32 HP G60 RAM Replacement, Battery: passo 1, imagem 2 %32 HP G60 RAM Replacement, Battery: passo 1, imagem 3 %32
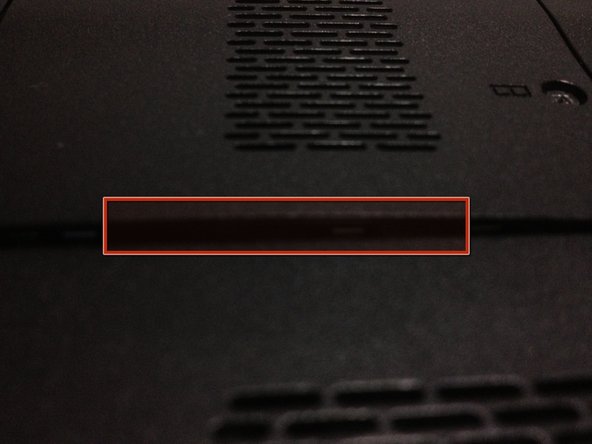
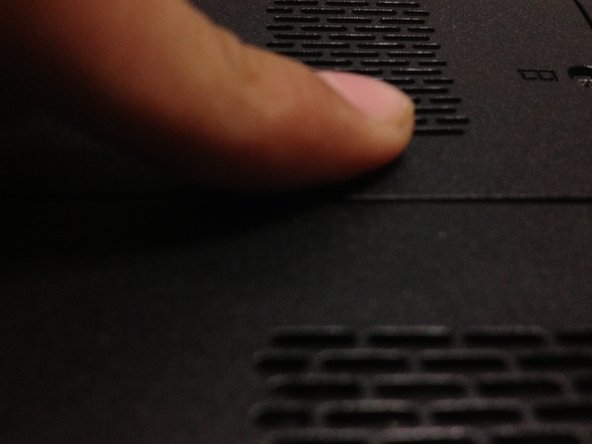
      • First, you should to remove the battery to avoid electric shocks

      • Slide and unlock the battery, then, lift it

      Pergunte ao FixBot

      Comentar

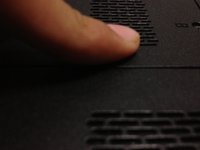
    2. HP G60 RAM Replacement, RAM cover: passo 2, imagem 1 %32 HP G60 RAM Replacement, RAM cover: passo 2, imagem 2 %32 HP G60 RAM Replacement, RAM cover: passo 2, imagem 3 %32
      • Remove the two screws with a not too large screwdriver

      • Now lift the cover, the screws are part of the cover

      Pergunte ao FixBot

      Comentar

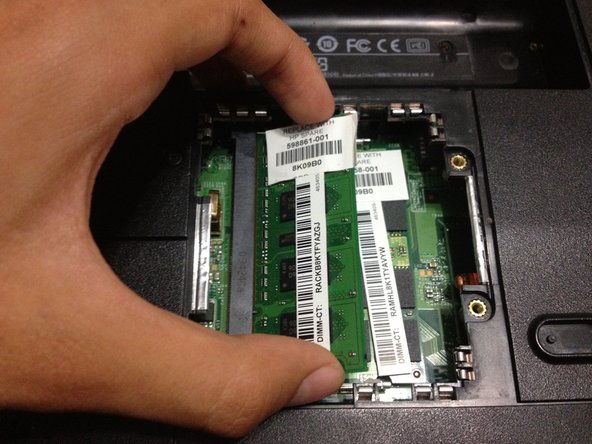
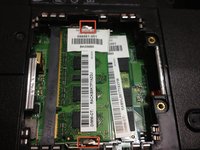
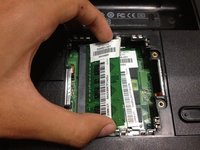
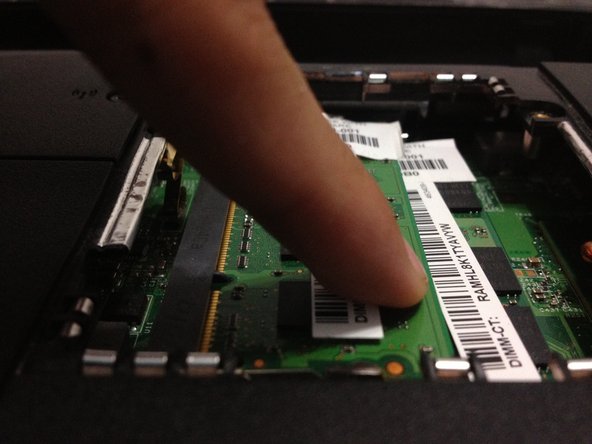
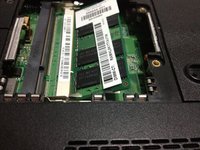
    3. HP G60 RAM Replacement, Eject RAM: passo 3, imagem 1 %32 HP G60 RAM Replacement, Eject RAM: passo 3, imagem 2 %32 HP G60 RAM Replacement, Eject RAM: passo 3, imagem 3 %32
      • Push the little aluminum locks at the top and the bottom of the ram

      • The memory will lift, then pull it

      • Make this with the another RAM slot

      Pergunte ao FixBot

      Comentar

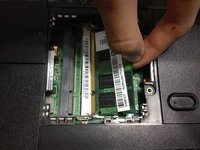
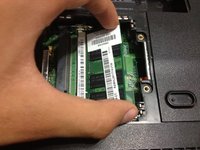
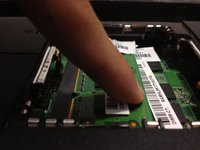
    4. HP G60 RAM Replacement, New RAM: passo 4, imagem 1 %32 HP G60 RAM Replacement, New RAM: passo 4, imagem 2 %32 HP G60 RAM Replacement, New RAM: passo 4, imagem 3 %32
      • The new RAM memory should to be insert in a 45 degrees angle

      • Then, push it and the memory will lock by itself

      • Make this with the second memory

      Pergunte ao FixBot

      Comentar

    5. HP G60 RAM Replacement, RAM cover (Again): passo 5, imagem 1 %32 HP G60 RAM Replacement, RAM cover (Again): passo 5, imagem 2 %32 HP G60 RAM Replacement, RAM cover (Again): passo 5, imagem 3 %32
      • Insert the cover from right to left, then, screw it

      • If cover is lifted, press it softly and secure it

      Pergunte ao FixBot

      Comentar

Linha de Chegada

Cancelar: não concluí este guia.

5 outras pessoas executaram este guia.

jimenezser

Membro desde: 08/29/12

3.905 Reputação

Autoria de 4 guias

1Comentário do guia

Thanks for verifying the RAM replacement and that it was as easy as I thought it was, but that made me a bit nervous, being much more comfortable building desktops as large as my or my customer's budget would allow!

Take 'em out, put new ones back in. As a technical writer, I also appreciate that you kept it to the point without creating further questions to complicate that which is not complicated. Thanks again. Will check out some out your other work.

J Brent Masters - Responder Compartilhar

Comentar

Visualizações:

Últimas 24 horas: 0

Últimos 7 dias: 7

Últimos 30 dias: 43

Ao todo: 6,869