Introdução
This guide goes over how to remove and replace the keyboard for the HP Envy x360 15m-bq021dx laptop. The keyboard is one of the main ways to interact with a laptop. When it is working properly, keys should press down easily without sticking and should output the letter, symbol, or function that it is designed to output.
Before using this guide understand that the process shown in this guide is a single-use method that once it is completed cannot be undone. This is due to the way the keyboard backing plate is mounted in the case using non-reusable plastic pins. Make sure replacing the keyboard is the only option before continuing with the guide.
Before using this guide check the following possible issues with your keyboard. If the entire keyboard is not working try reinstalling the keyboard drivers. If the keyboard is not working try disabling the intel sensors that check if the laptop is in tablet mode. This can cause the computer to get stuck in tablet mode where the keyboard is disabled. If only the plastic cap on a key is broken while the key can still be pressed and used do not replace the keyboard just replace that keycap. If the keys on the number pad do not work try pressing the number lock key. If a key can't be fully pressed then there might be something under the keycap. Try removing the keycaps and cleaning anything under the keys.
If none of these solutions worked then check the issue with the following list. If only a single key does not work then the whole keyboard needs to be replaced. If just the number pad is not working then the entire keyboard needs to be replaced.
Before starting this repair, be sure to power off the laptop and unplug from the power adapter.
O que você precisa
-
-
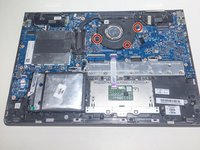
On the back panel of the device, remove the four (4) M2.5xL6 screws at the top of the photo using a Phillips #0 screwdriver.
-
Unscrew the three (3) screws at the bottom of the photo using a T5 Torx screwdriver.
-
-
-
Use the Philips #0 screwdriver to remove six (6) M2.0x3.2 screws from battery.
-
-
-
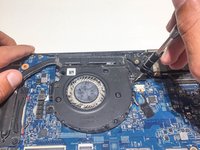
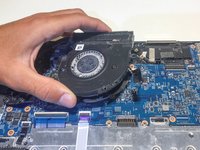
Using a Philips #0 screwdriver, remove the three M2x4 screws located around the cooling fan as shown in this picture.
-
-
Ferramenta utilizada neste passo:Tweezers$4.99
-
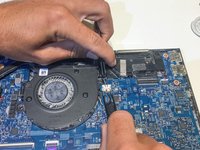
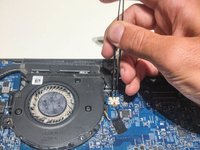
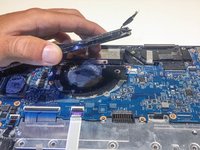
Remove the connector clip with the tweezers.
The fan connector on the one I was working on was in a different location, below the fan near the battery connector
-
-
-
-
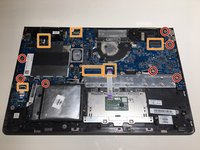
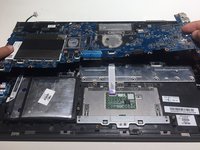
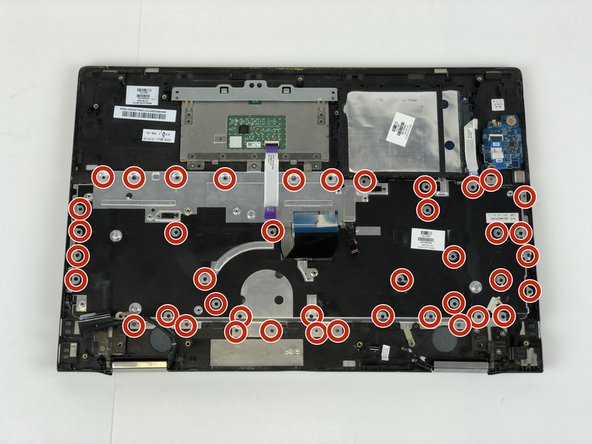
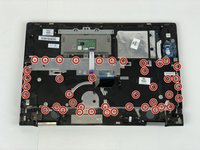
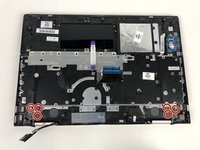
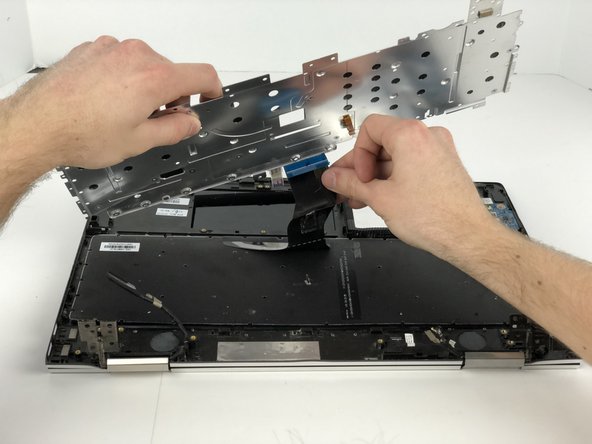
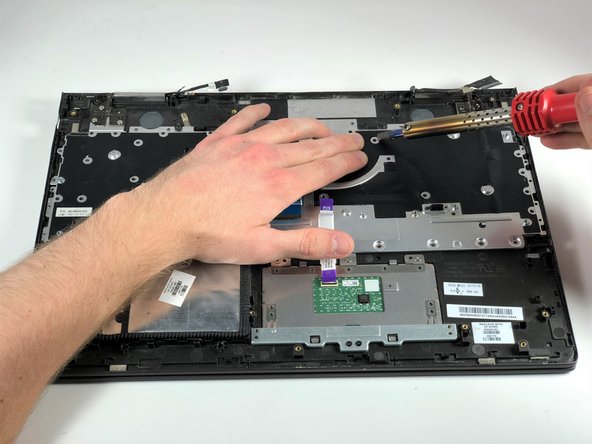
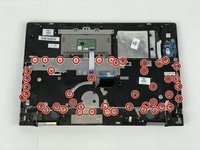
Using a Phillips #1, remove the seven M2.0x3.2 screws.
-
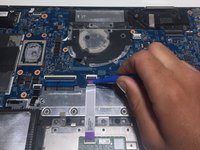
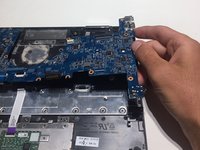
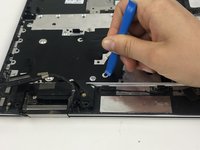
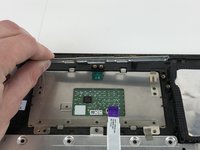
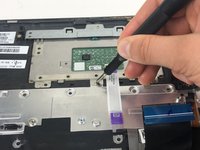
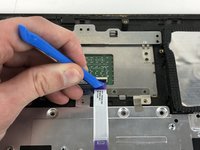
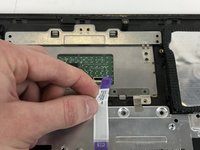
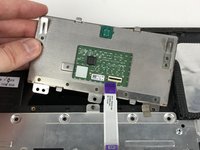
Undo the six connections using the blue opening tool.
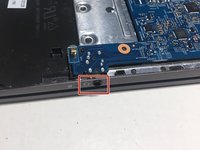
There’s a few errors/omissions here. There is no screw where the red circle notes on the bottom right, it is actually top left and not circled in red. There is also a connector on the top right that needs to be disconnected just to the right of the LCD connector highlighted in the orange box. Finally, I needed to disconnect the wifi cables and remove the screw affixing the card to the case in order to remove the board (the wifi card connects to a slot beneath the board, rather stupidly).
The connector on the top right mentioned in my previous post is for the speakers
-
-
-
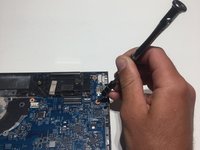
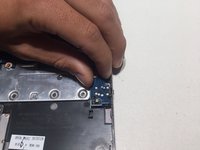
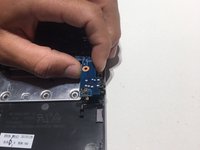
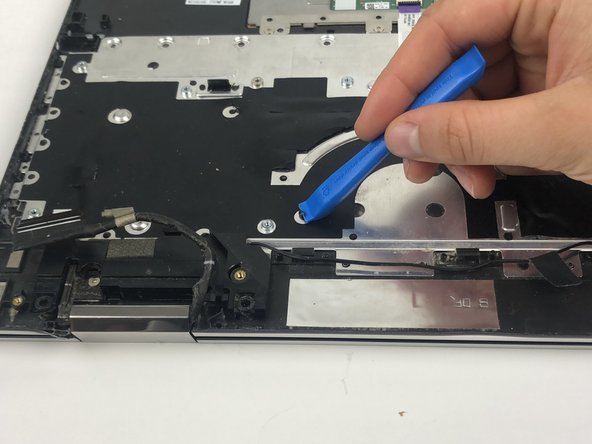
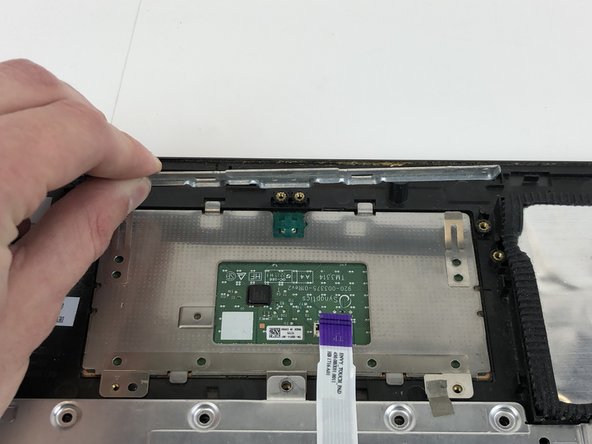
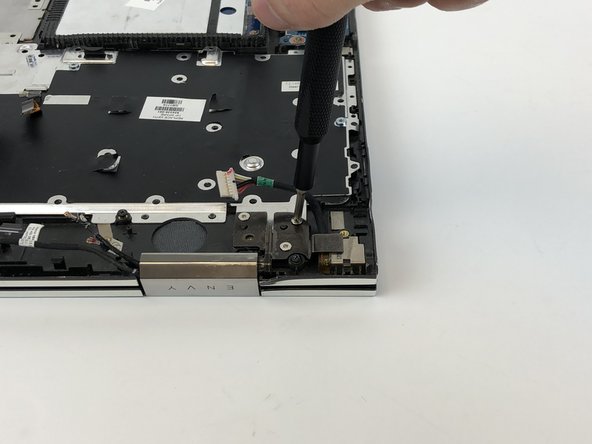
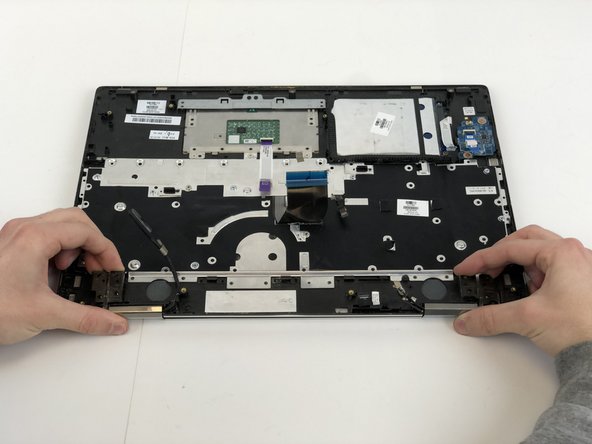
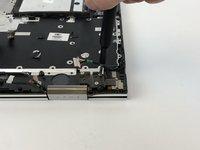
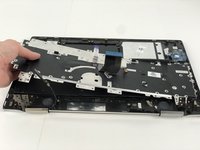
Carefully remove the aux port from the frame of the computer as shown.
Don’t do this, just lift the board from the left side and lift it away to the left
-
-
Ferramenta utilizada neste passo:Tweezers$4.99
-
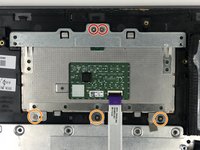
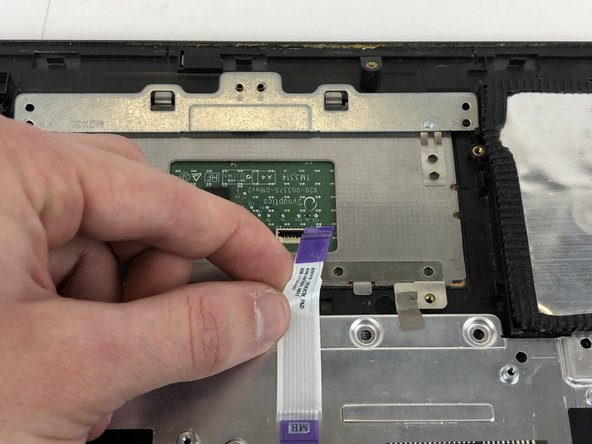
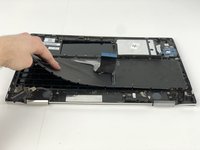
Use the tweezers to remove the cords from their restraints.
-
Lift the speakers out of the laptop.
-
-
-
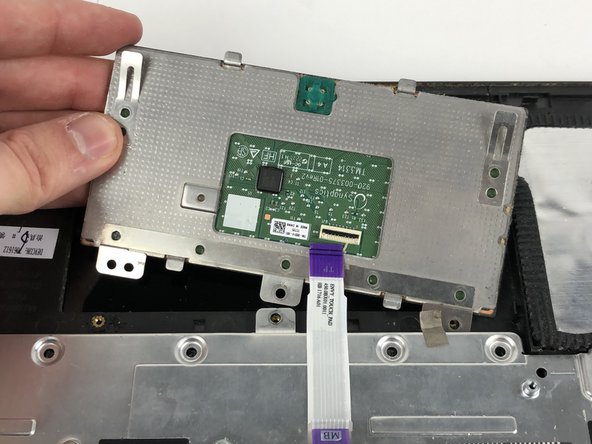
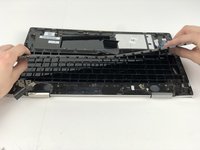
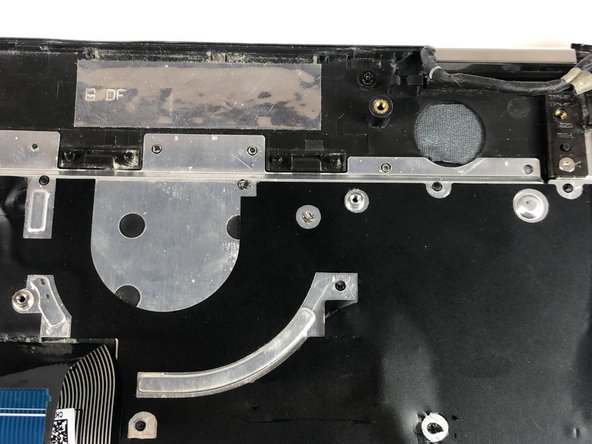
Use flat cutters or an iFixit Opening Tool to cut the excess plastic off the plastic pins holding the keyboard backing plate.
-


To reassemble your device, follow the instructions from step 14 to step 1 in reverse order.
To reassemble your device, follow the instructions from step 14 to step 1 in reverse order.
Cancelar: não concluí este guia.
2 outras pessoas executaram este guia.

Equipe

Embry-Riddle Aeronautical University, Team 2-3, Rauch Spring 2022 Membro de Embry-Riddle Aeronautical University, Team 2-3, Rauch Spring 2022
ERAU-RAUCH-S22S2G3
3 Membros
Autoria de 3 guias
Um comentário
WOW, great instructions. I ran the HP hardware test and confirmed that the keyboard is bad. For forty dollars, I think I'll just buy a Logitech wireless keyboard. Although, your instructions give me the confidence to perform this repair if neccessary. Thank you.
In the second step the photo looks like the laptop is still in the same position as the first step, which means, according to the first image, the second image shows someone removing the four screws at the top of the laptop. To be accurate to the text in Step 2, the barcode would appear at the top of the image.
lkmemphis - Responder