Esta versão pode conter edições incorretas. Mude para o último instantâneo verificado.
O que você precisa
-
Este passo não foi traduzido. Ajude a traduzi-lo
-
Shut down the computer. Disconnect all external devices connected to the computer. Disconnect the power from the computer by first unplugging the power cord from the AC outlet and then unplugging the AC adapter from the computer.
-
Close the screen and turn the computer over. Remove the battery by sliding the locking clip to the left and then pulling the battery from the case.
-
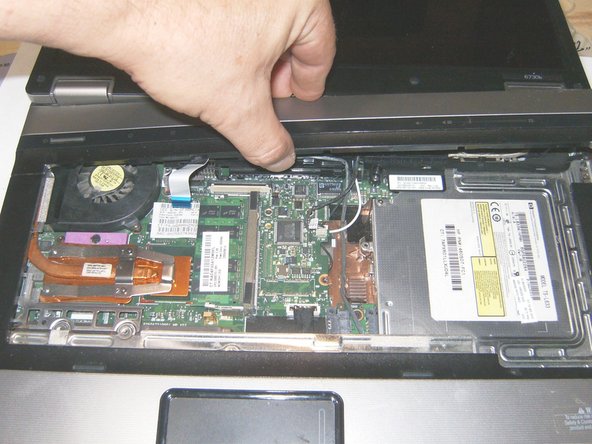
Loosen the three Phillips 2.5×9.0 captive screws that secure the keyboard to the computer. They are secured by a spring clip at the back, so they will not be easily removed. All that is required is to loosen those.
-
-
Este passo não foi traduzido. Ajude a traduzi-lo
-
Turn the computer display-side up, with the front toward you. Open the computer as far as possible. There are four retention tabs that hold the keyboard down.
-
Use a small screwdriver, or other instrument, to slide the four tabs in a downward direction toward the palmrest.
-
Gently lift the keyboard up from the display side,
-
-
-
Este passo não foi traduzido. Ajude a traduzi-lo
-
and tilt it toward the front of the computer. Do not lift it up to fast or to high, the keyboard ribbon cable is still connected
-
Here is the keyboard ribbon cable seated in the zero insertion force (Zif) connector. Move the clip that looks the cable into the connector in an upward direction and remove the cable.
-
The keyboard is now separated and can be removed.
-
-
Este passo não foi traduzido. Ajude a traduzi-lo
-
Release the Zif connector to which the power button board cable is connected, by lifting the clasp of the Zif connector in an upward direction.
-
Lift the left and right sides of the switch cover until it detaches from the computer, but do not yet try to remove it.
-
The LED board cable is still attached, disconnect it from the Zif connector by simply pulling it out in an upward direction.
-
-
Este passo não foi traduzido. Ajude a traduzi-lo
-
Remove the fan connector. (it is not necessary to use forceps or any other tool)
-
Loosen the two Phillips 2.5×7.0 screws that secure the fan to the base enclosure.
-
Remove the fan from the case.
-


Cancelar: não concluí este guia.
5 outras pessoas executaram este guia.

Equipe

Um comentário
Thanks a million for this. My lap top is… old. Fan has been swirling away like crazy for years. Just followed your advice and it sounds like new.
Kind regards,
Gill