Introdução
If the computer will not boot upon start-up but shows BIOS dialog, the component in suspect is the hard drive. In this case, the hard drive is faulty or broken and needs replacement.
O que você precisa
-
-
-
Eject the battery from the computer by sliding the two clips on the bottom of the computer toward the center of the computer.
-
Slide the battery out as shown in the picture.
 Pergunte ao FixBot
-
-
-
-
-
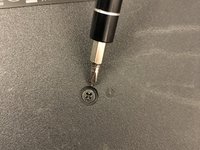
Using a Phillips #1 screwdriver, remove the small screw next to the disc engraving shown in the picture.
-
-
-
-
-
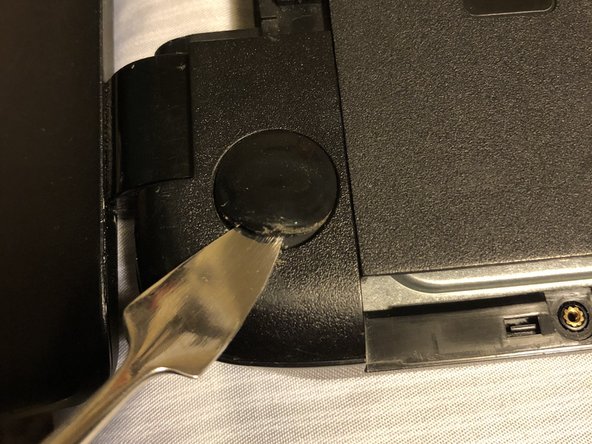
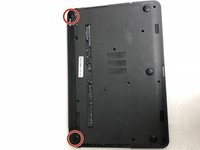
Locate the two corner grips on the hinge side of the computer.
-
Using a metal spudger, remove the two corner grips to reveal the screws.
-
-
-
-
Remove the 11 small screws on the bottom of the computer that are shown in the picture.
-
-
-
Remove the 2 small screws that are on the bottom side of the disc tray slot.
-
-
-
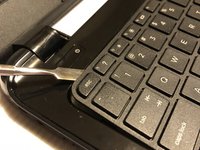
Using a spudger, pry around the edges of the keyboard until all clips are disengaged and the keyboard is loose from the computer.
-
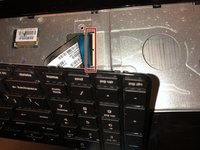
To disconnect the ribbon connector, flip up the black clip shown in the picture.
-
Gently pull the ribbon until disconnected.
-
-
-
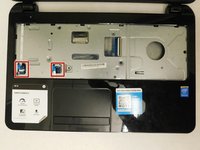
Disconnect the other two ribbon connectors underneath the keyboard by fliping up the black clips.
-
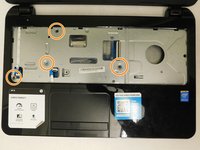
Remove the 4 small screws shown in the picture.
-
-
-
Disengage the face plate clips by prying the case away from around the outer edge of the face plate with a metal wedge.
-
The face plate can then be lifted away from the computer.
-
-
-
-
-
Remove the 2 black screws holding the hard drive to the computer frame.
-
-
-
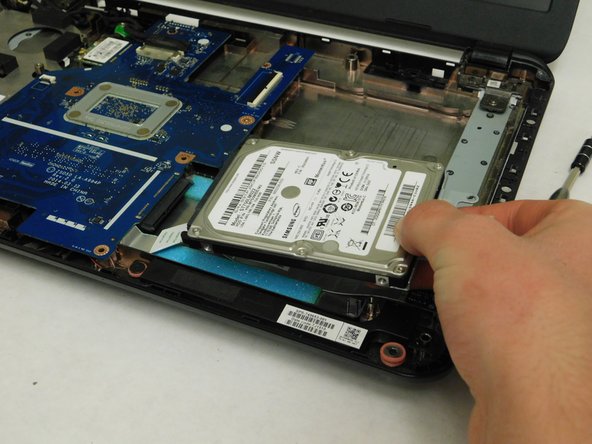
Gently slide the hard drive away from the motherboard to disconnect it.
-
After it's disconnected, lift the hard drive up to remove it from the computer.
-
-










To reassemble your device, follow these instructions in reverse order.
Cancelar: não concluí este guia.
2 outras pessoas executaram este guia.

Equipe

Washington State, Team S2-G3, Lobnitz Spring 2018 Membro de Washington State, Team S2-G3, Lobnitz Spring 2018
WSU-LOBNITZ-S18S2G3
8 Membros
Autoria de 56 guias
