Essa tradução foi gerada por um programa e ainda não foi revisada por uma pessoa. Falas essa língua? Dá uma olhada.
Introdução
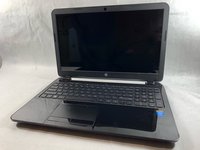
A placa-mãe é o centro principal de todos os componentes em um laptop. Por esse motivo, é sempre importante saber como acessar e desconectar qualquer componente da placa-mãe. Remover a placa-mãe também é um pré-requisito necessário para acessar componentes como a RAM e a CPU.
O que você precisa
-
-
-
Deslize o mecanismo de trava no lado esquerdo do laptop para a direita.
 Pergunte ao FixBot
-
-
-
Enquanto segura o mecanismo deslizante direito, remova a bateria do laptop.
-
-
-
-
-
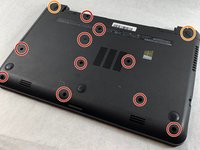
Vire o laptop para revelar a localização dos parafusos.
-
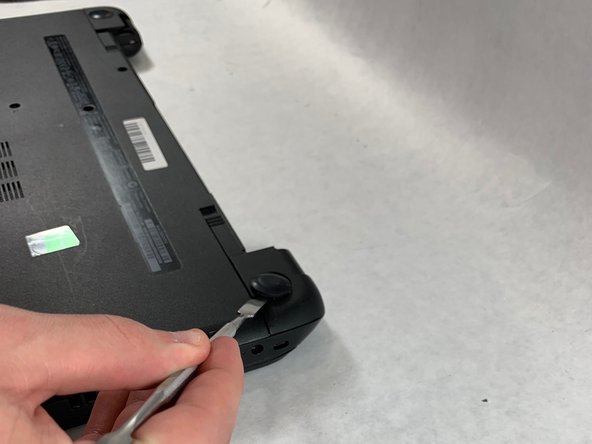
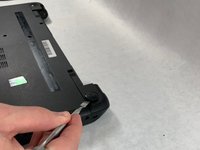
Use uma espátula de metal para remover os dois pés de borracha traseiros. Há parafusos escondidos sob eles.
-
-
-
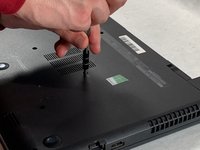
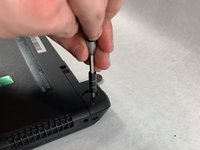
Remova os doze parafusos Phillips #1 de 5 mm na parte traseira do laptop.
-
-
-
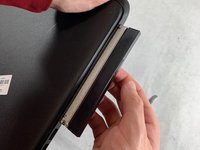
Remova a unidade de DVD do laptop.
-
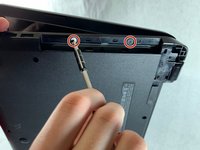
Remova os dois parafusos Phillips de 3 mm sob a unidade de DVD.
-
-
-
-
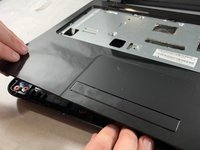
Vire o laptop e abra-o.
-
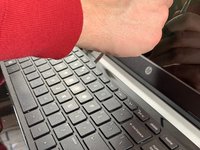
Desencaixe o teclado fazendo alavanca com uma espátula para soltá-lo do laptop.
-
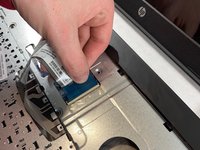
Desconecte o cabo plano do teclado.
-
-
-
Desconecte os dois cabos planos estreitos à esquerda da conexão do teclado.
-
Remova cinco parafusos Phillips #1 de 4 mm da bandeja de metal do teclado.
-
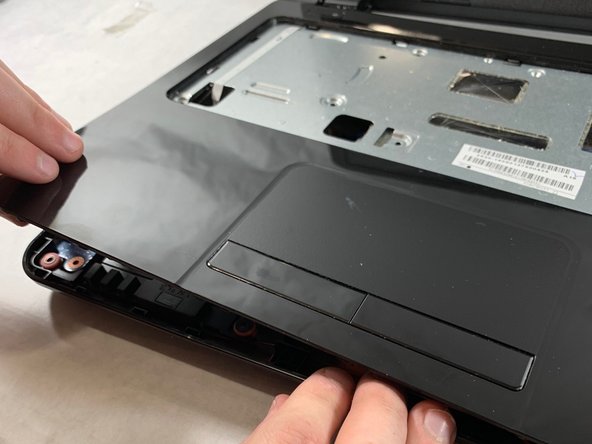
Abra a caixa de plástico usando uma espátula.
-
-
-
-
-
Remova os dois parafusos Phillips #1 de 5 mm localizados na base do disco rígido.
-
-
-
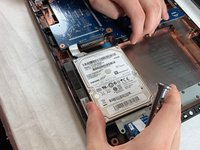
Puxe o disco rígido para cima e para fora do notebook.
-
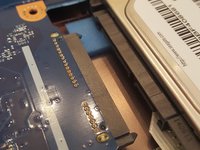
O disco rígido deve se desconectar da sua porta na placa-mãe, conforme mostrado na segunda imagem.
-
-
-
Vire o disco rígido.
-
Remova os dois parafusos Phillips #1 de 4 mm da base do disco rígido.
-
Remova o suporte de montagem (bracket prateado) do disco rígido.
-
-
-
-
-
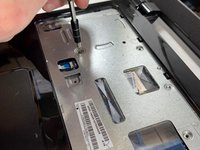
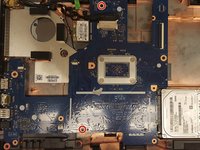
Remova os dois parafusos Phillips #1 de 5 mm restantes da placa-mãe.
-
-
-
Remova a fita do conector da tela que está preso à placa-mãe.
-
Desconecte o conector da tela da placa-mãe.
-
-
-
Remova um parafuso Phillips #1 de 4 mm do chip sem fio.
-
Remova o chip sem fio da placa-mãe.
-
-
-
Remova dois parafusos Phillips #1 de 5 mm do componente USB conectado à placa-mãe.
-
Levante o componente USB até que a fita que o conecta à placa-mãe se desprenda do notebook.
-
-
-
Levante lentamente a placa-mãe para fora do computador.
-
Desconecte o conector de alimentação da placa-mãe conforme mostrado na imagem.
-
-













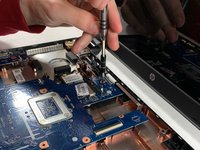


Para a remontagem de seu dispositivo, siga estas instruções na ordem inversa.
Cancelar: não concluí este guia.
3 outras pessoas executaram este guia.

Equipe

UMass Dartmouth, Team S2-G4, Bailey Spring 2019 Membro de UMass Dartmouth, Team S2-G4, Bailey Spring 2019
UMASSD-BAILEY-S19S2G4
3 Membros
Autoria de 54 guias
