Introdução
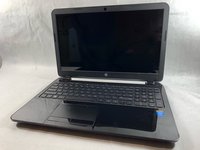
A hard drive can be the source of many issues in a laptop computer. This means that it is important to know how to replace a hard drive. Before you decide to replace a hard drive, you should always attempt to back up your data to a secondary source so that nothing is lost in the process.
O que você precisa
-
-
-
Slide the lock mechanism on the left side of the laptop to the right.
 Pergunte ao FixBot
-
-
-
While holding the right slide mechanism, remove the battery from the laptop.
-
-
-
-
-
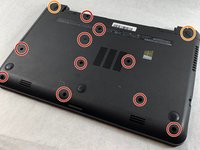
Flip the laptop over to reveal screw locations.
-
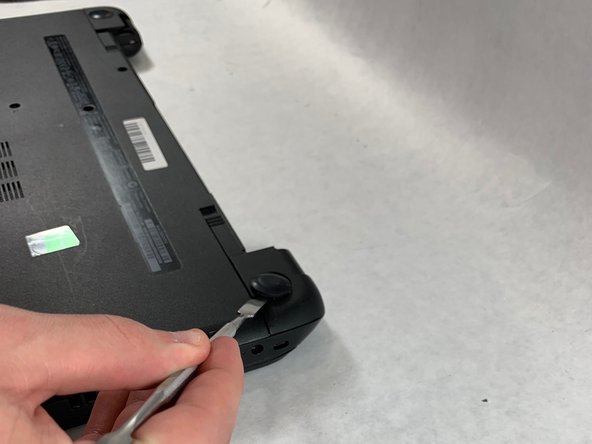
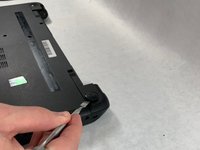
Use a metal spudger to remove the two rear rubber feet. There are screws hidden underneath them.
-
-
-
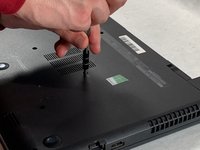
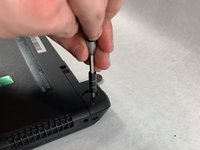
Remove the twelve 5mm Phillips #1 screws on the back of the laptop.
-
-
-
-
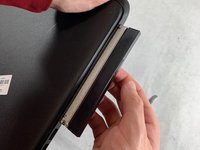
Remove the DVD drive from the laptop.
-
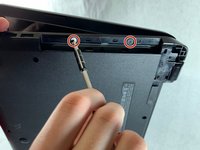
Remove the two 3 mm Phillips #1 screws underneath the DVD drive.
-
-
-
Flip the laptop and open.
-
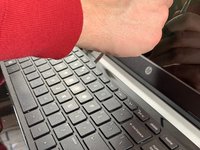
Detach the keyboard by prying it free from the laptop using a spudger.
-
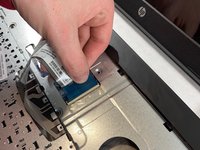
Disconnect the keyboard ribbon cable.
-
-
-
Disconnect the two narrow ribbon cables to the left of the keyboard connection.
-
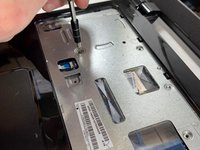
Remove five 4 mm Phillips #1 screws from the metal tray for the keyboard.
-
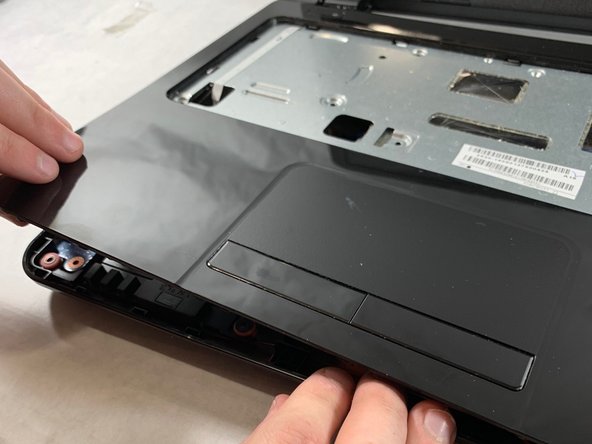
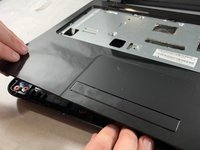
Pry open the plastic casing using a spudger.
-
-
-
-
-
Remove two 5 mm Phillips #1 screws located at the base of the hard drive.
-
-
-
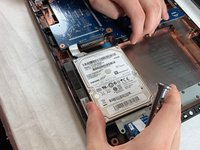
Pull the hard drive upwards and away from the laptop.
-
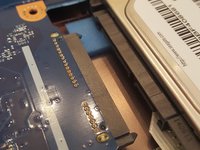
The hard drive should disconnect from its port on the motherboard as shown in the second image.
-
-
-
Flip the hard drive over.
-
Remove the two 4 mm Phillips #1 screws from the base of the hard drive.
-
Remove the mounting brace (silver bracket) from the hard drive.
-
-












To reassemble your device, follow these instructions in reverse order.
Cancelar: não concluí este guia.
3 outras pessoas executaram este guia.

Equipe

UMass Dartmouth, Team S2-G4, Bailey Spring 2019 Membro de UMass Dartmouth, Team S2-G4, Bailey Spring 2019
UMASSD-BAILEY-S19S2G4
3 Membros
Autoria de 54 guias
