Introdução
The display on the Google Pixelbook is secured with strong adhesive and requires some careful prying to separate it from the case. Using heat from a hairdryer, or an iOpener, may help soften the adhesive for easier removal.
O que você precisa
-
-
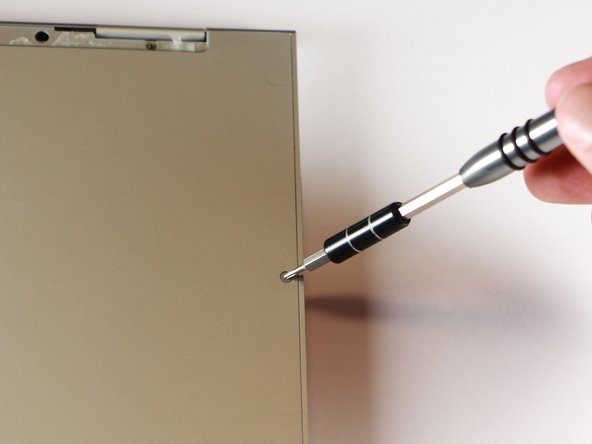
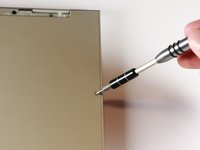
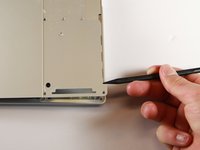
Use the iFixit opening tools or a metal spudger to pry the rubber covers off the back of your Pixelbook.
-
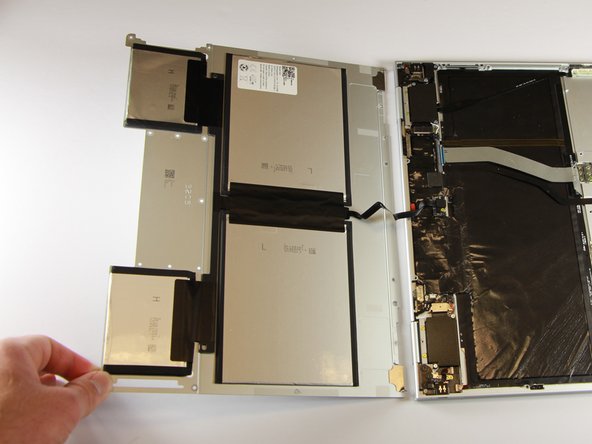
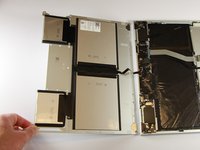
Peel the linings off completely until the back of the Pixelbook looks bare.
-
-
-
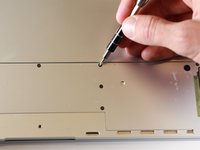
Remove the seventeen 3.0mm T5 Torx screws from the bottom panel.
Just a heads up on “Step 3”: (not sure if maybe mine is a newer model since I just got it about a week ago) But there are only 15 of the T5 Screws on mine… Not 17. There are only 2, instead of 4, screws at the top of the picture (located at the hinge) showing the back where they are all circled.
I had the same experience as Jeff.
-
-
-
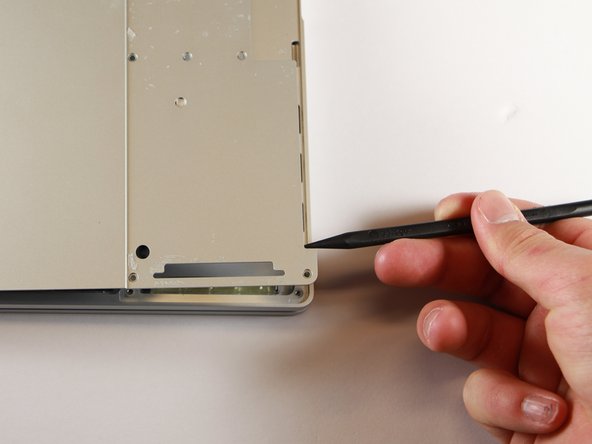
Remove the yellow 2.0mm screw from the middle of the panel by using the T3 Torx screwdriver to turn the screw counterclockwise.
For me, these were T4 and not T3 screws (everything labelled T3 was a T4 for me).
-
-
-
-
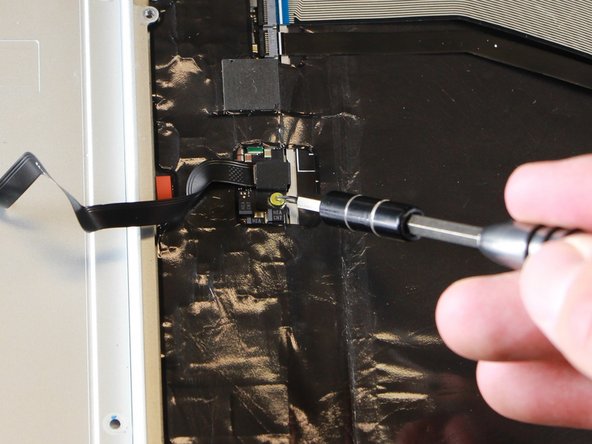
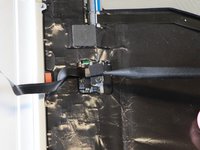
Remove the small, black casing by using the spudger to lift it up from its place.
Does anyone know if I can get the cable shown in this image as its own part? It is the only thing wrong with my machine and I don't want to fork out £70 for an entire new battery and cable.
-
-
-
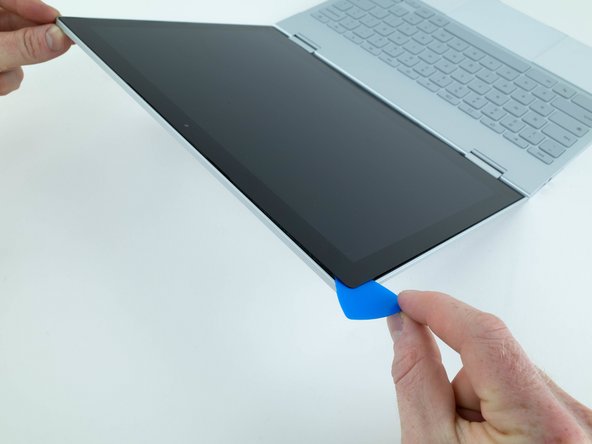
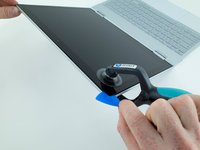
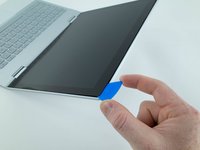
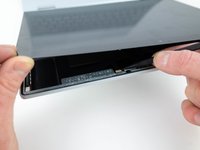
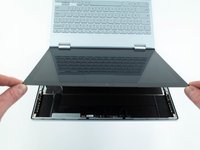
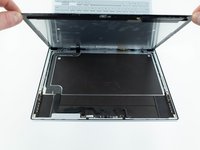
Use an iSclack, or suction cup, to lift up the corner of the display from the case.
-
-
-
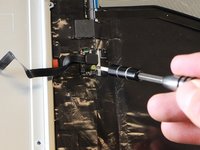
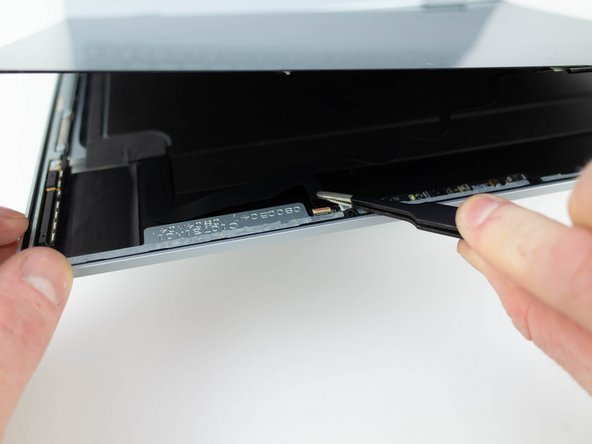
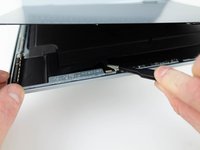
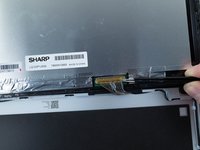
Use the pointed end of a spudger to flip up the small locking flap on the ZIF connector.
-
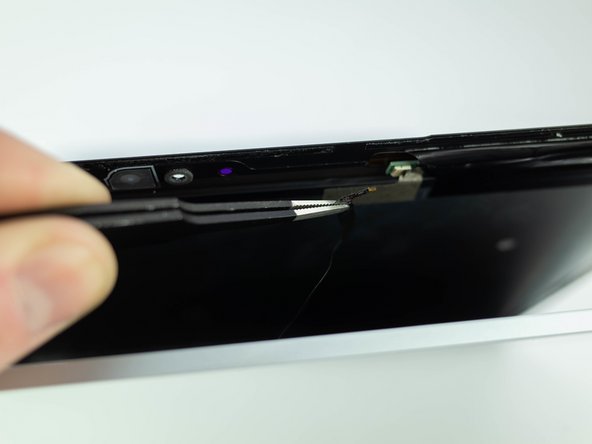
Remove the display ribbon cable from the socket.
The text is misleading for this step- you're really just peeling back the cushy adhesive and pulling out the ribbon cable. The pictures are accurate.
-
-
Ferramenta utilizada neste passo:Tweezers$4.99
-
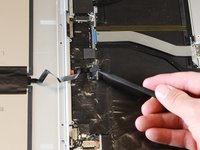
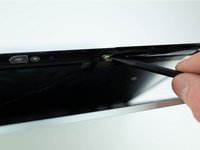
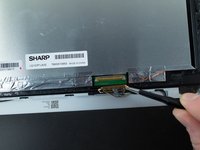
Use a pair of tweezers to grab the clip on the display connector and swing it over to the other side of the socket.
-
Pull on the clip to disconnect the display.
-
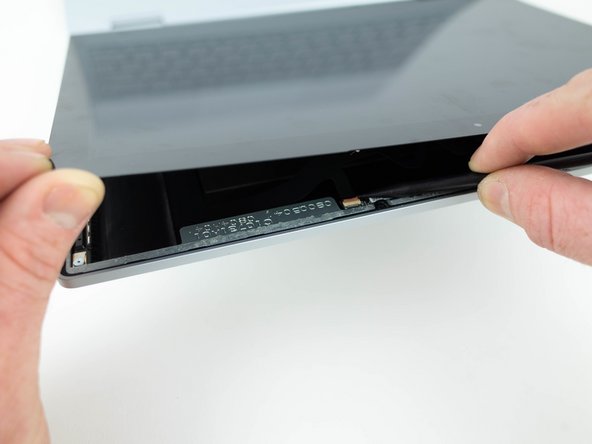
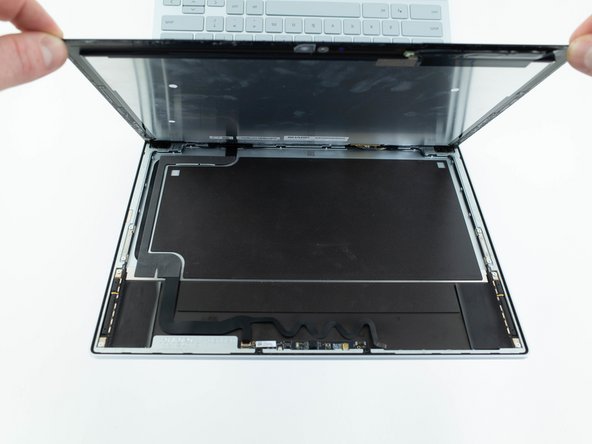
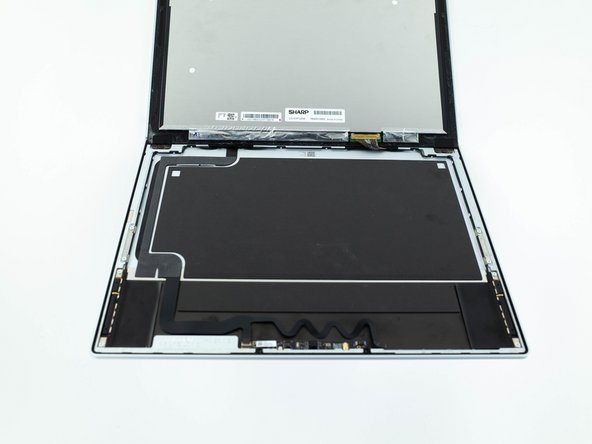
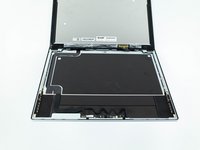
Remove the display.
-


To reassemble your device, follow these instructions in reverse order.
To reassemble your device, follow these instructions in reverse order.
Cancelar: não concluí este guia.
11 outras pessoas executaram este guia.

9 comentários
Where would you find a replacement display?
Is there a way to remove the entire screen assembly portion (lid) and replace it? I have two broken pixelbooks and I’d like to make a working one.
Still waiting for a display replacement. link.
Found a full-lid assembly replacement on eBay, but no instructions. Should be easier than this, but I'm not sure without instructions. Any ideas? (Actually rented my life, so a full replacement is really great)
Not very useful when the only replacement screens I can find are culls from dead Pixelbooks on eBay :-(
After using the spurger to start lifting the rubber like cover at a corner, a two inch wide paint scrapper proved to be an easy way to continue. Using the scrapper at roughly a 30 degree angle (with respect to the laptop rectangle) allowed progressive lifting of the cover. Ripping of the cover tended to occur if only the narrow spurger was used.
Marvin Stodolsky - Responder
Please i need to buy the motherboard
This my email chikaubah33@yahoo.com
chika ubah - Responder
The narrow rubber foot at the base of the display is supported by bendable metal. Be careful how evenly you remove it as uneven motions will result in a more bent and harder to re-apply piece.
Meta Data - Responder