Introdução
If for some reason, your screen is dysfunctional, you can replace it. Since it is near the bottom of the camera, it is not easy to replace. Grab your screwdrivers and tweezers and let's go!
O que você precisa
-
-
Unclip the black latch to the camera case and open the case.
 Pergunte ao FixBot
-
-
-
Gently pry the back open by inserting a metal spudger between the case and back panel.
-
-
-
Disconnect the battery from the motherboard by unplugging the red, white, and black wires from the white adapter.
-
-
-
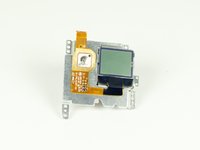
Disconnect the ribbon cable from the lens by lifting the black latch and gently pulling the ribbon cable from the socket.
-
-
-
-
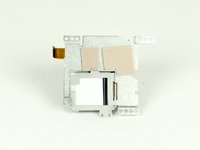
Use a Phillips screwdriver (PH000) to remove the four screws around the white plastic piece.
-
-
-
Carefully remove the motherboard and white plastic piece from the case.
-
-
-
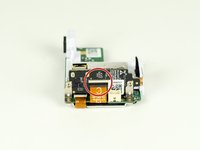
Remove the larger ribbon cable from the daughter board by lifting the black latch and pulling the ribbon cable gently from the socket.
-
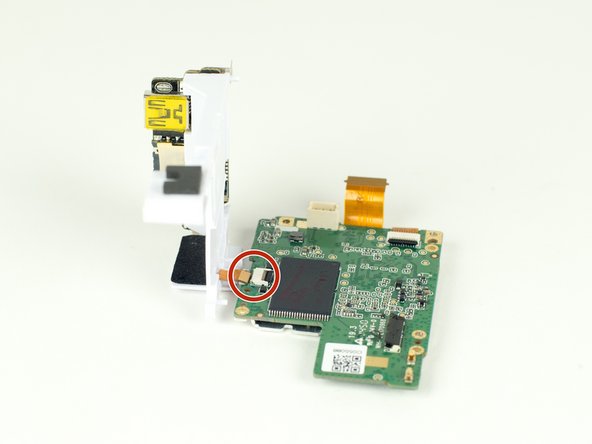
Disconnect the smaller ribbon cable leading from the white plastic piece by simply pulling it from the socket.
-
-
-
Remove the ribbon cable from the motherboard by simply pulling the cable from the socket.
-


To reassemble your device, follow these instructions in reverse order.
Cancelar: não concluí este guia.
6 outras pessoas executaram este guia.
Equipe

Cal Poly, Team 12-2, Lancaster Spring 2015 Membro de Cal Poly, Team 12-2, Lancaster Spring 2015
CPSU-LANCASTER-S15S12G2
4 Membros
Autoria de 18 guias
3Comentários do guia
Where do you buy the replacement lcd
Gopro hero 7 white repair cost:
Screen: $45 - https://www.ebay.com.au/itm/183828969944
Side panel: $35 - https://www.herogear.com.au/genuine-repl...
I can find the screen but is it compatible with the Hero+