Ir para o conteúdo principal
Participe da comunidade de reparos - Criar conta

GoPro Hero 3 Silver Motherboard Replacement

O que você precisa

    1. GoPro Hero 3 Silver Motherboard Replacement, Battery: passo 1, imagem 1 %32 GoPro Hero 3 Silver Motherboard Replacement, Battery: passo 1, imagem 2 %32
      • Pull back on the tab on the back of GoPro to open the battery cover.

      Pergunte ao FixBot

      Comentar

    2. GoPro Hero 3 Silver Motherboard Replacement: passo 2, imagem 1 %32
      • Pull the battery out using the tab.

      Pergunte ao FixBot

      Comentar

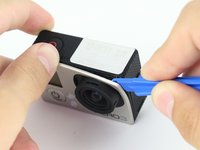
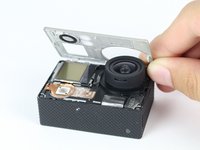
    1. GoPro Hero 3 Silver Motherboard Replacement, Motherboard: passo 3, imagem 1 %32 GoPro Hero 3 Silver Motherboard Replacement, Motherboard: passo 3, imagem 2 %32
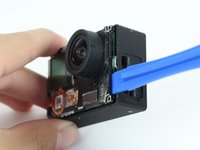
      • Use the plastic opening tool to remove the faceplate.

      • There is some adhesive and clips so be careful and the faceplate should pop right off.

      Pergunte ao FixBot

      Comentar

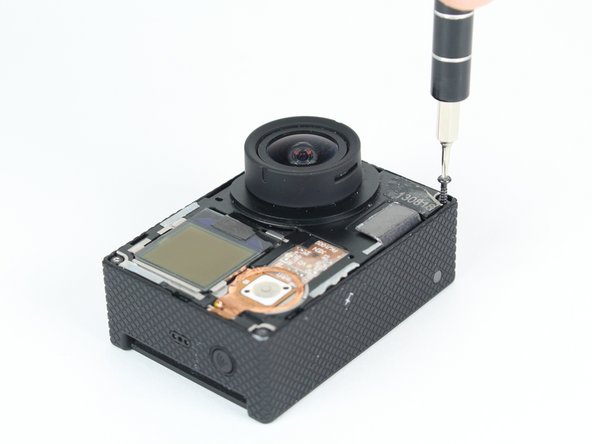
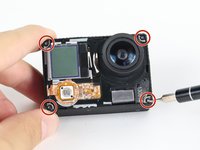
    2. GoPro Hero 3 Silver Motherboard Replacement: passo 4, imagem 1 %32 GoPro Hero 3 Silver Motherboard Replacement: passo 4, imagem 2 %32
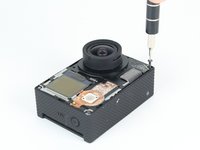
      • Now that the faceplate is off, it is time to remove the 4 screws on each corner.

      • Use the T4 tool bit from the iFixit toolkit in order to remove the 4 screws on each corner.

      Pergunte ao FixBot

      Comentar

    3. GoPro Hero 3 Silver Motherboard Replacement: passo 5, imagem 1 %32 GoPro Hero 3 Silver Motherboard Replacement: passo 5, imagem 2 %32
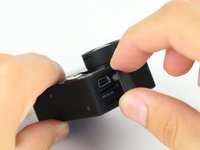
      • Note: Make sure you remove the door cover of the USB, mini HDMI, and SD port before. Separating the motherboard will be easier.

      • Using the plastic opening tool, slowly pry open the motherboard assembly.

      Pergunte ao FixBot

      Comentar

    4. GoPro Hero 3 Silver Motherboard Replacement: passo 6, imagem 1 %32 GoPro Hero 3 Silver Motherboard Replacement: passo 6, imagem 2 %32
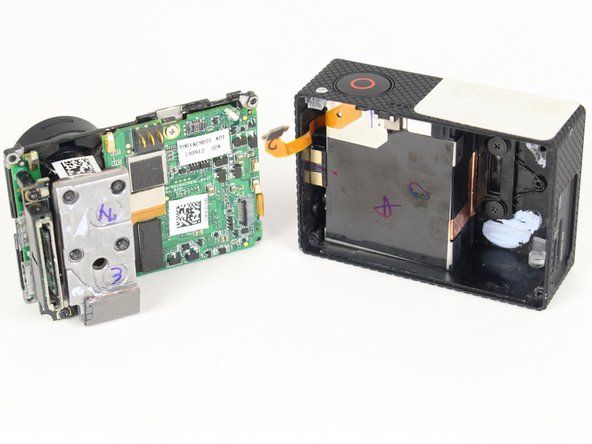
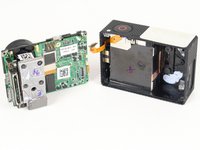
      • Use the spudger to gently pry off the connector of the housing to the motherboard.

      • You should now have the motherboard assembly and the housing separated.

      Pergunte ao FixBot

      Comentar

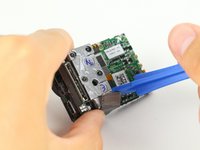
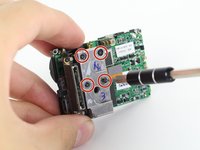
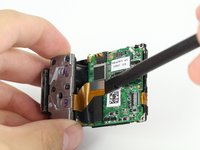
    5. GoPro Hero 3 Silver Motherboard Replacement: passo 7, imagem 1 %32 GoPro Hero 3 Silver Motherboard Replacement: passo 7, imagem 2 %32 GoPro Hero 3 Silver Motherboard Replacement: passo 7, imagem 3 %32
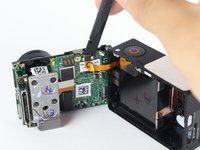
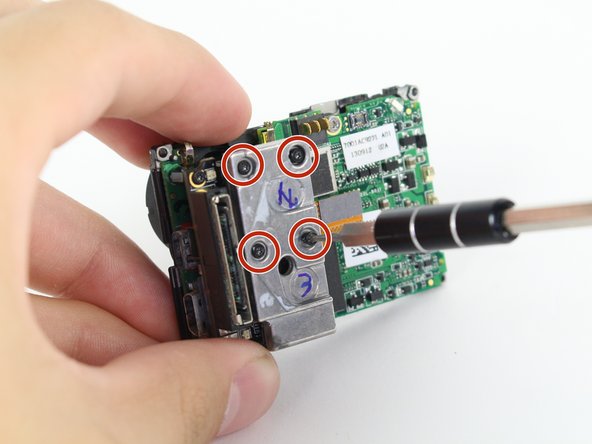
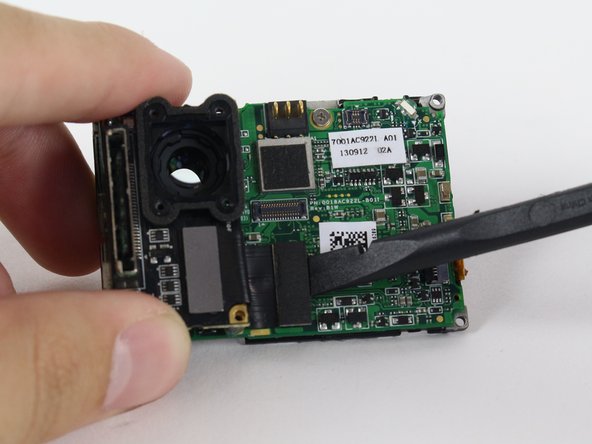
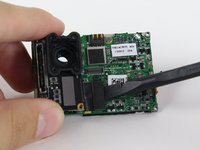
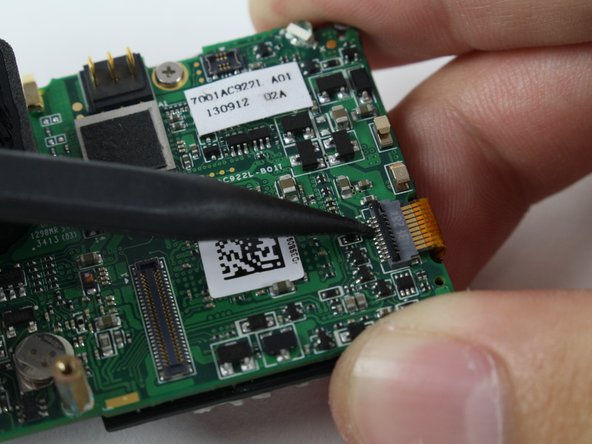
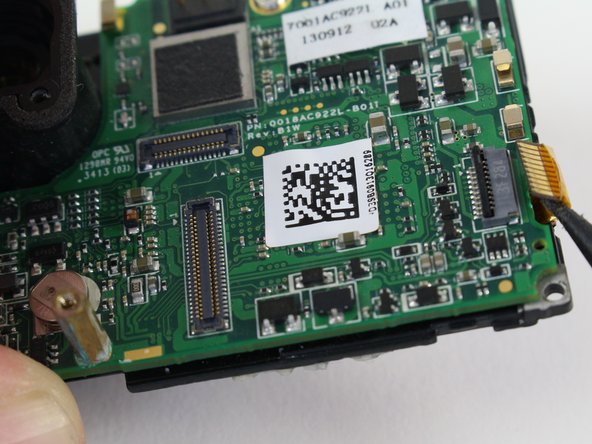
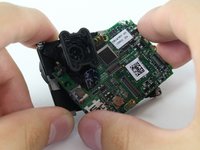
      • Use the spudger to remove the heat shield tape and detach the image sensor from the motherboard.

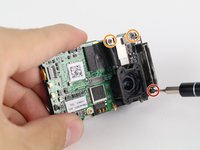
      • Using the T4 Torx toolbit, remove the 4 screws that connect the sensor to the lens.

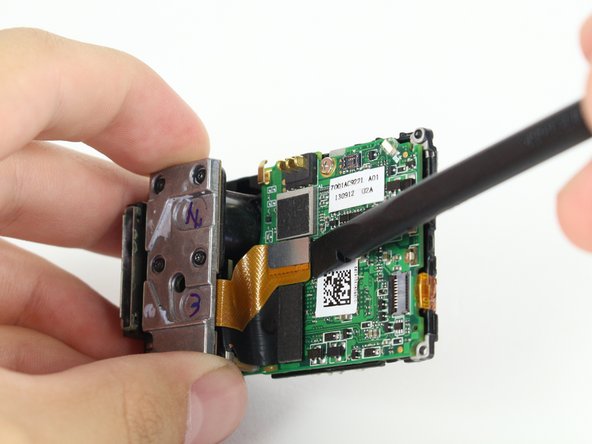
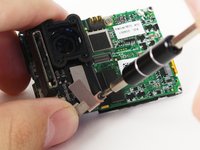
      • Remove the silver connector of the image sensor from the motherboard using the spudger to pry it off.

      Pergunte ao FixBot

      Comentar

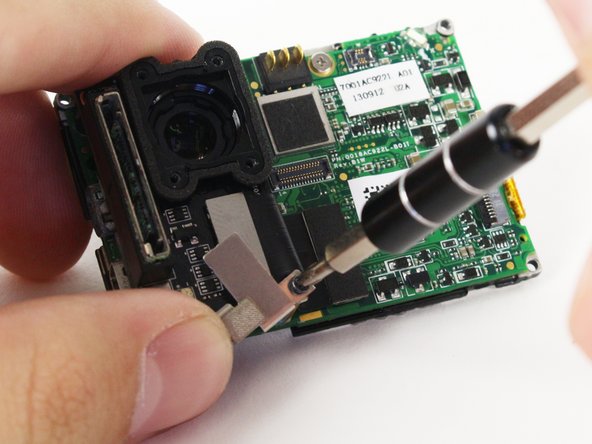
    6. GoPro Hero 3 Silver Motherboard Replacement: passo 8, imagem 1 %32 GoPro Hero 3 Silver Motherboard Replacement: passo 8, imagem 2 %32 GoPro Hero 3 Silver Motherboard Replacement: passo 8, imagem 3 %32
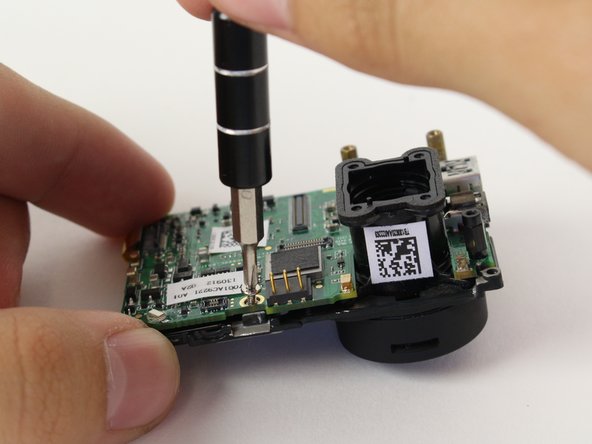
      • The media adapter is attached to the motherboard via 3 screws:

      • x1 T4 Torx

      • x2 Phillips #00

      • There's a little silver bracket that is held down by the Phillips #00 screw so be careful not to lose it.

      • With a little prying, use the spudger to detach the media adapter's connector from the motherboard.

      Pergunte ao FixBot

      Comentar

    7. GoPro Hero 3 Silver Motherboard Replacement: passo 9, imagem 1 %32 GoPro Hero 3 Silver Motherboard Replacement: passo 9, imagem 2 %32 GoPro Hero 3 Silver Motherboard Replacement: passo 9, imagem 3 %32
      • Use the spudger to lift the black tab up to unlock.

      • Then remove LCD screen connector by sliding out.

      Pergunte ao FixBot

      Comentar

    8. GoPro Hero 3 Silver Motherboard Replacement: passo 10, imagem 1 %32 GoPro Hero 3 Silver Motherboard Replacement: passo 10, imagem 2 %32 GoPro Hero 3 Silver Motherboard Replacement: passo 10, imagem 3 %32
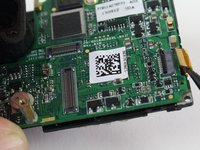
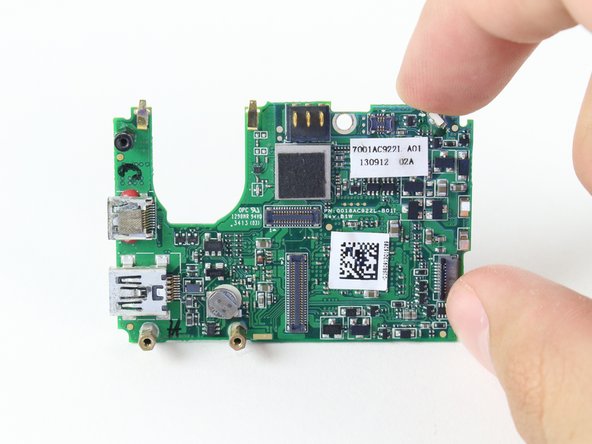
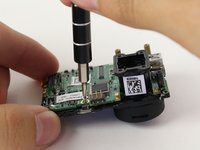
      • Using the Phillips head bit, remove the silver screw near the top edge of the board.

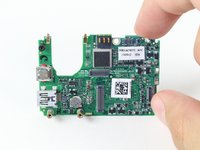
      • Separate the LCD assembly by pulling it away. You should have the bare motherboard!

      Pergunte ao FixBot

      Comentar

Conclusão

To reassemble your device, follow these instructions in reverse order.

Cancelar: não concluí este guia.

16 outras pessoas executaram este guia.

Brian Alvarez

Membro desde: 04/02/15

1.439 Reputação

Autoria de 6 guias

Equipe

Cal Poly, Team 24-7, Lancaster Spring 2015 Membro de Cal Poly, Team 24-7, Lancaster Spring 2015

CPSU-LANCASTER-S15S24G7

3 Membros

Autoria de 21 guias

0Comentários do guia

Comentar

Visualizações:

Últimas 24 horas: 2

Últimos 7 dias: 13

Últimos 30 dias: 58

Ao todo: 9,268