Ir para o conteúdo principal
Participe da comunidade de reparos - Criar conta

GoPro Hero 3 Silver LCD Housing Replacement

O que você precisa

    1. GoPro Hero 3 Silver LCD Housing Replacement, Battery: passo 1, imagem 1 %32 GoPro Hero 3 Silver LCD Housing Replacement, Battery: passo 1, imagem 2 %32
      • Pull back on the tab on the back of GoPro to open the battery cover.

      Pergunte ao FixBot

      Comentar

    2. GoPro Hero 3 Silver LCD Housing Replacement: passo 2, imagem 1 %32
      • Pull the battery out using the tab.

      Pergunte ao FixBot

      Comentar

    1. GoPro Hero 3 Silver LCD Housing Replacement, LCD Housing: passo 3, imagem 1 %32 GoPro Hero 3 Silver LCD Housing Replacement, LCD Housing: passo 3, imagem 2 %32
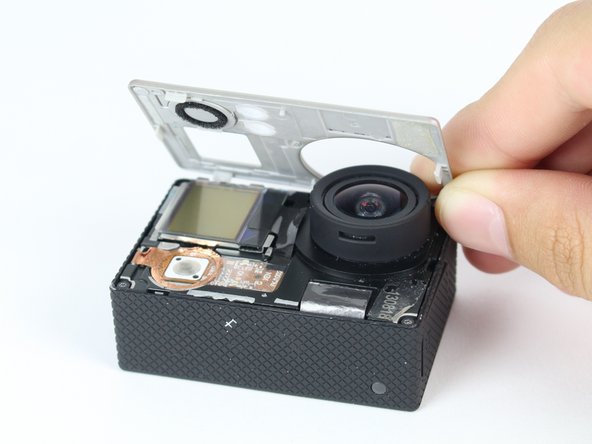
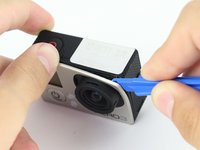
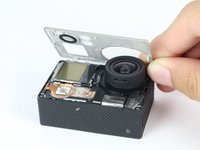
      • Use the plastic opening tool to remove the faceplate.

      • There is some adhesive and clips so be careful and the faceplate should pop right off.

      Pergunte ao FixBot

      Comentar

    2. GoPro Hero 3 Silver LCD Housing Replacement: passo 4, imagem 1 %32 GoPro Hero 3 Silver LCD Housing Replacement: passo 4, imagem 2 %32
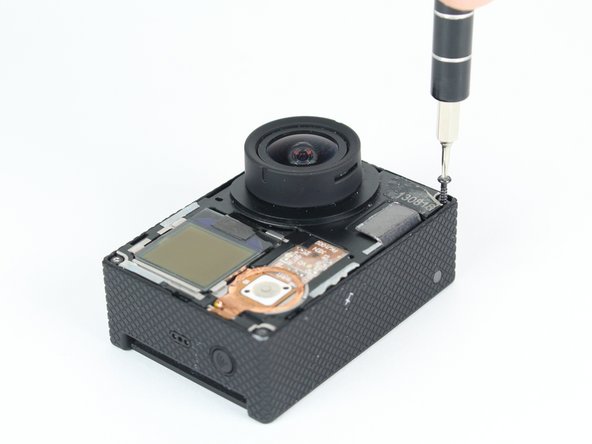
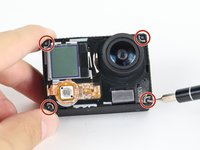
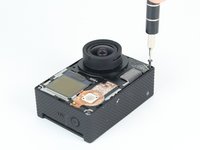
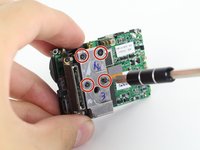
      • Now that the faceplate is off, it is time to remove the 4 screws on each corner.

      • Use the T4 tool bit from the iFixit toolkit in order to remove the 4 screws on each corner.

      Pergunte ao FixBot

      Comentar

    3. GoPro Hero 3 Silver LCD Housing Replacement: passo 5, imagem 1 %32 GoPro Hero 3 Silver LCD Housing Replacement: passo 5, imagem 2 %32
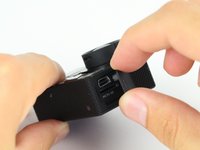
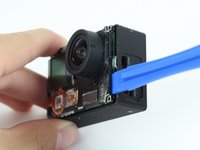
      • Note: Make sure you remove the door cover of the USB, mini HDMI, and SD port before. Separating the motherboard will be easier.

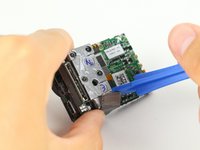
      • Using the plastic opening tool, slowly pry open the motherboard assembly.

      Pergunte ao FixBot

      Comentar

    4. GoPro Hero 3 Silver LCD Housing Replacement: passo 6, imagem 1 %32 GoPro Hero 3 Silver LCD Housing Replacement: passo 6, imagem 2 %32
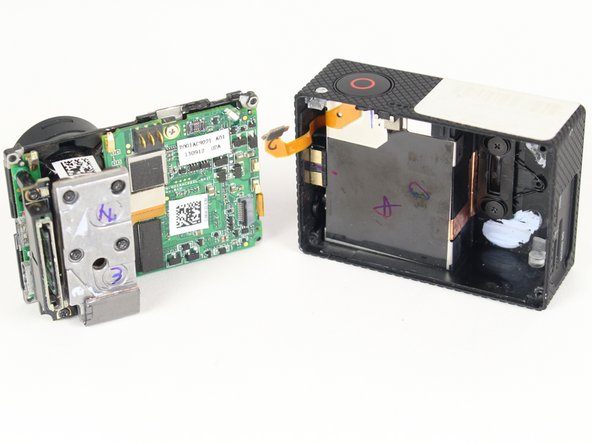
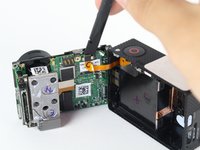
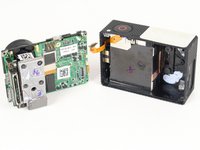
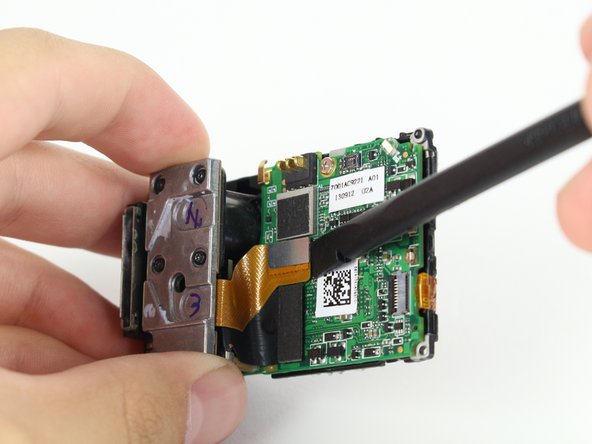
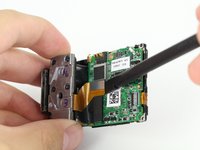
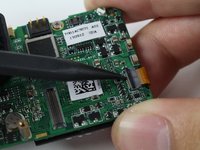
      • Use the spudger to gently pry off the connector of the housing to the motherboard.

      • You should now have the motherboard assembly and the housing separated.

      Pergunte ao FixBot

      Comentar

    5. GoPro Hero 3 Silver LCD Housing Replacement: passo 7, imagem 1 %32 GoPro Hero 3 Silver LCD Housing Replacement: passo 7, imagem 2 %32 GoPro Hero 3 Silver LCD Housing Replacement: passo 7, imagem 3 %32
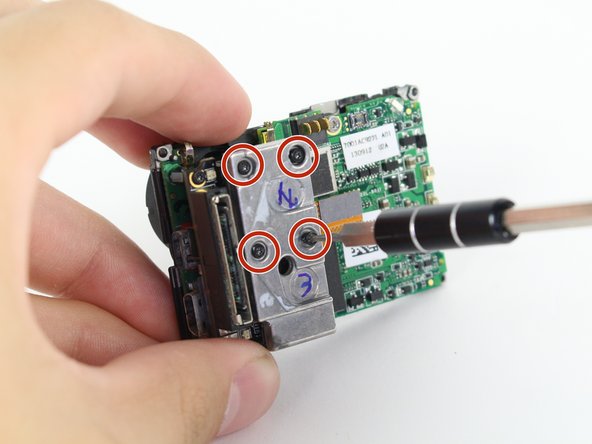
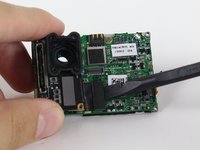
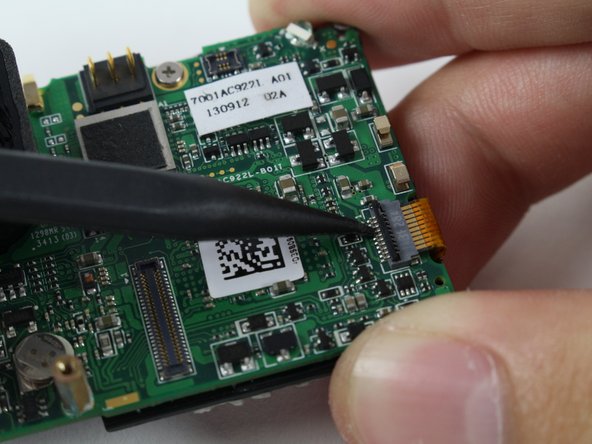
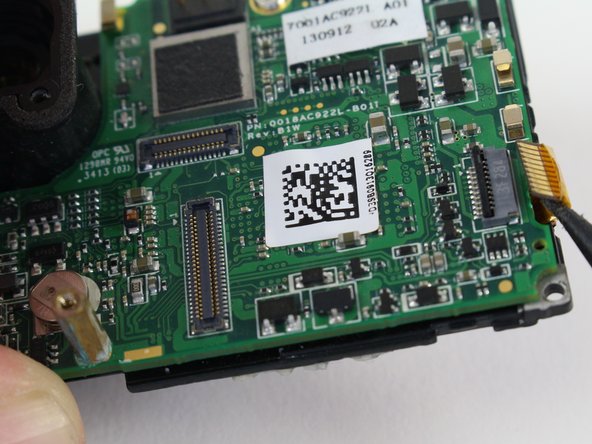
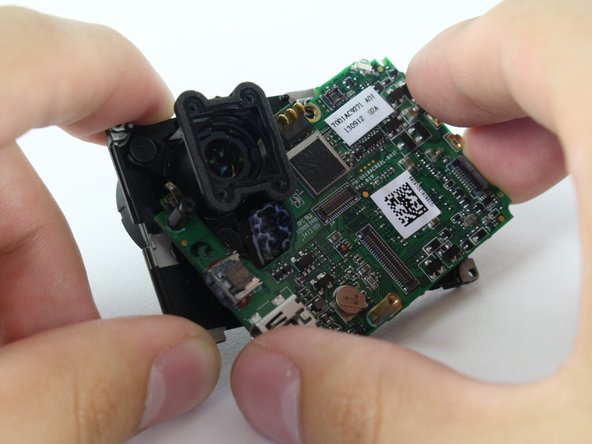
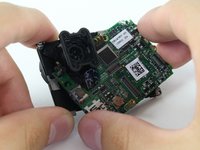
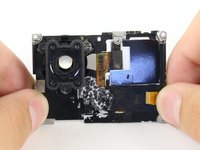
      • Use the spudger to remove the heat shield tape and detach the image sensor from the motherboard.

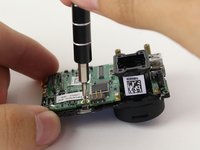
      • Using the T4 Torx toolbit, remove the 4 screws that connect the sensor to the lens.

      • Remove the silver connector of the image sensor from the motherboard using the spudger to pry it off.

      Pergunte ao FixBot

      Comentar

    6. GoPro Hero 3 Silver LCD Housing Replacement: passo 8, imagem 1 %32 GoPro Hero 3 Silver LCD Housing Replacement: passo 8, imagem 2 %32 GoPro Hero 3 Silver LCD Housing Replacement: passo 8, imagem 3 %32
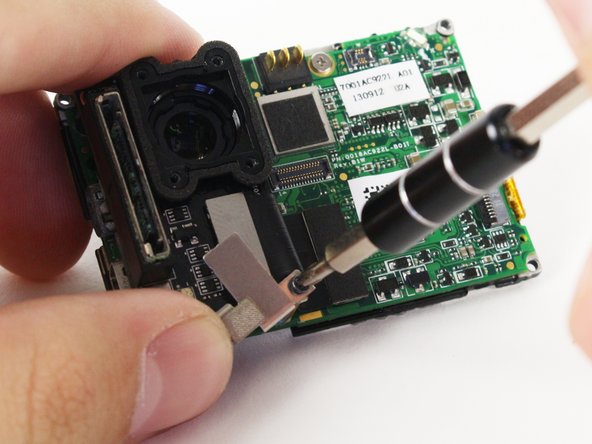
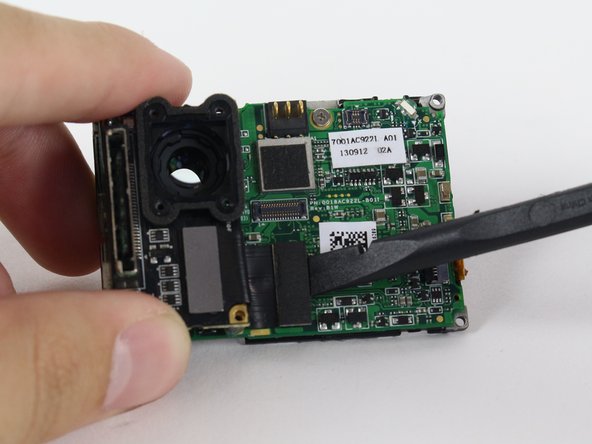
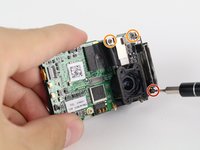
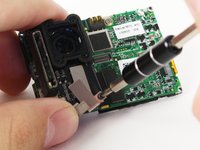
      • The media adapter is attached to the motherboard via 3 screws:

      • x1 T4 Torx

      • x2 Phillips #00

      • There's a little silver bracket that is held down by the Phillips #00 screw so be careful not to lose it.

      • With a little prying, use the spudger to detach the media adapter's connector from the motherboard.

      Pergunte ao FixBot

      Comentar

    7. GoPro Hero 3 Silver LCD Housing Replacement: passo 9, imagem 1 %32 GoPro Hero 3 Silver LCD Housing Replacement: passo 9, imagem 2 %32 GoPro Hero 3 Silver LCD Housing Replacement: passo 9, imagem 3 %32
      • Use the spudger to lift the black tab up to unlock.

      • Then remove LCD screen connector by sliding out.

      Pergunte ao FixBot

      Comentar

    8. GoPro Hero 3 Silver LCD Housing Replacement: passo 10, imagem 1 %32 GoPro Hero 3 Silver LCD Housing Replacement: passo 10, imagem 2 %32 GoPro Hero 3 Silver LCD Housing Replacement: passo 10, imagem 3 %32
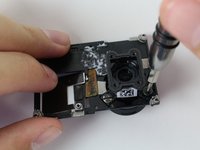
      • Using the Phillips head bit, remove the silver screw near the the top edge of the board.

      • Separate the LCD assembly by pulling away the motherboard.

      Pergunte ao FixBot

      Comentar

    9. GoPro Hero 3 Silver LCD Housing Replacement: passo 11, imagem 1 %32 GoPro Hero 3 Silver LCD Housing Replacement: passo 11, imagem 2 %32
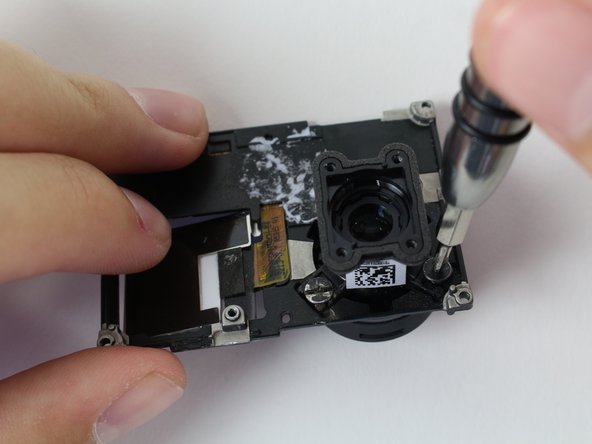
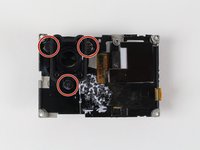
      • There are 3 Phillips #00 screws holding the lens onto the LCD housing that need to be removed.

      • Our screw on the top right is stripped, which is why it looks different. However, they will all look the same in your device.

      Pergunte ao FixBot

      Comentar

    10. GoPro Hero 3 Silver LCD Housing Replacement: passo 12, imagem 1 %32 GoPro Hero 3 Silver LCD Housing Replacement: passo 12, imagem 2 %32
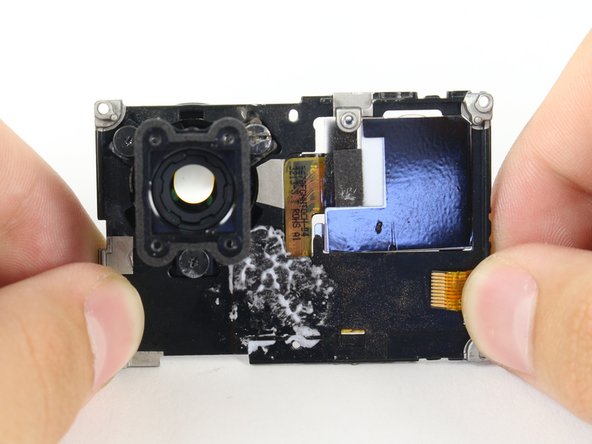
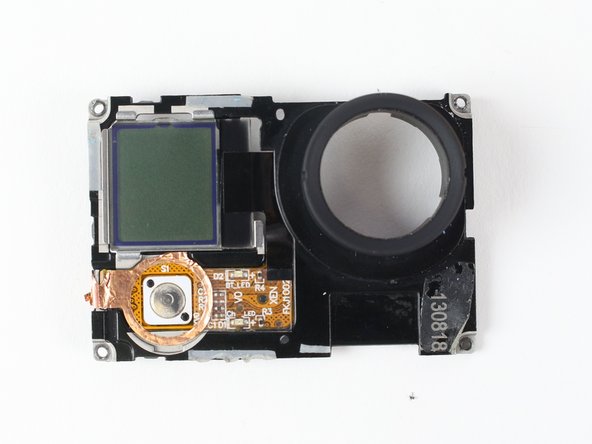
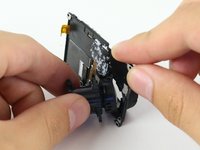
      • Carefully remove the camera lens from the LCD Housing.

      • Now you have the LCD housing removed!

      Pergunte ao FixBot

      Comentar

Conclusão

To reassemble your device, follow these instructions in reverse order.

Cancelar: não concluí este guia.

5 outras pessoas executaram este guia.

Brian Alvarez

Membro desde: 04/02/15

1.439 Reputação

Autoria de 6 guias

Equipe

Cal Poly, Team 24-7, Lancaster Spring 2015 Membro de Cal Poly, Team 24-7, Lancaster Spring 2015

CPSU-LANCASTER-S15S24G7

3 Membros

Autoria de 21 guias

1Comentário do guia

Excellent walkthrough. Thank you Brian!

Nick Goulet - Responder Compartilhar
Comentar

Visualizações:

Últimas 24 horas: 1

Últimos 7 dias: 6

Últimos 30 dias: 37

Ao todo: 9,521