Ir para o conteúdo principal
Participe da comunidade de reparos - Criar conta

General Electric Create Jason Wu Casing Disassembly

O que você precisa

  1. General Electric Create Jason Wu Casing Disassembly, General Electric Create Jason Wu Casing Disassembly: passo 1, imagem 1 %32 General Electric Create Jason Wu Casing Disassembly, General Electric Create Jason Wu Casing Disassembly: passo 1, imagem 2 %32 General Electric Create Jason Wu Casing Disassembly, General Electric Create Jason Wu Casing Disassembly: passo 1, imagem 3 %32
    • Begin by removing the 5 screws (located: 2 screws on either side and 1 screw on the bottom) using the PH000 head in the Precision Phillips Screwdriver.

    • These screws were missing in our example. These screws should have been small Phillips PH000 screws 1.5mm in length.

    • These screws are very small. To keep from losing any pieces, place all small metals on a magnetic project mat.

    Pergunte ao FixBot
  2. General Electric Create Jason Wu Casing Disassembly: passo 2, imagem 1 %32 General Electric Create Jason Wu Casing Disassembly: passo 2, imagem 2 %32
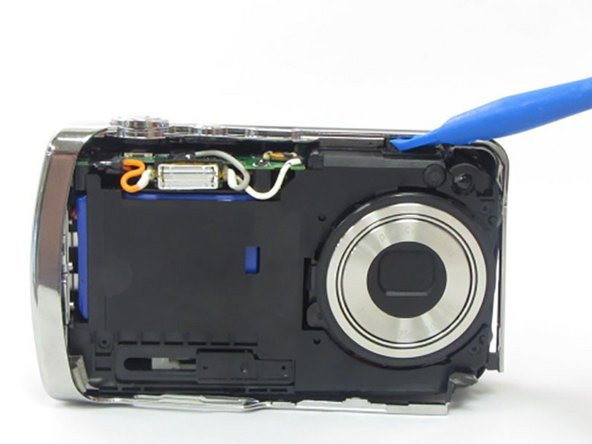
    • After the screws are removed, pull the front casing up and away from the camera.

    • If the casing is difficult to remove, use a plastic opening tool to gently pry up on the front as shown.

    Pergunte ao FixBot
  3. General Electric Create Jason Wu Casing Disassembly: passo 3, imagem 1 %32 General Electric Create Jason Wu Casing Disassembly: passo 3, imagem 2 %32 General Electric Create Jason Wu Casing Disassembly: passo 3, imagem 3 %32
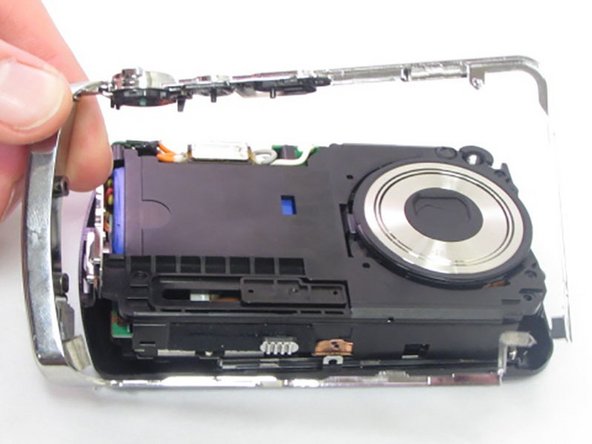
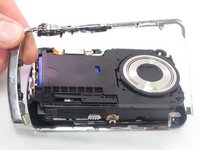
    • Using your hands or an opening tool, pry off the silver frame, taking special care at the top of the camera where the buttons are as it is a little harder to pry off.

    • If the back casing is loose from the camera body, it may be easier to perform step 4 first, then accomplish this step. Proceed as your unit allows.

    Pergunte ao FixBot
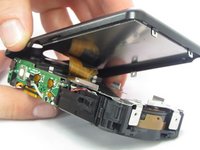
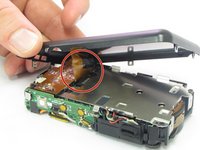
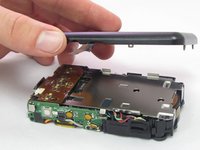
  4. General Electric Create Jason Wu Casing Disassembly: passo 4, imagem 1 %32 General Electric Create Jason Wu Casing Disassembly: passo 4, imagem 2 %32 General Electric Create Jason Wu Casing Disassembly: passo 4, imagem 3 %32
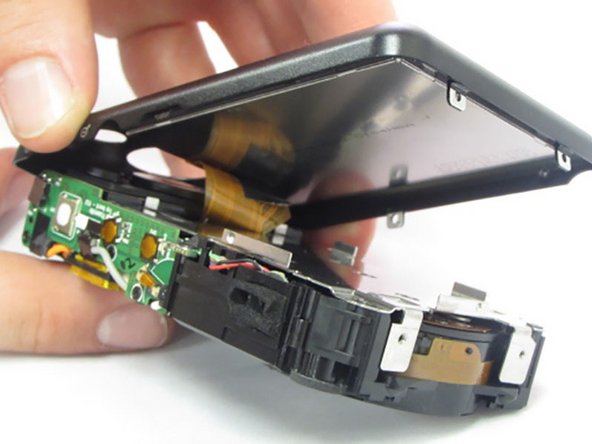
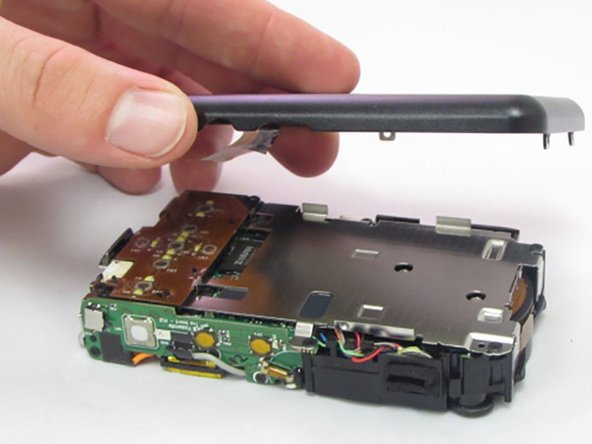
    • The last part of the casing to disconnect is the back that houses the LCD screen.

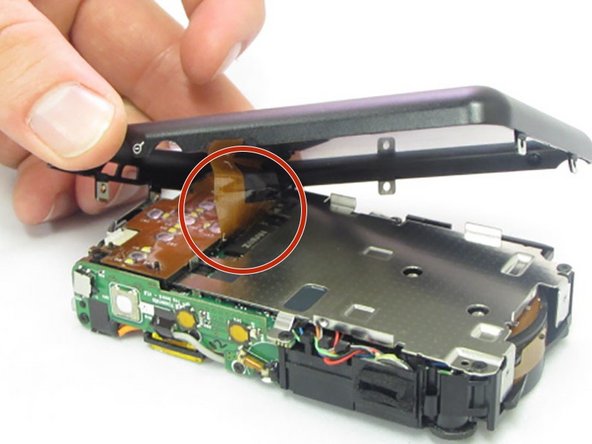
    • The screen is attached by a connection ribbon. Gently pull the casing and screen away from the camera body to disconnect the casing.

    • The LCD screen is held onto the back casing by a small amount of adhesive. This may come loose during this process. Do not worry if they become separated.

    • This plug and the connection ribbon are fragile, try not to tear the connection ribbon when disconnecting.

    Pergunte ao FixBot
Conclusão

To reassemble your device, follow these instructions in reverse order.

2 outras pessoas executaram este guia.

0Comentários do guia

Comentar

Visualizações:

Últimas 24 horas: 2

Últimos 7 dias: 9

Últimos 30 dias: 43

Ao todo: 506