Introdução
The motor is one of the most important parts in the RC car as it turns the car's wheels. If your car's wheels are not turning, you can follow these steps to replace the motor.
Note: This guide will involve soldering. For information on how to solder, please visit iFixit's Soldering Skills page.
O que você precisa
-
-
Remove the 5mm Phillips #0 screw from the bottom of the car, located between the rear wheels.
-
Gently lift the battery cover from the car to expose the batteries.
-
-
-
Flip the car over and remove the four 5mm Phillips #0 screws that hold the shell to the car chassis.
-
-
-
Flip the car over again to its upright position and vertically lift the shell from the car.
-
-
-
-
Unscrew and remove the 5mm Phillips #0 screw located at the center of the wheel while holding the wheel still.
-
Slide the wheel off of the axle.
-
Repeat the previous steps for the other rear wheel.
-
-
-
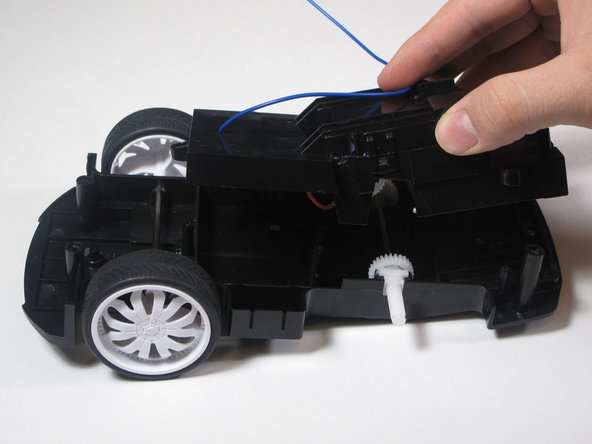
Remove the eight 5mm Phillips #0 screws located on the top of the motor/circuit board enclosure.
-
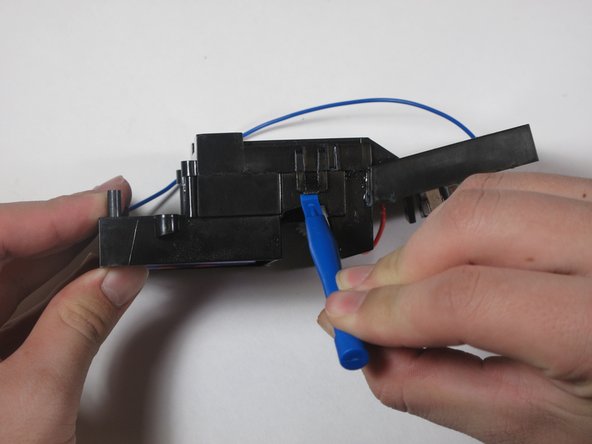
Vertically lift the motor/circuit board enclosure from the car chassis.
-
-
-
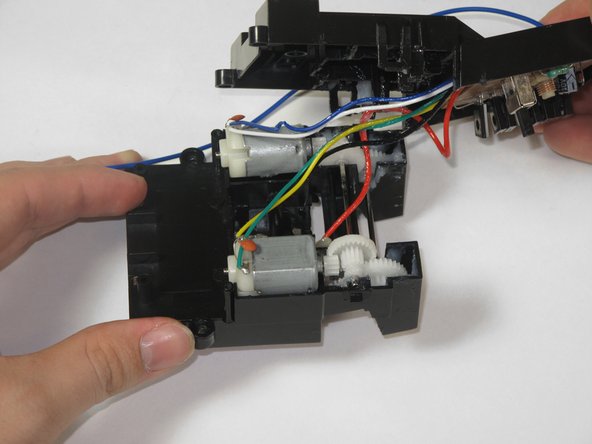
Using the copper solder wick, remove the solder from the two wires at the points where they connect to the motor.
-


To reassemble your device, follow these instructions in reverse order.
To reassemble your device, follow these instructions in reverse order.
Cancelar: não concluí este guia.
Uma outra pessoa concluiu este guia.
Equipe

Cal Poly, Team 8-38, Amido Winter 2015 Membro de Cal Poly, Team 8-38, Amido Winter 2015
CPSU-AMIDO-W15S8G38
Membros da 4
Autoria de 8 guias