Ir para o conteúdo principal

Garmin inReach Explorer Plus Antenna Replacement

O que você precisa

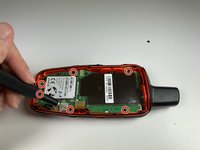
  1. Garmin inReach Explorer Plus Antenna Replacement, Battery: passo 1, imagem 1 %32
    • Using the TR6 Torx Security screwdriver, remove six 10 mm screws from the back cover of the device.

  2. Garmin inReach Explorer Plus Antenna Replacement: passo 2, imagem 1 %32
    • Remove the back cover.

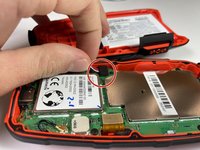
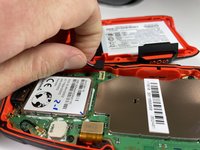
  3. Garmin inReach Explorer Plus Antenna Replacement: passo 3, imagem 1 %32 Garmin inReach Explorer Plus Antenna Replacement: passo 3, imagem 2 %32
    • Gently grasp the battery wire and disconnect it from the device.

    • Remove the battery from the device.

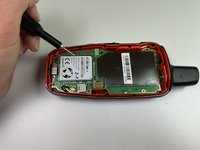
  4. Garmin inReach Explorer Plus Antenna Replacement, Motherboard: passo 4, imagem 1 %32 Garmin inReach Explorer Plus Antenna Replacement, Motherboard: passo 4, imagem 2 %32
    • Using the T5 Torx screwdriver, remove the six 6 mm screws from the motherboard.

  5. Garmin inReach Explorer Plus Antenna Replacement: passo 5, imagem 1 %32 Garmin inReach Explorer Plus Antenna Replacement: passo 5, imagem 2 %32
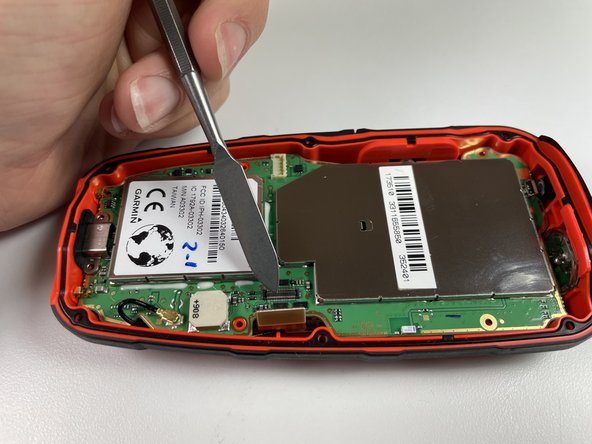
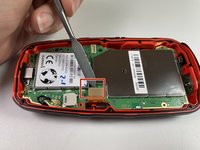
    • Disconnect the LCD screen from the motherboard by lifting on the flap with the nylon spudger.

    • The metal spudger should only be used for serious prying power. If used incorrectly, the metal spudger may damage the components of a device.

  6. Garmin inReach Explorer Plus Antenna Replacement: passo 6, imagem 1 %32 Garmin inReach Explorer Plus Antenna Replacement: passo 6, imagem 2 %32
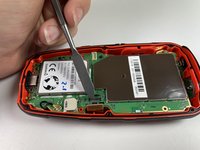
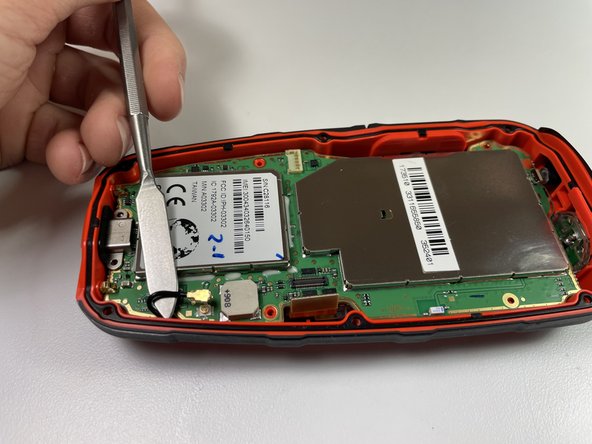
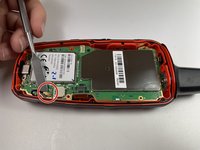
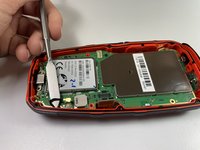
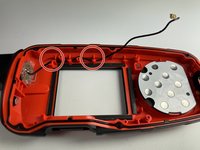
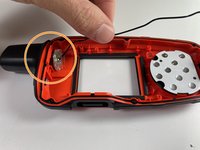
    • Disconnect the antenna from the motherboard by lifting the wire with a nylon spudger.

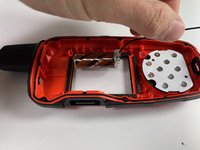
  7. Garmin inReach Explorer Plus Antenna Replacement: passo 7, imagem 1 %32 Garmin inReach Explorer Plus Antenna Replacement: passo 7, imagem 2 %32 Garmin inReach Explorer Plus Antenna Replacement: passo 7, imagem 3 %32
    • Gently lift the motherboard up and out of the device.

  8. Garmin inReach Explorer Plus Antenna Replacement, LCD Screen: passo 8, imagem 1 %32 Garmin inReach Explorer Plus Antenna Replacement, LCD Screen: passo 8, imagem 2 %32
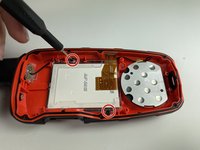
    • Using the T5 Torx screwdriver, remove the two 6 mm screws from the LCD screen.

  9. Garmin inReach Explorer Plus Antenna Replacement: passo 9, imagem 1 %32 Garmin inReach Explorer Plus Antenna Replacement: passo 9, imagem 2 %32 Garmin inReach Explorer Plus Antenna Replacement: passo 9, imagem 3 %32
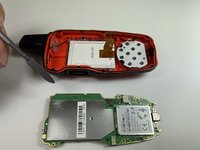
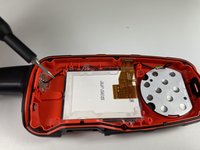
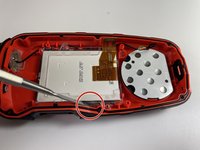
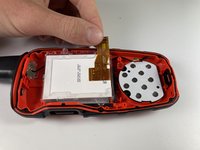
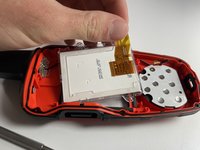
    • Use a nylon spudger to separate the LCD screen from the main body and remove the LCD screen.

    • The metal spudger should only be used for serious prying power. If used incorrectly, the metal spudger may damage the components of a device.

  10. Garmin inReach Explorer Plus Antenna Replacement, Antenna: passo 10, imagem 1 %32 Garmin inReach Explorer Plus Antenna Replacement, Antenna: passo 10, imagem 2 %32 Garmin inReach Explorer Plus Antenna Replacement, Antenna: passo 10, imagem 3 %32
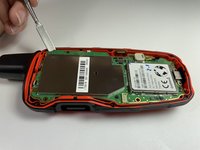
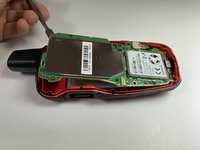
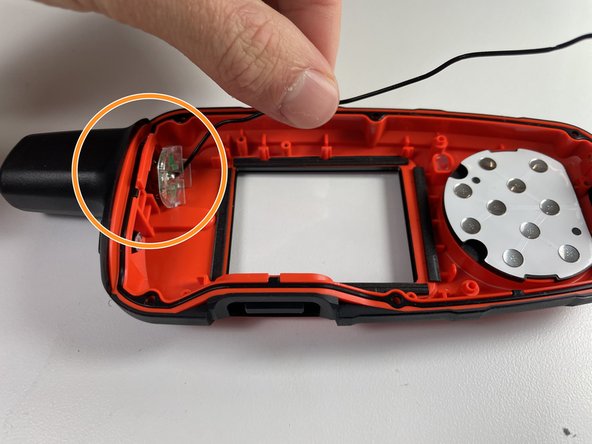
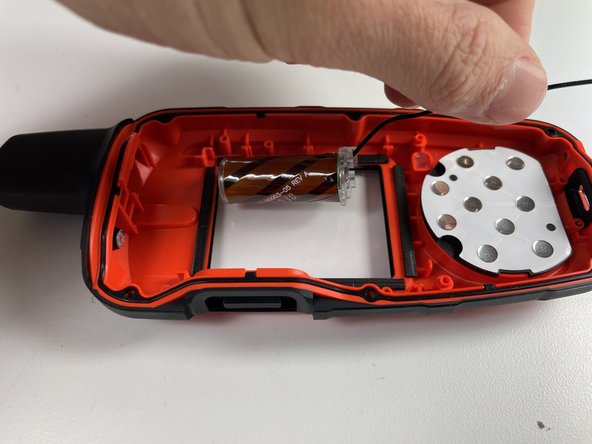
    • Gently pull out the antenna wire and remove the antenna from the device.

    • The antenna should now slide out easily. If the antenna is stuck, use the spudger to gently dislodge the antenna from its housing.

Conclusão

To reassemble your device, follow these instructions in reverse order.

Sean Kelley

Membro desde: 09/28/21

387 Reputação

Autoria de 4 guias

Equipe

Clemson, Team 5-4, Hunter Fall 2021 Membro de Clemson, Team 5-4, Hunter Fall 2021

CLEM-HUNTER-F21S5G4

Membros da 4

Autoria de 5 guias

0 comentários

Adicione um comentário

Exibir estatísticas:

Últimas 24 horas: 0

Últimos 7 dias: 1

Últimos 30 dias: 7

Duração total: 410