Introdução
The continual use of the Vivoactive power button and action key may lead to dysfunctional buttons. This problem can be solved with the replacement of the buttons themselves to ensure all components are working correctly.
O que você precisa
-
-
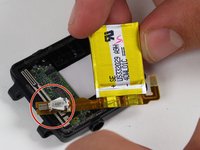
Hold the the metal screwdriver, with a T5 Torx bit, in your dominant hand.
-
Hold the rubber screwdriver, with a Hex T6 Torx bit, in your other hand.
-
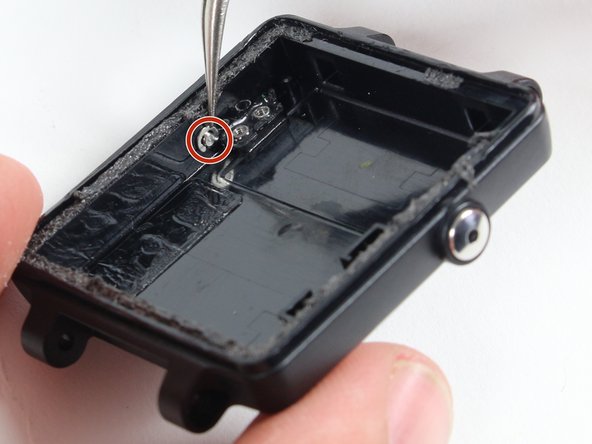
While holding the rubber screwdriver in place, simultaneously unscrew the pin (counterclockwise) with the metal screwdriver in your dominant hand.
-
-
-
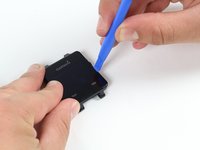
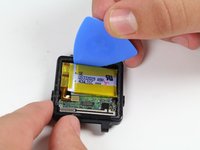
Place a heated iOpener over the display to loosen the adhesive.
-
After about a minute, the iOpener may be removed.
-
-
-
-
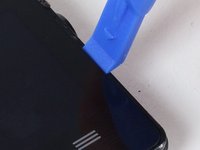
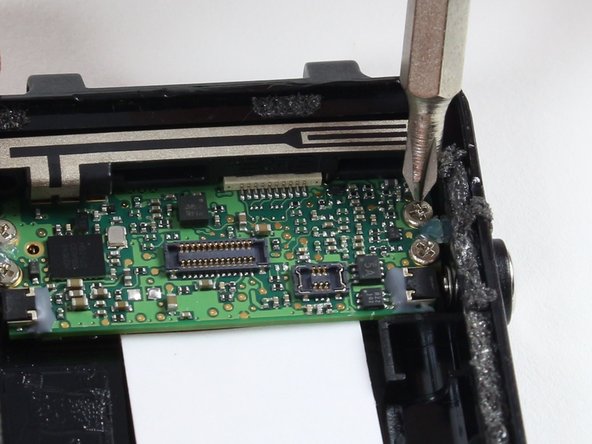
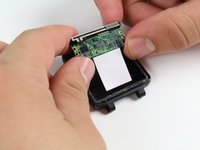
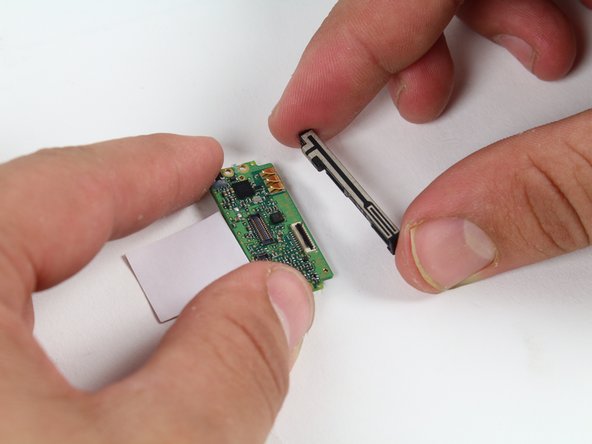
Detach the orange tab that connects the screen to the motherboard with a gentle uplift using a plastic opening tool.
-
Upon completing this step, the screen should be free from the rest of the device.
Thank you. The repair worked out very well. The tools made it possible. I had cracked the screen and now it is back to being a touch screen.
-
-
-
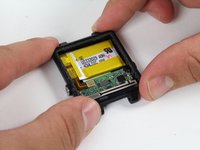
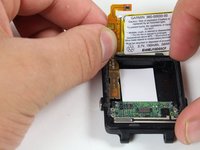
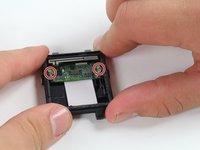
Follow previous guides until you've exposed the battery as shown.
-
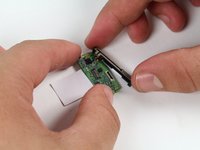
Begin by removing the battery connector tab.
-
-
-
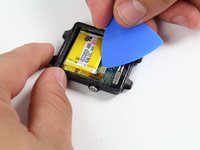
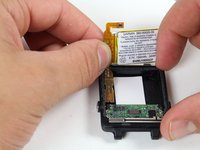
With the battery loose from the case, rotate it to expose the attached tab
-
Gently pry up the attached tab with a fingernail.
After reaching step 11, you have to assemble the watch by reversing the steps. But how do you reverse step 3?
How do you glue the watch face on again? What glue do I need to buy?
alan
hello alan i would like to change the display is scratch can yuo guide me were can i find it...thank you
-
-
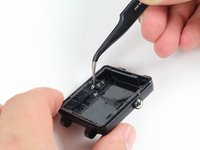
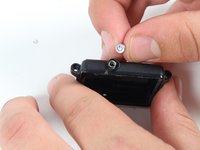
Ferramenta utilizada neste passo:Tweezers$4.99
-
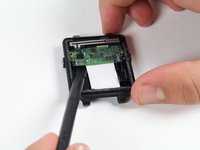
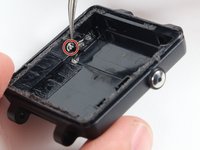
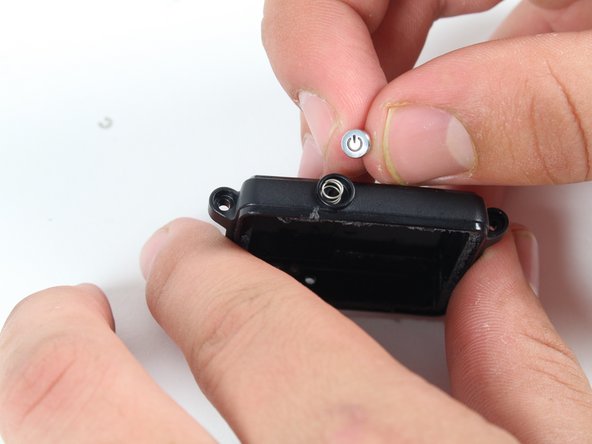
Orient the crescent shaped retaining clip so the open section faces the bottom of the device.
-
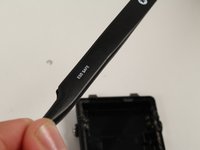
Remove the retaining clip by pulling up away from the device with the precision tweezers.
-


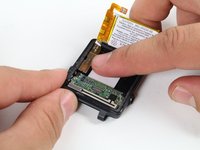


To reassemble your device, follow these instructions in reverse order.
To reassemble your device, follow these instructions in reverse order.
Equipe

Cal Poly, Team 1-21, Maness Fall 2015 Membro de Cal Poly, Team 1-21, Maness Fall 2015
CPSU-MANESS-F15S1G21
Membros da 4
Autoria de 17 guias