Introdução
Use this guide for disassembly and for resolving jammed or finicky shoulder buttons.
O que você precisa
-
-
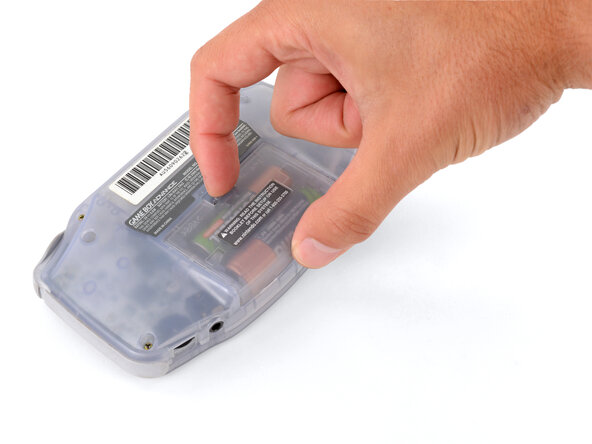
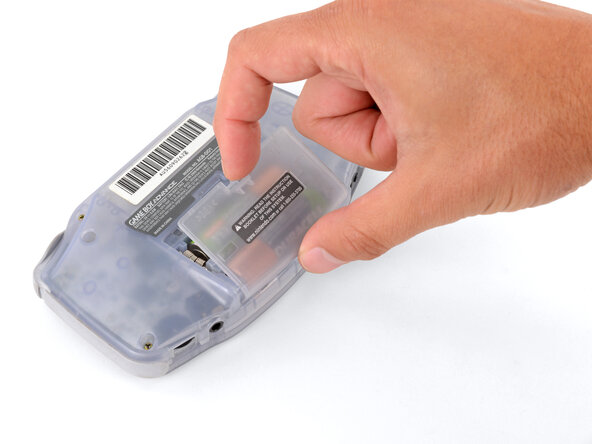
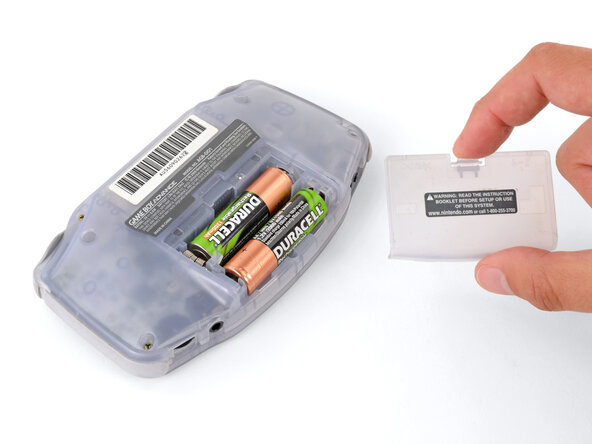
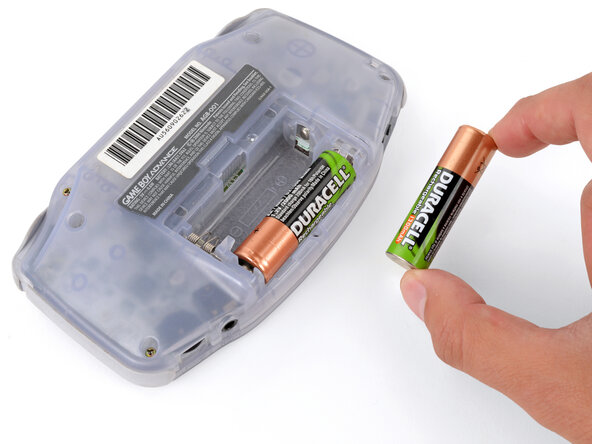
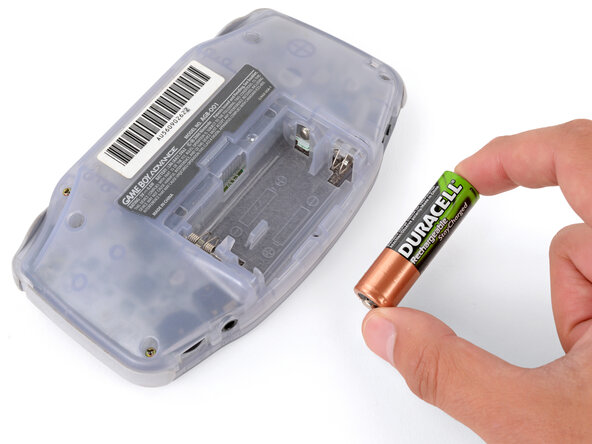
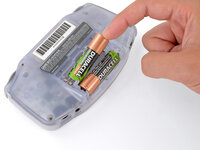
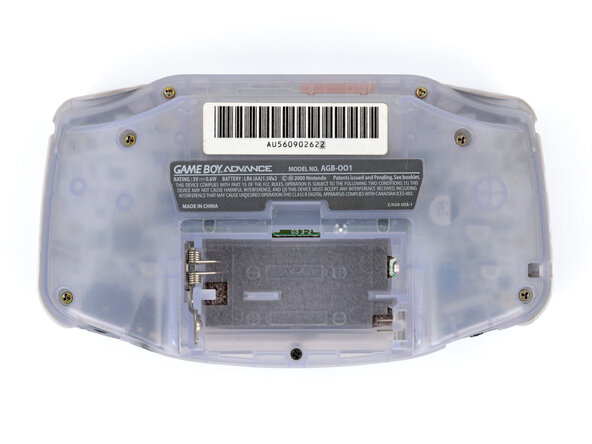
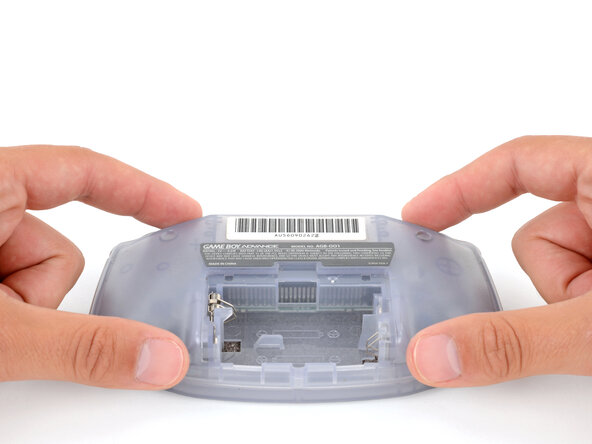
Release the battery cover tab with your finger and swing the cover away from your Game Boy to remove it.
-
-
-
-
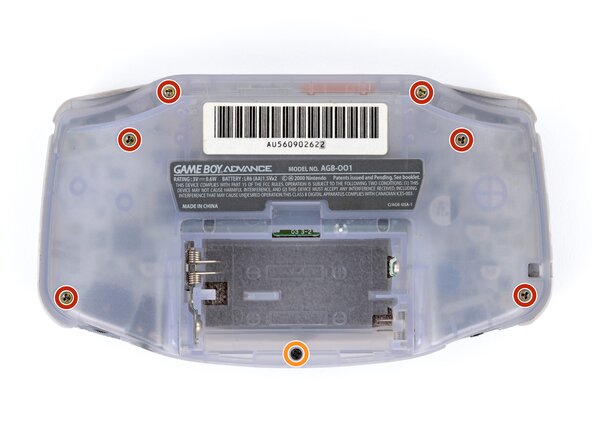
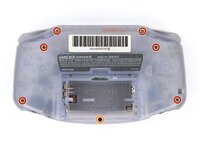
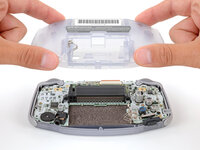
Remove the seven screws securing the back shell:
-
Six 9.4 mm‑long tri‑point Y0 screws
-
One 8.5 mm‑long JIS 1 screw
-
-
-
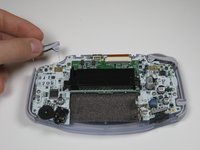
Remove left and right triggers by lifting and pulling them away from the system.
-
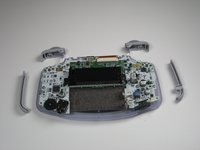
Do the same for side panels
-


To reassemble your device, follow these instructions in reverse order.
Cancelar: não concluí este guia.
4 outras pessoas executaram este guia.
Equipe

Cal Poly, Team 16-29, Maness Winter 2010 Membro de Cal Poly, Team 16-29, Maness Winter 2010
CPSU-MANESS-W10S16G29
5 Membros
Autoria de 81 guias