O que você precisa
-
-
Make sure device is fully powered off, remove any connected devices and micro SD cards.
-
Based on the nature of your need, backup any sensitive documents or files before starting.
-
-
-
Remove 5 screws using a Phillips #00 Screwdriver
-
The opening for the screws is quite small, under 3mm. Ensure your tool has the clearance to fit.
-
-
-
-
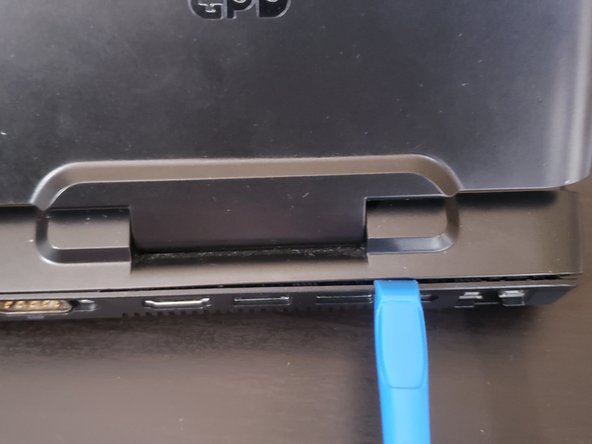
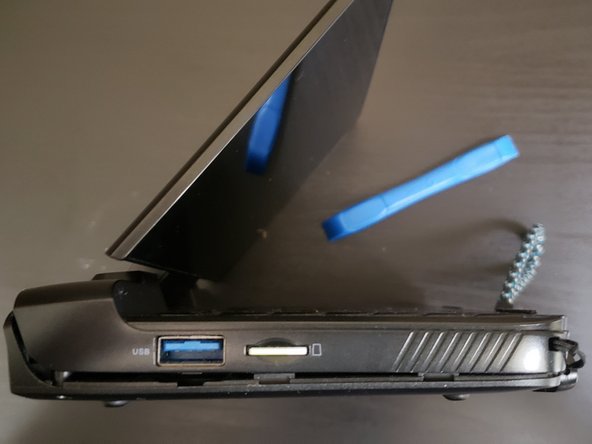
Using a prying tool like a Spudger, pry open the bottom half.
-
There are some locking tabs on both the bottom half and the main body. There is a specific tab near the COM port which makes it tougher to pry open. It may be easier to pry from the LAN port area instead. Continue from that spot along the side towards the front audio jack and keep going until the bottom half easily comes off.
-
Remember to take out the MicroSD before continuing further
-
-
-
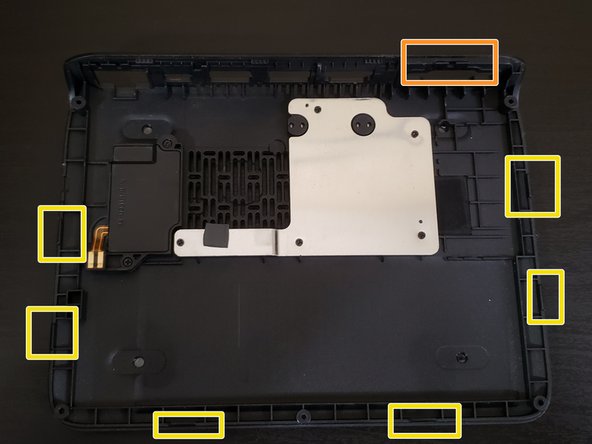
The main components are now exposed.
-
The yellow boxes are where the locking tabs are located. The orange box highlights the COM specific tab mentioned earlier.
-
To reassemble, follow these instructions in reverse.
-
For an easier time during reassembly, line up the COM tab first and ensure that it is seated properly. If that tab isn't seated right, the bottom half may not come together properly leading to potential damages.
-


Cancelar: não concluí este guia.
4 outras pessoas executaram este guia.