Introdução
This guide shows how to replace a Fujifilm X30 lens that may be cracked or damaged.
O que você precisa
-
-
-
Turn the camera upside down.
-
Place your thumb on the switch, and slide it towards the center of the camera.
 Pergunte ao FixBot
-
-
-
Once you have the battery compartment open, slide the orange tab away from the battery until it ejects.
-
-
-
-
-
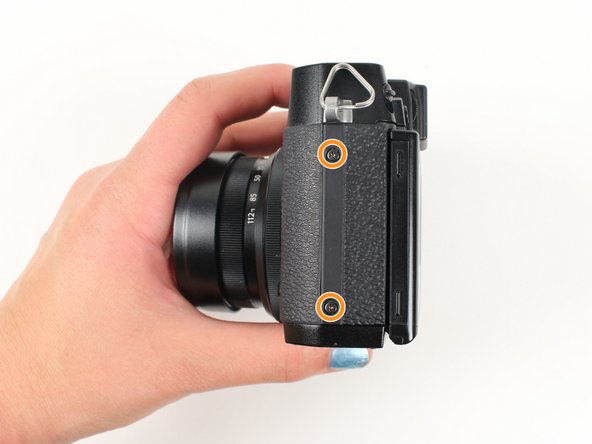
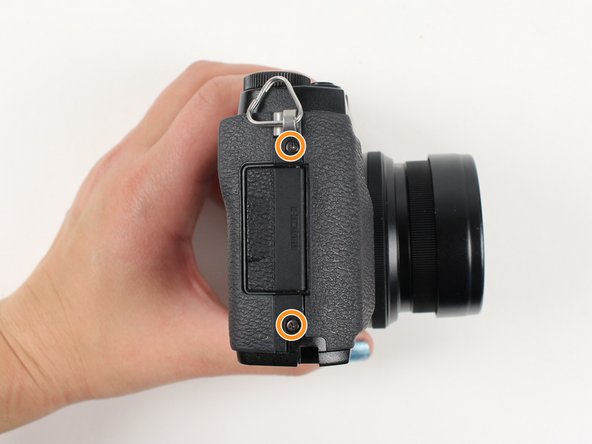
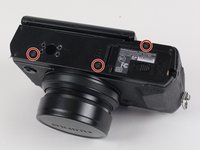
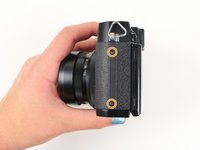
Begin by removing the outside screws using a Phillips #000 Screwdriver:
-
Remove the three 3.6 mm silver screws located on the bottom of the camera.
-
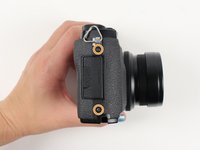
Remove all four of the 4.7 mm screws from the sides of the camera.
-
-
-
Remove all screws listed below using a Phillips #000 Screwdriver:
-
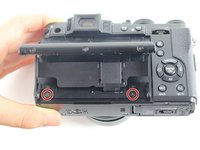
Lift up the screen and remove the two 4.5 mm screws located in the bottom corners.
-
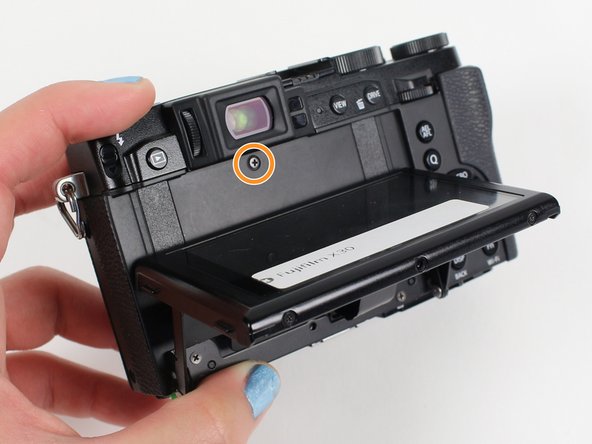
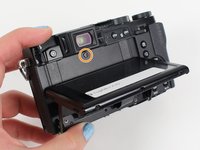
Remove the 4.0 mm screw that is located behind the screen and directly under the eye piece.
-
-
-
-
Gently pull off the back of the camera from the left side so that it is partially open.
-
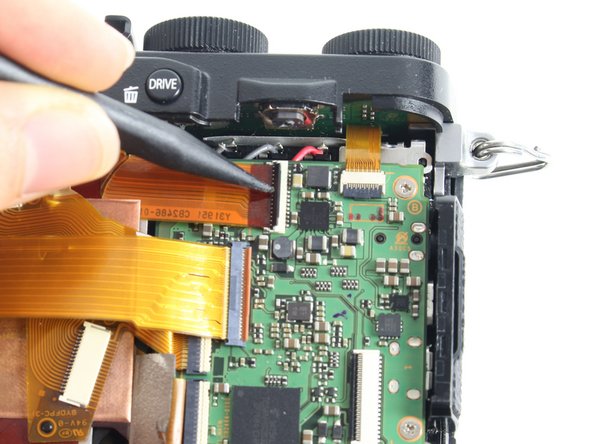
Use a spudger to lift up the tab holding the orange strip and slide the strip out to disconnect it
-
-
-
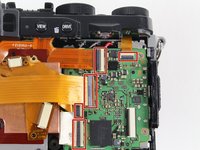
For all five indicated orange strips:
-
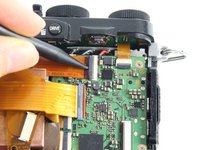
Use a spudger to lift up the tab holding the orange strip and slide the strip out to disconnect it.
-
-
-
For the final orange strip located behind the top strip:
-
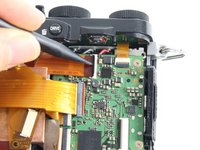
Use a spudger to lift up the tab holding the orange strip and slide the strip out to disconnect it.
-
-
-
Remove all screws listed below using a Phillips #000 Screwdriver:
-
Remove the two 3.4 mm screws at the bottom of the silver plate.
-
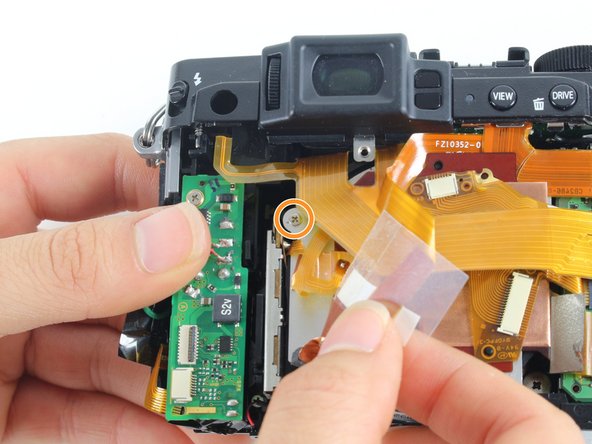
Peel back the clear strip to reveal a 2.8 mm screw on the left of the silver plate and remove it.
-
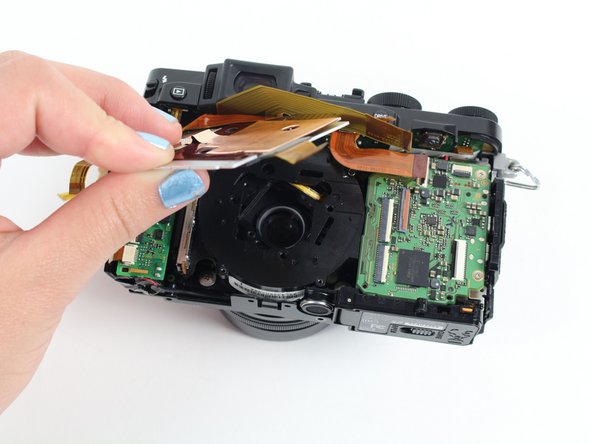
Peel back the copper plate.
-
-
-
Remove the three 2.6 mm screws located in the top two corners and the bottom right corner of the motherboard using a Phillips #000 Screwdriver.
-
Lift the motherboard so it is out of your way to remove the lens.
-
-
-
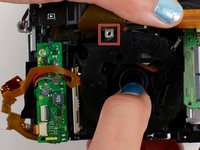
Remove the four 4.4 mm silver screws at the corners of the lens using a Phillips #000 Screwdriver.
-
-
-
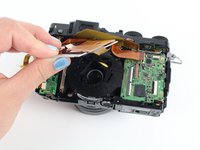
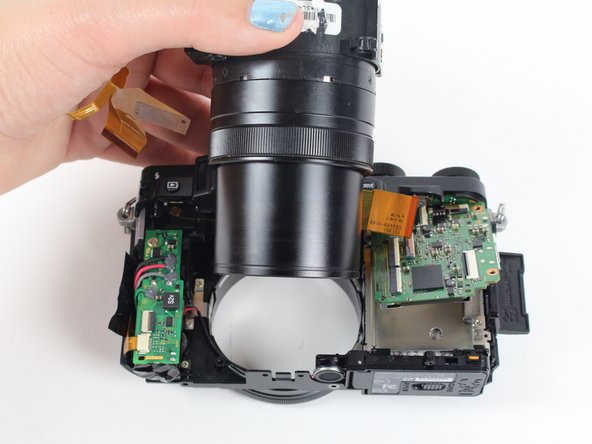
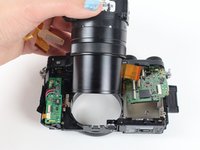
Pull the lens down so it can clear the silver tab.
-
Then push the lens with your index fingers from the front of the camera until it is removed.
-
-









To reassemble your device, follow these instructions in reverse order.
Cancelar: não concluí este guia.
4 outras pessoas executaram este guia.

Equipe

Cal Poly, Team 70-3, Forte Winter 2016 Membro de Cal Poly, Team 70-3, Forte Winter 2016
CPSU-FORTE-W16S70G3
5 Membros
Autoria de 4 guias
