Ir para o conteúdo principal
Participe da comunidade de reparos - Criar conta

Flip Video LCD Screen

O que você precisa

  1. Flip Video LCD Screen, Outer Shell: passo 1, imagem 1 %32 Flip Video LCD Screen, Outer Shell: passo 1, imagem 2 %32
    • Turn off the device and take the batteries out.

    • Remove metal sticker under the LCD screen with a spudger.

    • This may require a large force to pry off the glued sticker.

    Pergunte ao FixBot
  2. Flip Video LCD Screen: passo 2, imagem 1 %32
    • Remove the 4 gray screw caps with the spudger. These cover the screw heads and protect from dirt or grime.

    Pergunte ao FixBot
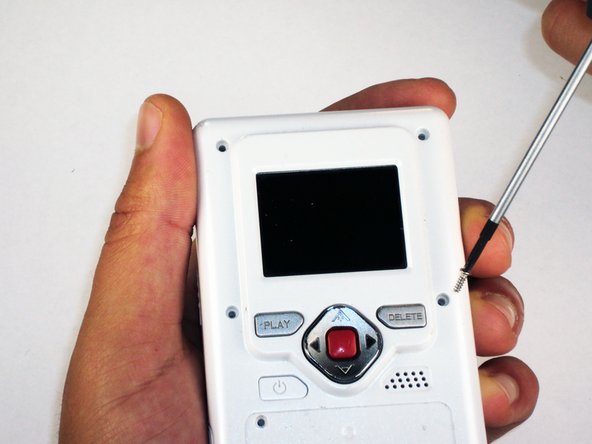
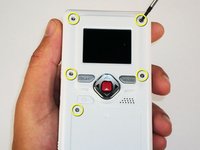
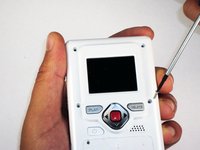
  3. Flip Video LCD Screen: passo 3, imagem 1 %32 Flip Video LCD Screen: passo 3, imagem 2 %32
    • Remove the 5 10mm screws with the #00 Phillips screwdriver. These connect the back of the outer shell to the front of the outer shell.

    Pergunte ao FixBot
  4. Flip Video LCD Screen: passo 4, imagem 1 %32
    • Open battery door. This can be done by gently depressing and sliding the battery down downward.

    Pergunte ao FixBot
  5. Flip Video LCD Screen: passo 5, imagem 1 %32
    • Use the spudger to separate outer shells.

    • The spudger must be inserted between the shell halves to pry the edges apart.

    • Slowly work around the outside to separate the halves.

    Pergunte ao FixBot
  6. Flip Video LCD Screen, Circuit Board: passo 6, imagem 1 %32
    • Remove the 3 5mm screws securing the circuit board to the front shell with the #00 Phillips screwdriver.

    Pergunte ao FixBot
  7. Flip Video LCD Screen: passo 7, imagem 1 %32
    • Slowly lift the left side of the circuit board.

    • Do not attempt to remove the circuit board completely yet. It is still connected to the device.

    Pergunte ao FixBot
  8. Flip Video LCD Screen: passo 8, imagem 1 %32
    • Disconnect the USB port cable from the back side of the circuit board.

    Pergunte ao FixBot
  9. Flip Video LCD Screen: passo 9, imagem 1 %32
    • Slide out the battery contacts.

    • Battery contacts

    • Slot where battery contacts were located

    Pergunte ao FixBot
  10. Flip Video LCD Screen, LCD Screen: passo 10, imagem 1 %32
    • With the LCD screen facing away from you, remove the 2 bronze 3 mm screws securing the LCD using the #00 Phillips screwdriver.

    Pergunte ao FixBot
  11. Flip Video LCD Screen: passo 11, imagem 1 %32
    • Flip over the circuit board and unlock the two black tabs on the ribbon connector by sliding them upwards.

    Pergunte ao FixBot
  12. Flip Video LCD Screen: passo 12, imagem 1 %32
    • Gently pull out ribbon cable.

    • If the ribbon cable does not come out easily you may not have fully unlocked the ribbon cable connector in the previous step.

    • The LCD screen is now removed and can be replaced.

    Pergunte ao FixBot
Conclusão

To reassemble your device, follow these instructions in reverse order.

Uma outra pessoa concluiu este guia.

Elizabeth

Membro desde: 04/15/10

100 Reputação

Autoria de 6 guias

Equipe

Cal Poly, Team 26-21, Regan Spring 2010 Membro de Cal Poly, Team 26-21, Regan Spring 2010

CPSU-REGAN-S10S26G21

4 Membros

Autoria de 12 guias

0Comentários do guia

Comentar

Visualizações:

Últimas 24 horas: 4

Últimos 7 dias: 12

Últimos 30 dias: 90

Ao todo: 5,647