Introdução
Hello there! We are slapping a Fast Fix Guide on iFixit! We hope this guide helps you to fix your pool.
-
-
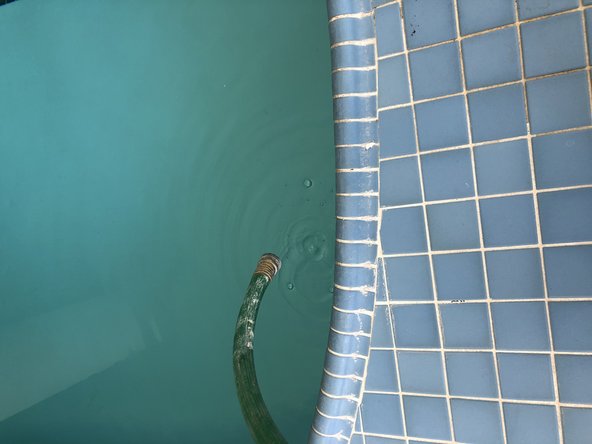
Remove enough water from the pool, so you can start working.
 Pergunte ao FixBot
-
-
-
-
In this step , by using a hammer and a chisel , you must remove all the grout that can be found after removing the old tiles. The flat surface where you will placing your new tiles needs to be clean so that the new tile can be placed properly.
-
-
-
In this step , you must take mix concrete concentrate and water together. After it has been mixed properly , you should wait 10 minutes so that the mixture can settle down.
-
-
-
In this step , you must apply the concrete mixture to the back of the new tiles so that it can be later placed at the location where the old tiles were removed.
-
-
-
Finally, you must wait 8 hours for the tiles to dry up. Once the pool tiles are checked to see if they are dry, you can then proceed to fill the pool up with water.
-


Your pool is now repaired. You may proceed to swimming.

