Ir para o conteúdo principal
Participe da comunidade de reparos - Criar conta

Fan Replacement

O que você precisa

    1. Fan Replacement, Battery: passo 1, imagem 1 %32 Fan Replacement, Battery: passo 1, imagem 2 %32 Fan Replacement, Battery: passo 1, imagem 3 %32
      • Unlock the battery latch on the right.

      • Unlock the battery lock on the left.

      • Remove the battery pack from its slot.

      Pergunte ao FixBot

      Comentar

    1. Fan Replacement, Access to Components 2: passo 2, imagem 1 %32 Fan Replacement, Access to Components 2: passo 2, imagem 2 %32 Fan Replacement, Access to Components 2: passo 2, imagem 3 %32
      • Using the Philips # 0 screwdriver, unscrew the 2 screws of the top cover

      • Check the marks indicating the direction in which the cover must be removed.

      • Remove the bottom cover by removing it in the direction of the markers.

      Pergunte ao FixBot

      Comentar

    2. Fan Replacement: passo 3, imagem 1 %32
      • Then appear the other components of the Laptop.

      Pergunte ao FixBot

      Comentar

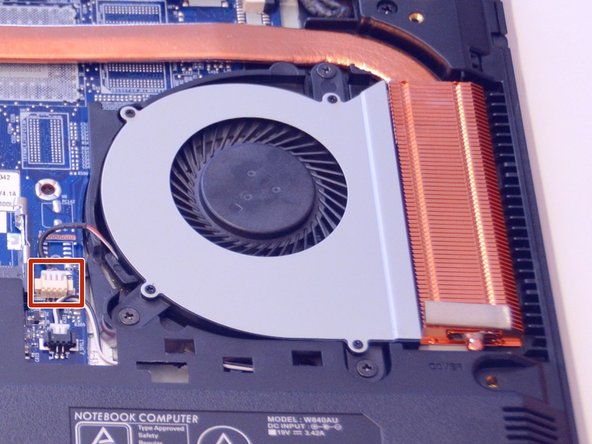
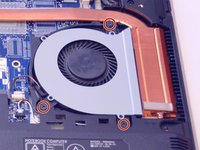
    1. Fan Replacement, Fan: passo 4, imagem 1 %32 Fan Replacement, Fan: passo 4, imagem 2 %32 Fan Replacement, Fan: passo 4, imagem 3 %32
      • Here is the fan.

      • Disconnect the power cable from this one.

      • Unscrew the screws that hold it in place.

      Pergunte ao FixBot

      Comentar

    2. Fan Replacement: passo 5, imagem 1 %32
      • Gently lift the fan out of its slot.

      Pergunte ao FixBot

      Comentar

Conclusão

To reassemble your device follow the following instructions in reverse order

Cancelar: não concluí este guia.

Um agradecimento especial a esses tradutores:

fr en

100%

irlanda está nos ajudando a consertar o mundo! Quer contribuir?
Comece a traduzir ›

Felice Suglia

Membro desde: 06/15/13

33.634 Reputação

Autoria de 283 guias

0Comentários do guia

Comentar

Visualizações:

Últimas 24 horas: 2

Últimos 7 dias: 11

Últimos 30 dias: 42

Ao todo: 1,642