Essa tradução foi gerada por um programa e ainda não foi revisada por uma pessoa. Falas essa língua? Dá uma olhada.
Introdução
Quando o motor não funciona ou apenas na potência MÁXIMA, o triac está queimado.
O que você precisa
-
-
-
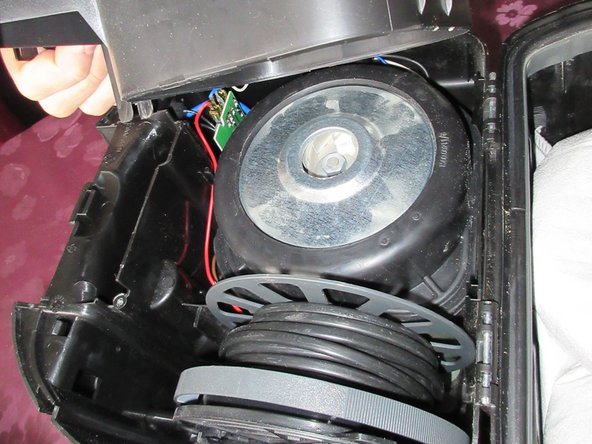
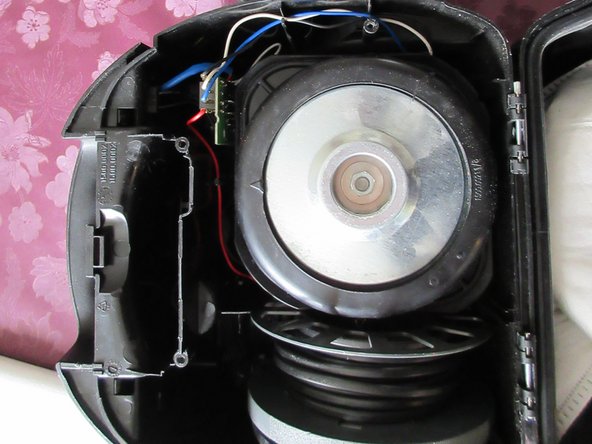
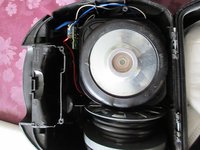
Primeiro, desconecte o plugue e enrole o cabo. Desconecte a mangueira do aspirador. Abra o aparelho
-
Há quatro parafusos PH2.
-
Todos esses parafusos têm o mesmo comprimento.
 Pergunte ao FixBot
-
-
-
Detalhe do parafuso
-
Puxe, ele se solta
-
Veja, há um clipe; do outro lado há um segundo clipe
-
-
-
Veja, ali está o segundo clipe do PASSO 2
-
PUXE.
-
Abra. Veja, você precisa remover o cabo branco e o cabo azul que estão ali.
-
O cabo azul e o cabo branco possuem CONECTORES DE TAMANHOS DIFERENTES. Eles só encaixam da maneira correta. ;)
-
-
-
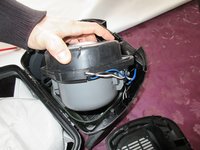
PUXE a turbina, pois há uma carcaça de borracha presa. Apenas PUXE.
-
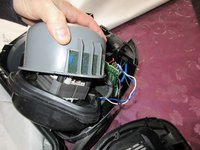
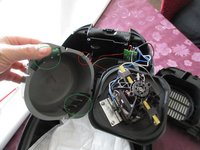
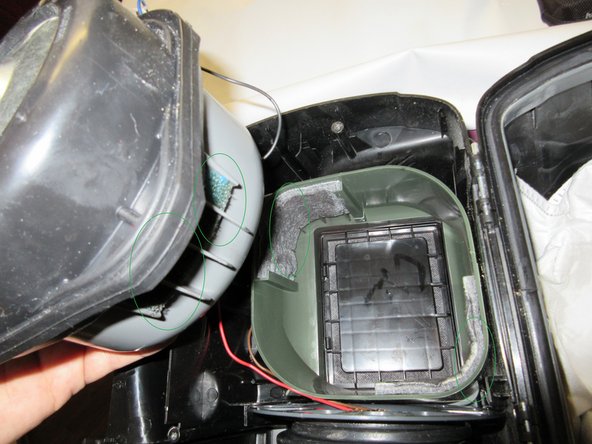
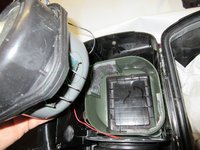
Novamente, apenas puxe a peça de plástico cinza. Observe os filtros; eles precisam ficar voltados um para o outro ao remontá-los!!! Marcados nos círculos VERDES.
-
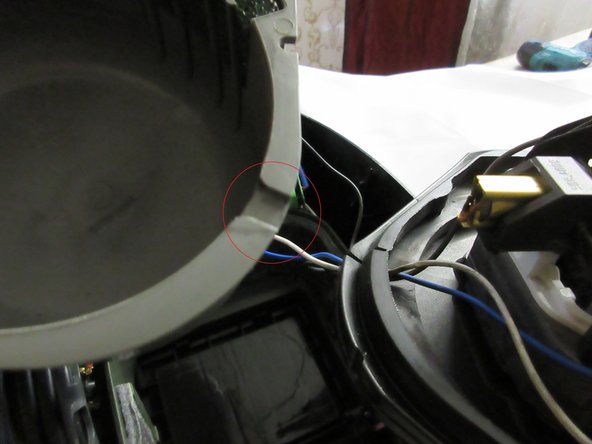
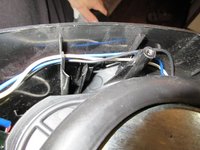
Observe o círculo vermelho; há um entalhe. É por ali que o cabo branco, o cabo azul e o cabo preto passam pela carcaça.
-
-
-
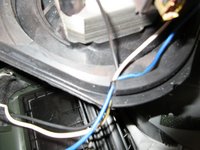
Detalhe do cabo branco e do cabo azul. Os conectores possuem uma pequena mola de fixação; você deve pressionar e, em seguida, puxar para remover!!
-
Os conectores possuem tamanhos diferentes.
-
Desconecte o cabo preto curto do motor. O conector também possui uma mola que deve ser pressionada; em seguida, puxe o cabo preto para removê-lo.
-
-
-
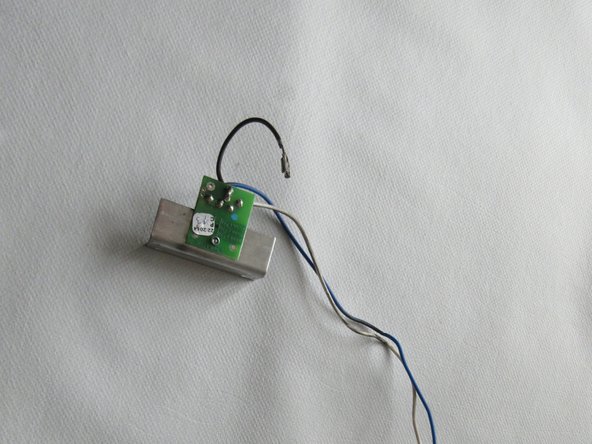
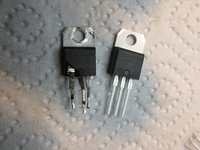
aí está. O TRIAC queimado e destruído com cabos e dissipador de calor de alumínio.
-
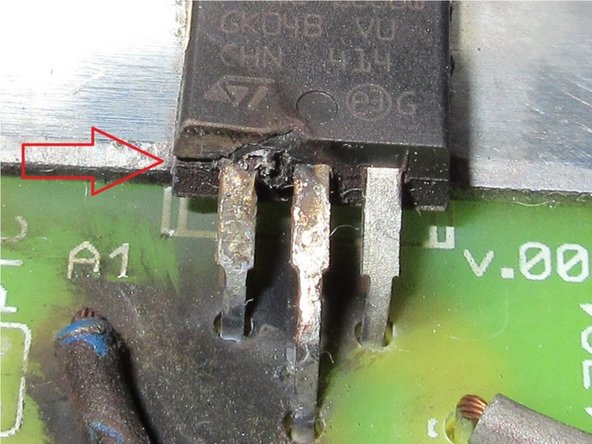
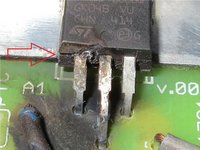
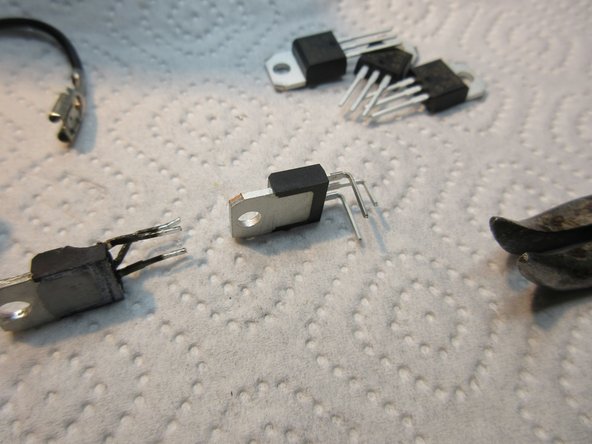
Esta peça quebrou na carcaça; observe a seta vermelha. Os pinos estão dobrados exatamente na carcaça, então esta destruição ocorreu durante a montagem do TRIAC! Que pena. :( A corrente o fez explodir e o danificou completamente.
-
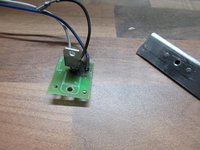
Os cabos parecem estar em ordem, a placa também. Ela parece queimada, mas é apenas fuligem preta.
-
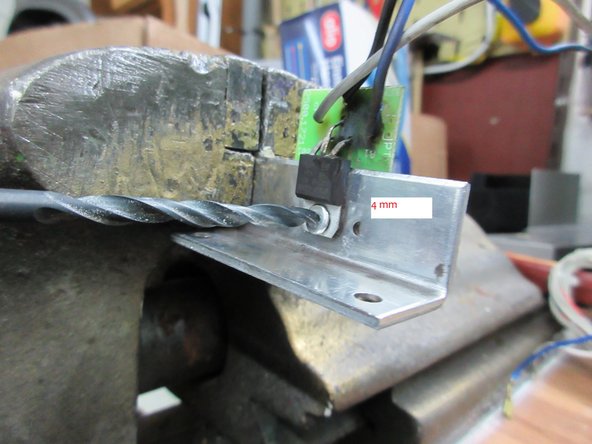
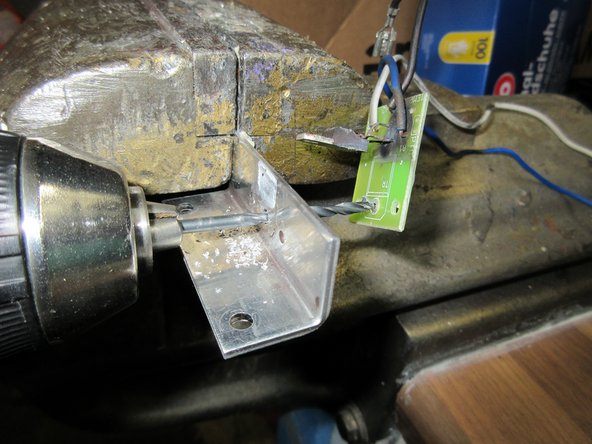
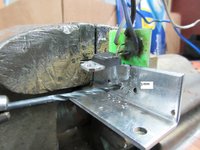
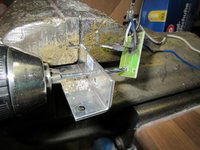
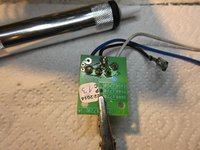
Agora precisamos remover essa peça perfurando-a...
-
-
-
-
em seguida, puxe o TRIAC defeituoso para cima.
-
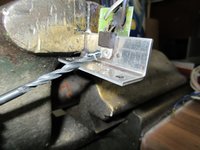
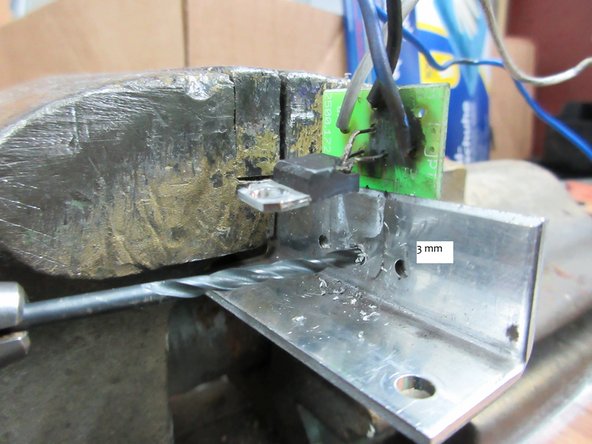
depois, perfure com uma broca de 3 mm para atravessar a placa de circuito.
-
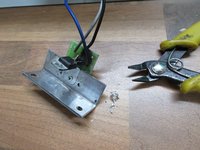
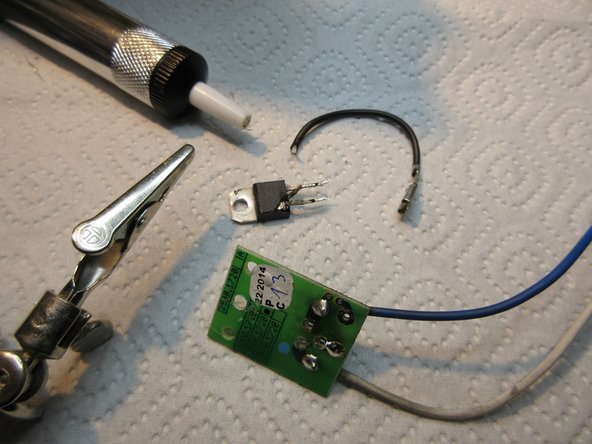
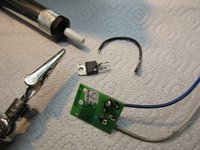
pronto, todas as peças separadas. :)
-
-
Ferramenta utilizada neste passo:Desoldering Pump$3.99
-
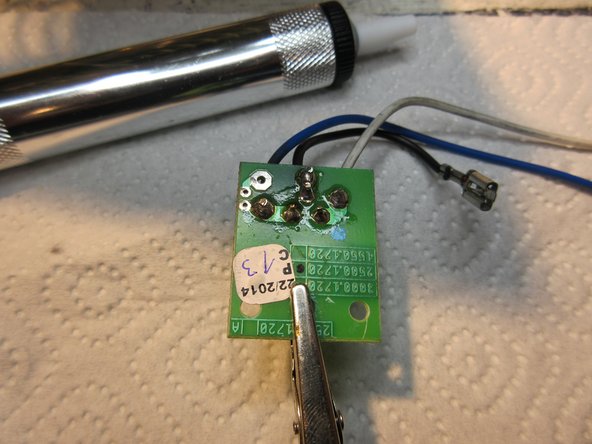
agora dessolde-a. A placa possui dois orifícios que se encaixam no dissipador de calor de alumínio.
-
Sem problemas com a bomba dessoldadora.
-
-
-
a nova.
-
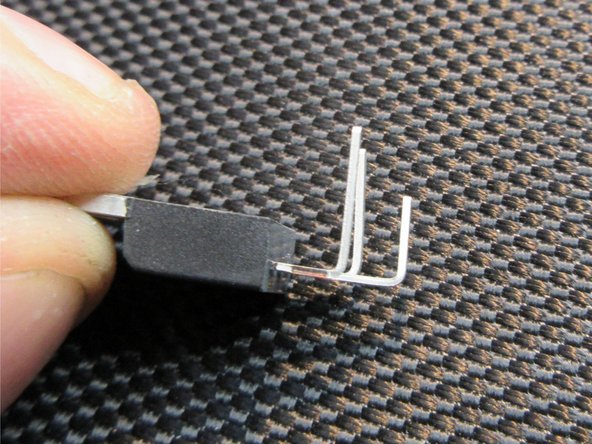
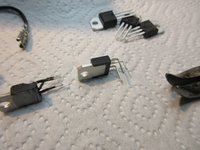
siga os passos conforme as imagens; não consigo explicar melhor, desculpe. Como você pode ver nas imagens, faça o mesmo.
-
-
-
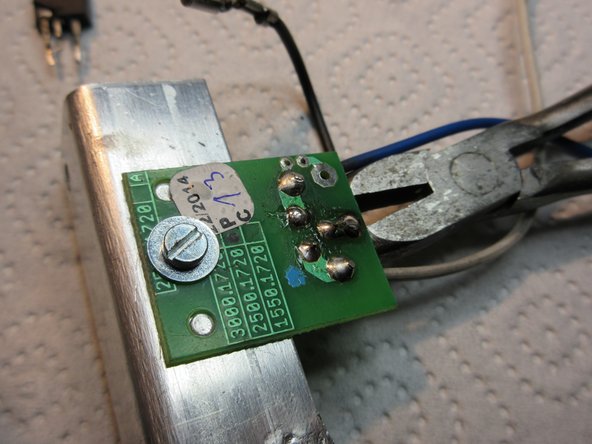
Aplique uma pequena quantidade de pasta térmica. Apenas uma quantidade bem pequena.
-
Pegue o parafuso M3 e a arruela M3 e monte-os na peça de alumínio.
-
Solde a peça nova após o estresse mecânico.
-
-
-
Fiz uma melhoria no resfriamento, mas você não precisa fazer o mesmo, pois esta é uma modificação caseira (DIY) que não é realmente necessária. XD
-
-
-
AGORA, REMONTANDO
-
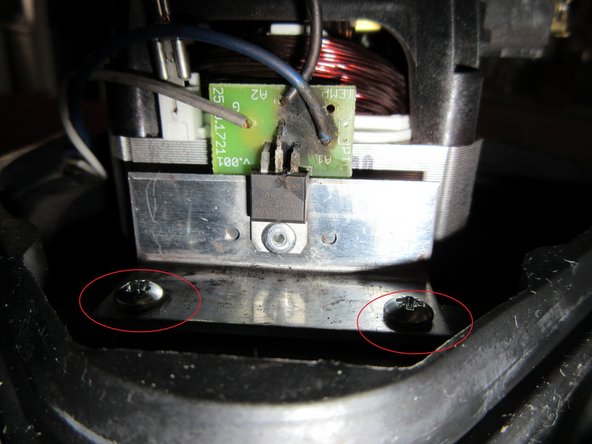
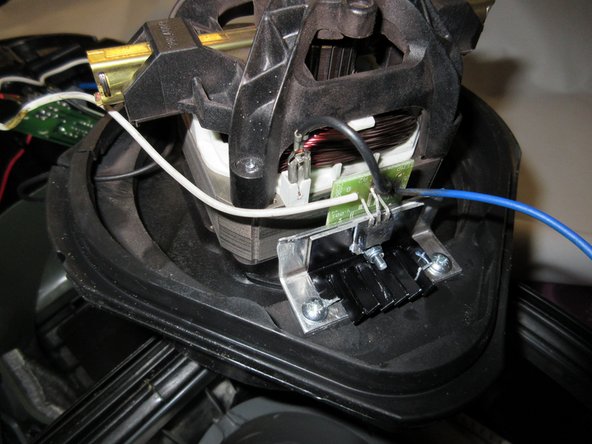
coloque-o de volta, então você precisará dos dois parafusos Phillips #2 CURTOS.
-
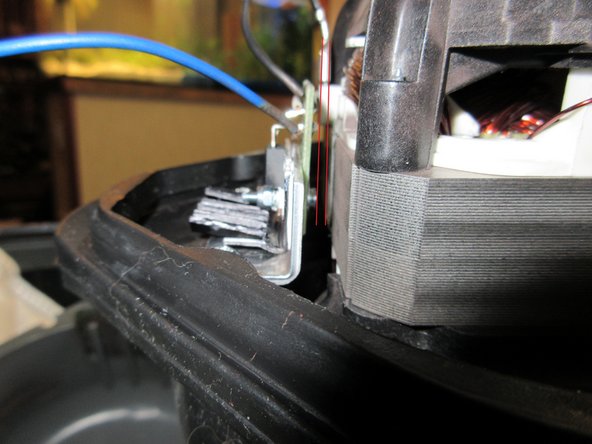
Observe a distância entre as peças conforme mostrado na terceira foto; eu a marquei com duas linhas vermelhas.
-
-
-
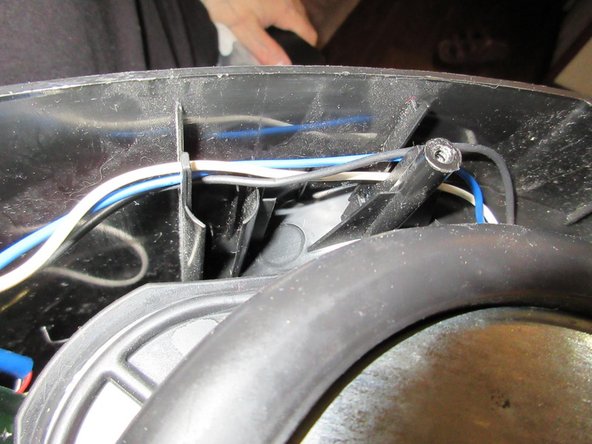
em seguida, coloque os cabos branco e azul no lugar; há também um segundo cabo preto longo.
-
Observe o entalhe, ele deve encaixar perfeitamente.
-
tome cuidado com o encaixe correto dos filtros ali.
-
-
-
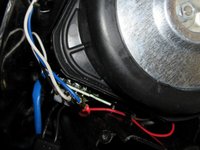
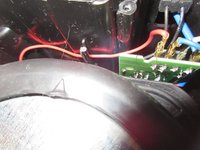
Detalhe dos cabos.
-
Existem encaixes para prender os cabos.
-
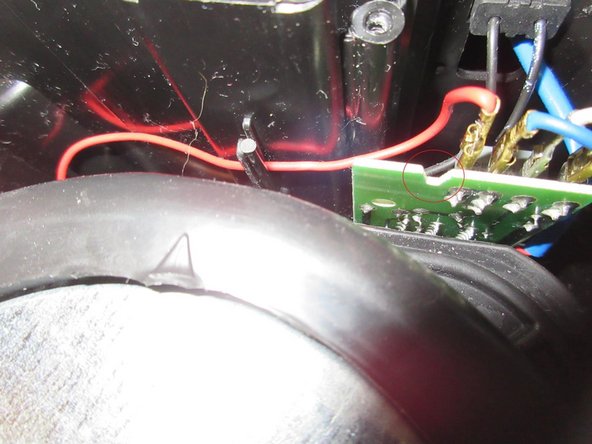
Veja, há um encaixe grande na placa da terceira foto, destacado pelo CÍRCULO VERMELHO. Nesse encaixe prende-se uma trava da carcaça ao fechar essa peça. Observe os passos 1 a 4 para ver onde você deve ter cuidado com as travas, encaixes e clipes.
-
-
-
Apenas quando todas as peças se encaixarem perfeitamente, todas as travas, entalhes e clipes estiverem alinhados e você pressionar a carcaça com firmeza, você poderá parafusar cuidadosamente os quatro parafusos mais longos.
-
Teste, verifique o funcionamento, pronto; agora, um Jägermeister.
-
:D
-
Apenas algumas palavras, desculpe, meu inglês é ruim, mas espero que as imagens possam ajudar você.
-
-




















Para a remontagem, siga estes passos na ordem inversa.
Cancelar: não concluí este guia.
4 outras pessoas executaram este guia.

5Comentários do guia
Well, my child played with that Vacuum-cleaner and it overheated.
So I had to do this repairmanual for you.
Do not let play children with Machines. ;)
Just some comments for English speakers. I'm not dealing with spelling or awkward phrasing - I think it's clear emough. But for those that aren't sure on certain words, maybe this will help.
First tool listed is a #2 Philips-head screwdriver. So when you see PH2 screws, use your phillips screwdriver (also known as a cross screwdriver in some parts of the English-speaking world).
Step 2, middle bullet - "Pull, it knacks" literally would be cracks, which might sound negative. So "Pull, it does separate."
Step 4 (and elsewhere): turbine or motor.
Step 6, 1st bullet (& see Step 9 and elsewhere for variations) - (aluminium-)cooling or cooler = (aluminum) heat sink. [Americans don't use the 2nd i of aluminium.]
Step 6 (and elsewhere), 3rd bullet: platine = printed circuit board (I'll always refer to it as the PCB).
Part 2 of notes comes in my next comment --
Part 2 of notes here --
Step 6, 2nd bullet [I know, out of order, but I wanted to use PCB, so translated it first] - Instead of translating it "The pins are bent directly at the housing, so this destruction occured at the montage of the triac !" I would've said "The pins are bent to go into the PCB, and the destructive forces inside the triac caused the assembly ("montage") to burst open at the other end of the pins, where they enter the triac housing!"
Steps 7-8 - there is a rivet that goes through the triack, then through the heat sink, then through the PCB. For getting the rivet out, you drill with a 4mm drill bit through the rivet head, through the triac mount, and lift the triac out of the way, then continue very carefully through the heat sink. Now the PCB can be removed from the heat sink. Then switch to a 3mm bit and drill the remnants of the rivet out of the PCB.
Part 3 coming up --
Part 3 of 3 here
Step 10 - "follow the steps like on the pictures, i can't explain it, sorry. Like on the pictures, you can see, do it too" becomes "Follow the pictures in steps 4-10, especially step 6 and step 10. Pins 1 and 3 get bent closer to the triac, pin 2 (the middle pin) gets bent further out ('longer') from the triac, to fit the wholes in the PCB.
Step 11, 1st bullet - use less thermal grease/compund than is shown in the picture of step 11. He said "little" and that was correct.
Step 11, 2nd bullet - Instead of riveting (if you aren't good at it you might break the PCB), he replaces it with a bolt, washer, and nut. Tighten it - but not so much you break the PCB.
Starting Step 13, you're reassembling. His CONCLUSION at the end says to do the steps in reverse order to finish - maybe he later added steps 13 to the end later and didn't remove that statement.
Step 17 Jägermeister = hunt master -- go hunting things to vacuum up?
@Schwarzstein: würdest Du Dir zutrauen, unser Gerät zu reparieren? Wir haben das Miele S8340 EcoLine.
