Ir para o conteúdo principal

Epson VS240 Lens Replacement

O que você precisa

  1. Epson VS240 Lens Replacement, Shell: passo 1, imagem 1 %32 Epson VS240 Lens Replacement, Shell: passo 1, imagem 2 %32 Epson VS240 Lens Replacement, Shell: passo 1, imagem 3 %32
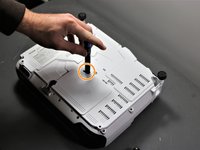
    • Using the Phillips #2 screwdriver, loosen the single captive screw on the left side of the projector.

    • The captive screw will loosen, but it cannot be fully removed.

    • Slide the panel off and remove it from the device.

  2. Epson VS240 Lens Replacement: passo 2, imagem 1 %32 Epson VS240 Lens Replacement: passo 2, imagem 2 %32
    • Use the Phillips #2 screwdriver to remove the three 5 mm screws.

    • Using the same Phillips #2 screwdriver, remove the single 8 mm silver screw.

  3. Epson VS240 Lens Replacement: passo 3, imagem 1 %32
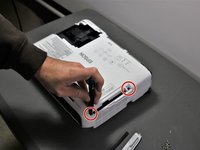
    • Use a Phillips #1 screwdriver to remove the two 10 mm silver screws from the bottom of the device.

  4. Epson VS240 Lens Replacement: passo 4, imagem 1 %32
    • Use a Phillips #1 screwdriver to remove the single 10 mm screw where the panel was removed in Step 1.

    • Remove the white back plate from the device.

  5. Epson VS240 Lens Replacement: passo 5, imagem 1 %32 Epson VS240 Lens Replacement: passo 5, imagem 2 %32 Epson VS240 Lens Replacement: passo 5, imagem 3 %32
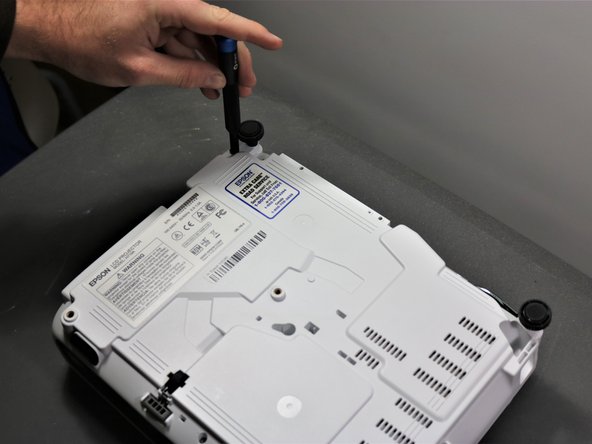
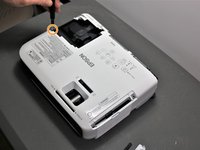
    • Flip the projector over so that the underside (side with the feet) is facing you.

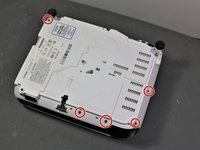
    • Use a Phillips #1 screwdriver to remove five 10 mm screws on the underside of projector.

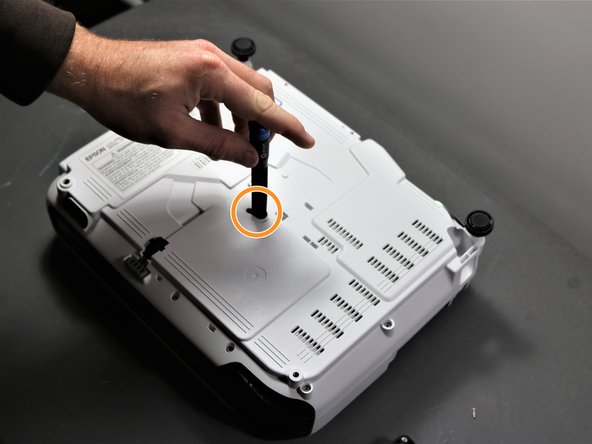
    • Using the same Phillips #1 screwdriver, remove a single 10 mm screw in the center hole.

    • You may need to use a screwdriver extender to reach the single screw.

  6. Epson VS240 Lens Replacement: passo 6, imagem 1 %32 Epson VS240 Lens Replacement: passo 6, imagem 2 %32 Epson VS240 Lens Replacement: passo 6, imagem 3 %32
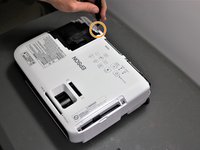
    • Use a Phillips #1 screwdriver to remove two 10 mm screws from the openings on each side of the air filter, on the topside of the projector.

    • You may need to use a screwdriver extender to reach the two screws.

    • Using the same Phillips #1 screwdriver, remove the two 10 mm screws where the white panel was removed on the topside of the projector in Step 1.

  7. Epson VS240 Lens Replacement: passo 7, imagem 1 %32 Epson VS240 Lens Replacement: passo 7, imagem 2 %32
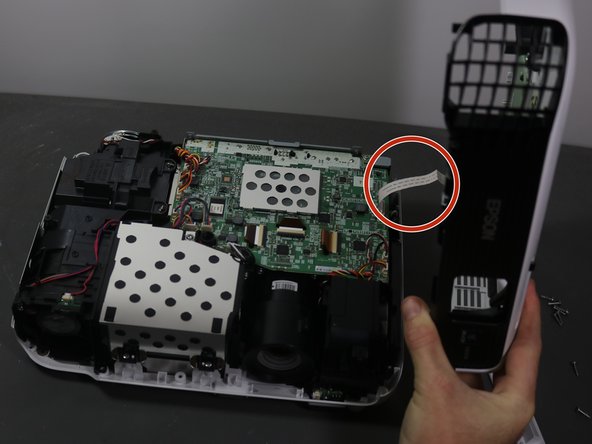
    • Be careful when removing the top cover of projector as there is as white ribbon cable connecting it to the motherboard.

    • Gently lift top cover and place it on its top next to the projector so that the ribbon has no tension on it.

    • Gently pull the brown tape connecting the cable to the motherboard and then remove the shell from the device.

  8. Epson VS240 Lens Replacement, Motherboard: passo 8, imagem 1 %32 Epson VS240 Lens Replacement, Motherboard: passo 8, imagem 2 %32
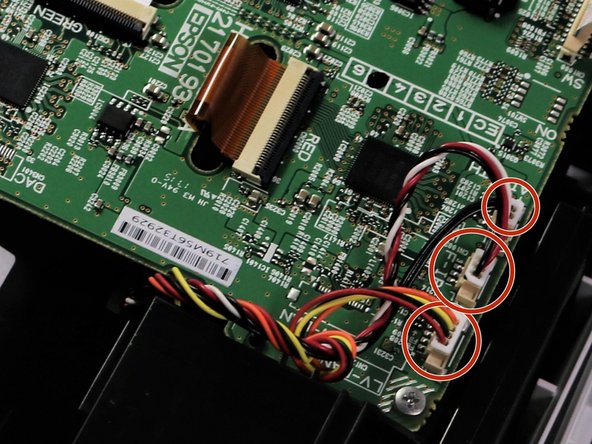
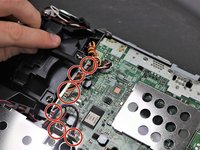
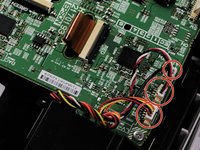
    • Using a spudger or a plastic opening tool, disconnect all of the wires connected to the motherboard.

  9. Epson VS240 Lens Replacement: passo 9, imagem 1 %32 Epson VS240 Lens Replacement: passo 9, imagem 2 %32
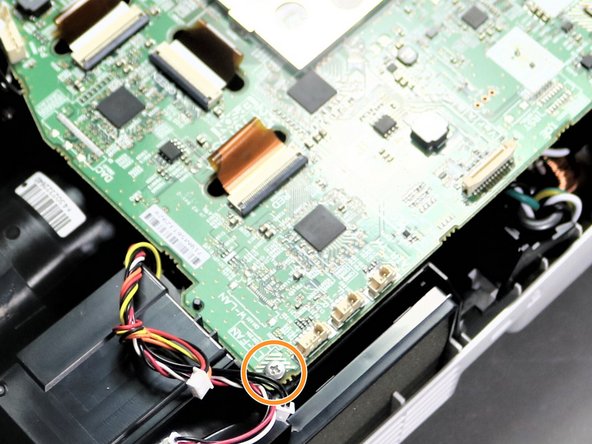
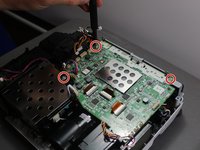
    • Using the Phillips #1 screwdriver, remove three 6 mm screws.

    • Using the same Phillips #1 screwdriver, remove a single 10 mm screw in bottom right corner of motherboard.

  10. Epson VS240 Lens Replacement: passo 10, imagem 1 %32 Epson VS240 Lens Replacement: passo 10, imagem 2 %32
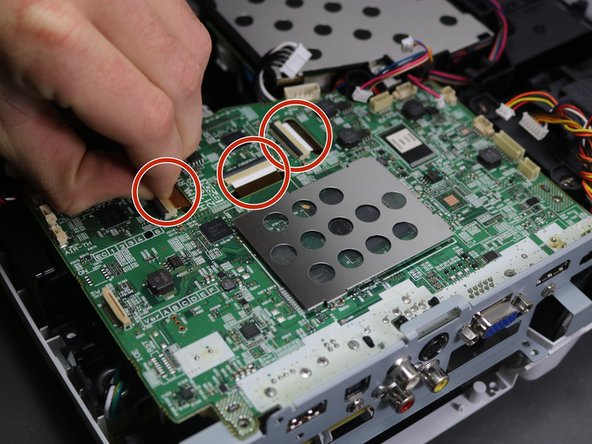
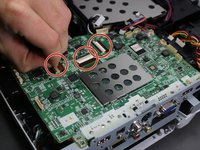
    • Using a spudger or your fingernails, lift up the black locking tabs and disconnect the three ribbon cables from the motherboard.

    • For more information on Zero Insertion Force (ZIF) connectors, please visit this guide.

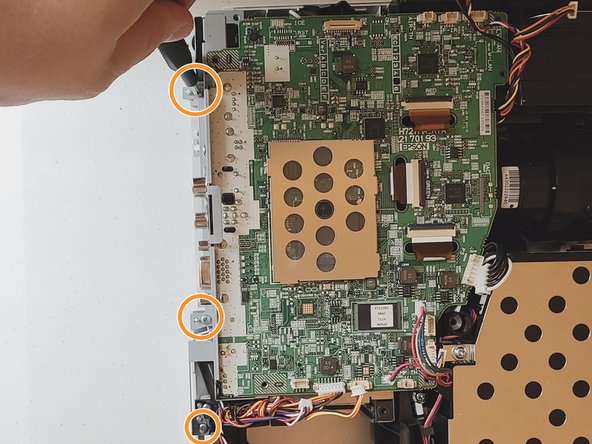
    • Using the Phillips #1 screwdriver, remove three 10 mm screws on the grey piece that is located on the side of the motherboard.

  11. Epson VS240 Lens Replacement: passo 11, imagem 1 %32
    • Lift and remove the motherboard up and away from the device.

  12. Epson VS240 Lens Replacement, Lens: passo 12, imagem 1 %32 Epson VS240 Lens Replacement, Lens: passo 12, imagem 2 %32
    • Rotate the projector 180 degrees to match orientation in images.

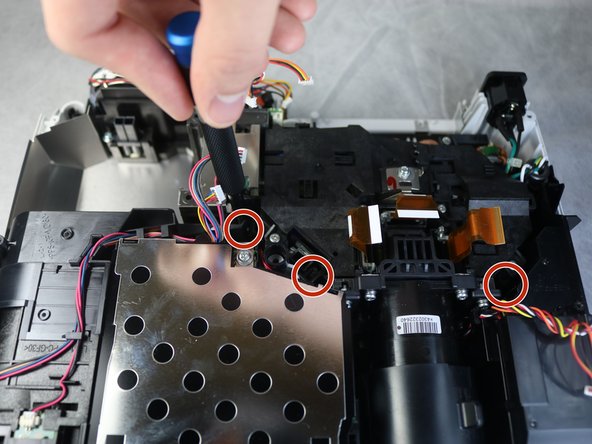
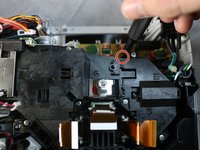
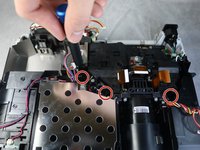
    • Using the Phillips #2 screwdriver, remove four inner 11 mm screws under the black box connected to the lens.

    • These screws are located deep into the projector and you may need a screwdriver extender to reach two of the four screws.

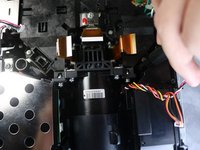
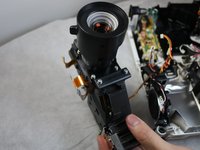
  13. Epson VS240 Lens Replacement: passo 13, imagem 1 %32 Epson VS240 Lens Replacement: passo 13, imagem 2 %32
    • Detach the wire above the lens using plastic pry bar.

    • These wires can also be removed by hand; however, a plastic opening tool may be used for more prying power.

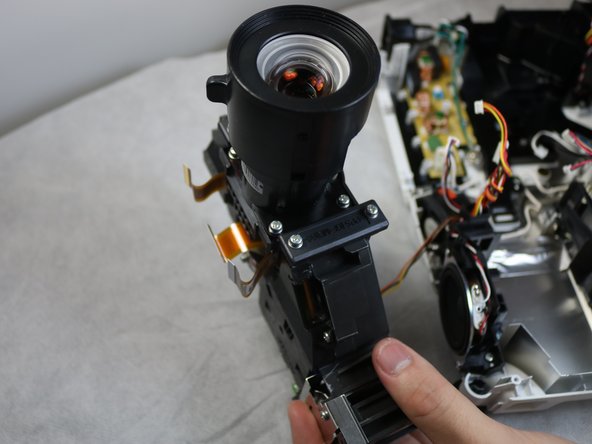
    • Slowly lift the black assembly out of the device.

    • Be careful of the wire still connected. It does not need to be removed so lay the black assembly close to the projector so no tension is on the wire.

Conclusão

To reassemble your device, follow these instructions in reverse order.

Uma outra pessoa concluiu este guia.

Vincent Brown

Membro desde: 09/28/21

105 Reputação

Autoria de 1 guia

Equipe

Clemson, Team 5-3, Hunter Fall 2021 Membro de Clemson, Team 5-3, Hunter Fall 2021

CLEM-HUNTER-F21S5G3

Membros da 5

Autoria de 6 guias

Um comentário

This guide helped me remove the lens assembly and reassemble in about 1 hour. Well done guide.
DFixitGuy - Responder

Adicione um comentário

Exibir estatísticas:

Últimas 24 horas: 0

Últimos 7 dias: 0

Últimos 30 dias: 0

Duração total: 166