Ir para o conteúdo principal
Participe da comunidade de reparos - Criar conta

Enabot EBO SE Camera Replacement

O que você precisa

  1. Enabot EBO SE Camera Replacement, Wheel Assembly: passo 1, imagem 1 %32
    • Gently turn the robot upside down.

    • Place the robot on a stable surface to prevent it from rolling or falling.

    Pergunte ao FixBot

    Comentar

  2. Enabot EBO SE Camera Replacement: passo 2, imagem 1 %32 Enabot EBO SE Camera Replacement: passo 2, imagem 2 %32 Enabot EBO SE Camera Replacement: passo 2, imagem 3 %32
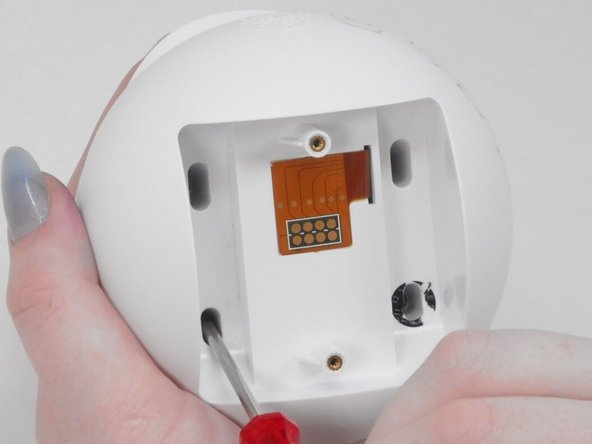
    • Use a flathead 2.5 mm screwdriver to remove the 5.7 mm screw from the wheels.

    • A tool should have been provided in the box for this purpose.

    Pergunte ao FixBot

    Comentar

  3. Enabot EBO SE Camera Replacement: passo 3, imagem 1 %32 Enabot EBO SE Camera Replacement: passo 3, imagem 2 %32
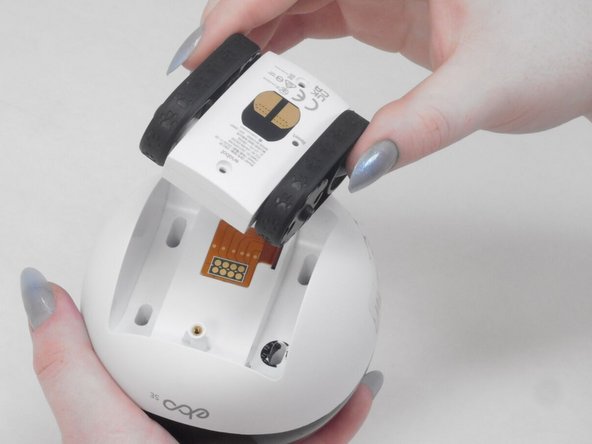
    • Pull the wheel assembly towards you so it comes straight off without resistance.

    • If there is resistance, make sure to apply gentle force when pulling as it can get damaged with too much force.

    Pergunte ao FixBot

    Comentar

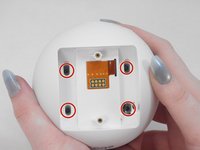
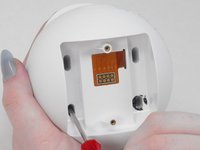
  4. Enabot EBO SE Camera Replacement, Lower Housing: passo 4, imagem 1 %32 Enabot EBO SE Camera Replacement, Lower Housing: passo 4, imagem 2 %32
    • Use a Torx screwdriver to remove the four 9 mm screws from the assembly.

    Pergunte ao FixBot

    Comentar

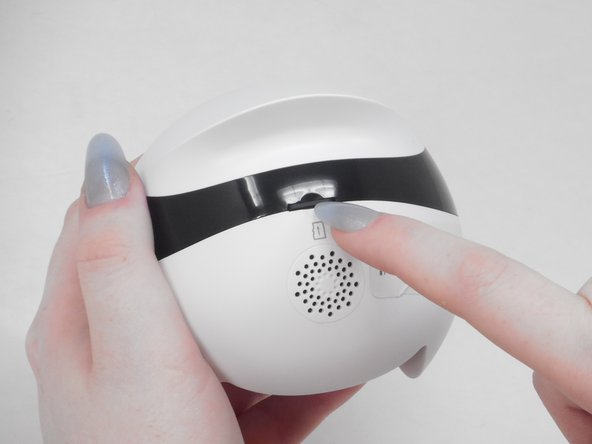
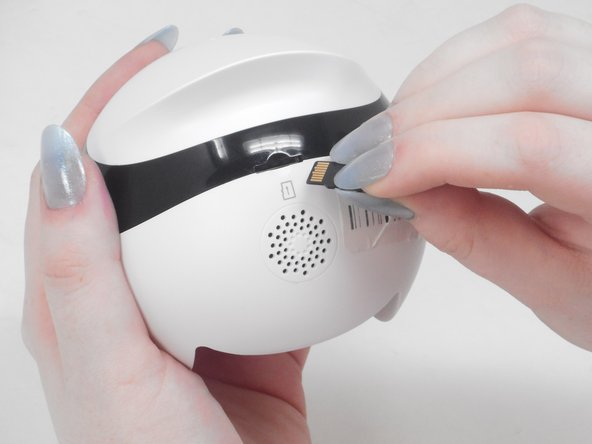
  5. Enabot EBO SE Camera Replacement: passo 5, imagem 1 %32 Enabot EBO SE Camera Replacement: passo 5, imagem 2 %32 Enabot EBO SE Camera Replacement: passo 5, imagem 3 %32
    • Use your fingernail to carefully press down and eject the Micro SD Card from the back of the Enabot.

    • Keep the Micro SD Card in a safe spot for later.

    Pergunte ao FixBot

    Comentar

  6. Enabot EBO SE Camera Replacement: passo 6, imagem 1 %32 Enabot EBO SE Camera Replacement: passo 6, imagem 2 %32
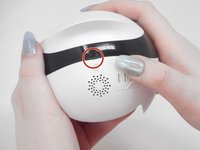
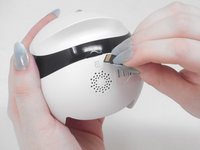
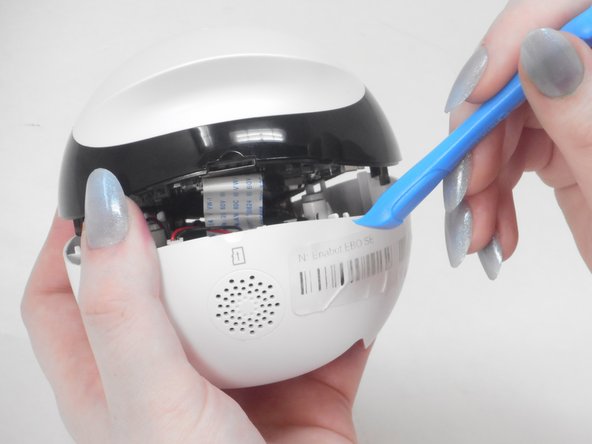
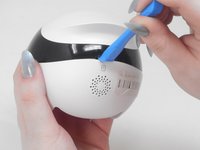
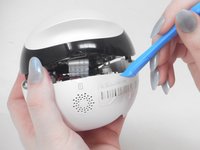
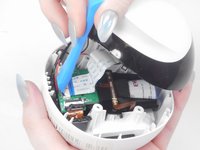
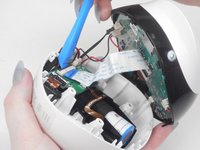
    • Place the iFixit opening tool inside the Micro SD slot.

    • Very carefully apply pressure to the top of the slot and pry open the casing to separate the upper and lower housing.

    Pergunte ao FixBot

    Comentar

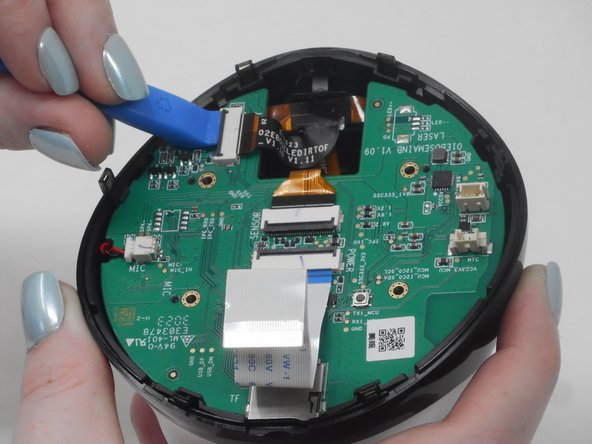
  7. Enabot EBO SE Camera Replacement: passo 7, imagem 1 %32 Enabot EBO SE Camera Replacement: passo 7, imagem 2 %32 Enabot EBO SE Camera Replacement: passo 7, imagem 3 %32
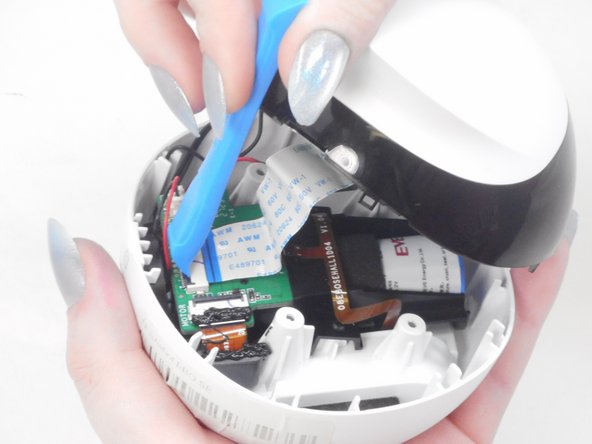
    • Using the iFixit opening tool or your fingernail, place it underneath the gray tab on the lower housing.

    • Lift the tab up and pull out the ribbon cable to disconnect it from the lower housing.

    Pergunte ao FixBot

    Comentar

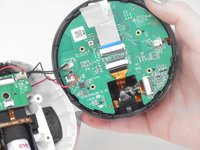
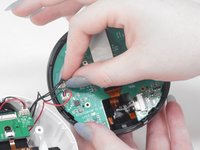
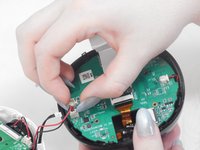
  8. Enabot EBO SE Camera Replacement: passo 8, imagem 1 %32 Enabot EBO SE Camera Replacement: passo 8, imagem 2 %32 Enabot EBO SE Camera Replacement: passo 8, imagem 3 %32
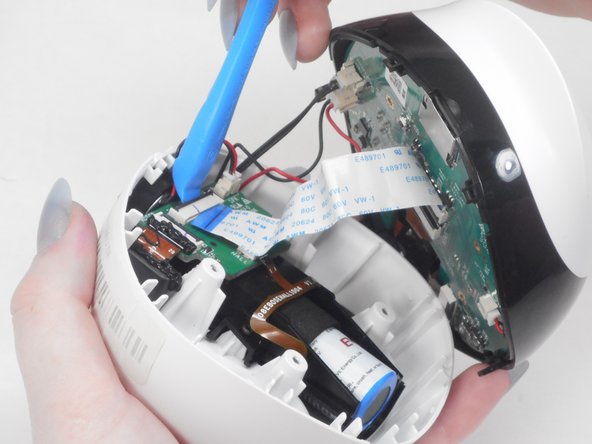
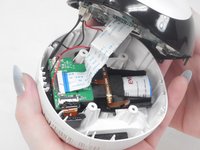
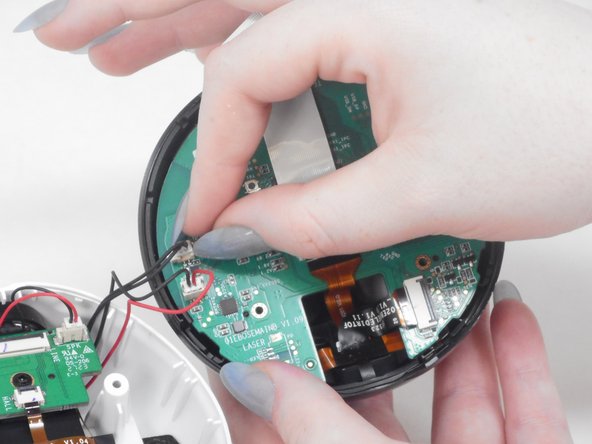
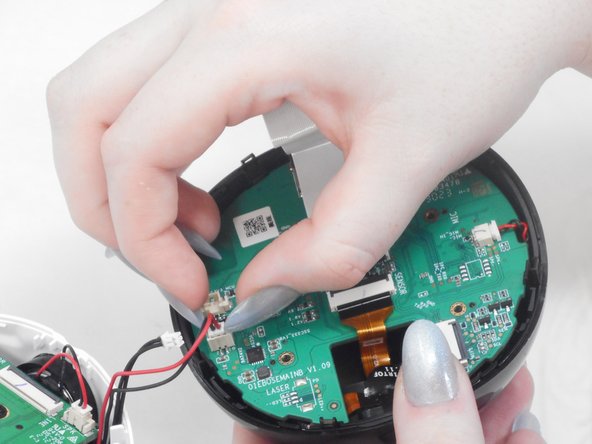
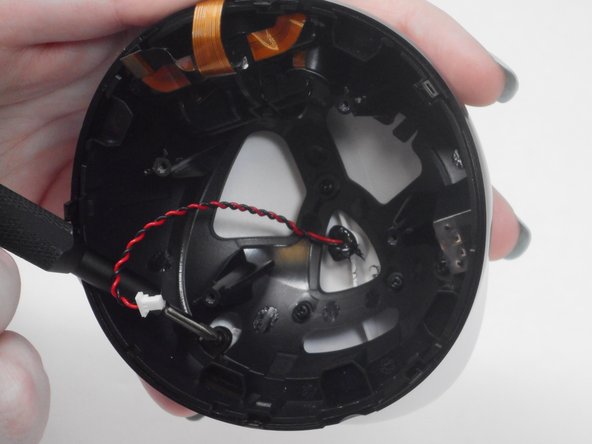
    • There are two black and red wire connectors attached to the upper and lower housing.

    • Gently use your finger nails to lift up and disconnect both wires to fully separate the upper and lower housings.

    Pergunte ao FixBot

    Comentar

  9. Enabot EBO SE Camera Replacement, Motherboard: passo 9, imagem 1 %32 Enabot EBO SE Camera Replacement, Motherboard: passo 9, imagem 2 %32
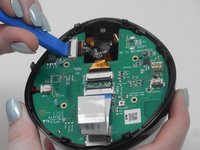
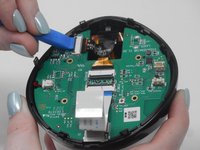
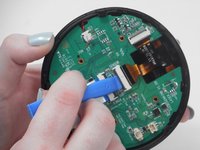
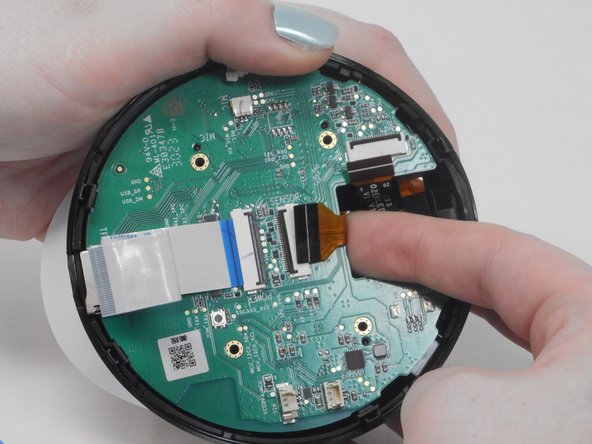
    • Use the iFixit opening tool to unlock the side gray tab and free the orange & black ribbon cable.

    Pergunte ao FixBot

    Comentar

  10. Enabot EBO SE Camera Replacement: passo 10, imagem 1 %32 Enabot EBO SE Camera Replacement: passo 10, imagem 2 %32
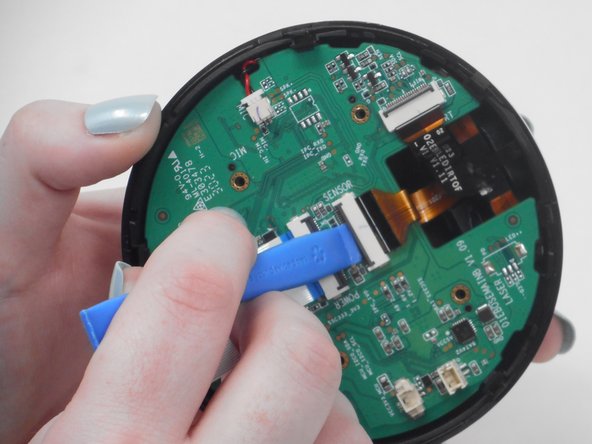
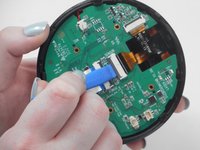
    • Use the iFixit opening tool to unlock the middle gray tab and free the orange & black ribbon cable.

    Pergunte ao FixBot

    Comentar

  11. Enabot EBO SE Camera Replacement: passo 11, imagem 1 %32 Enabot EBO SE Camera Replacement: passo 11, imagem 2 %32 Enabot EBO SE Camera Replacement: passo 11, imagem 3 %32
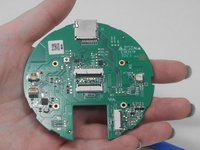
    • Select one of the release tabs on the edge of the upper casing that holds the motherboard in place.

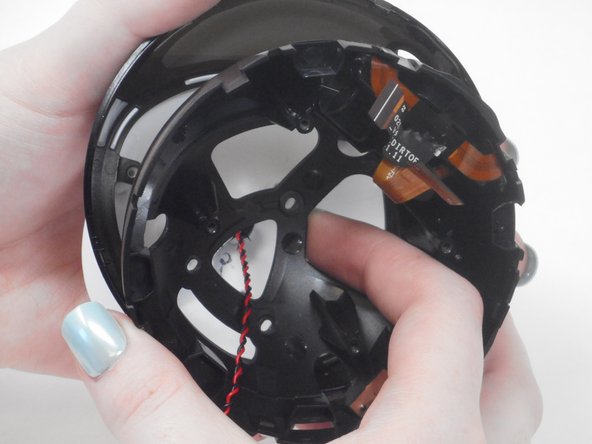
    • Place one finger in between the motherboard and the upper casing.

    • Pull the release tab back while lifting the motherboard with your other finger to "pop" the motherboard out of the casing.

    Pergunte ao FixBot

    Comentar

  12. Enabot EBO SE Camera Replacement: passo 12, imagem 1 %32 Enabot EBO SE Camera Replacement: passo 12, imagem 2 %32 Enabot EBO SE Camera Replacement: passo 12, imagem 3 %32
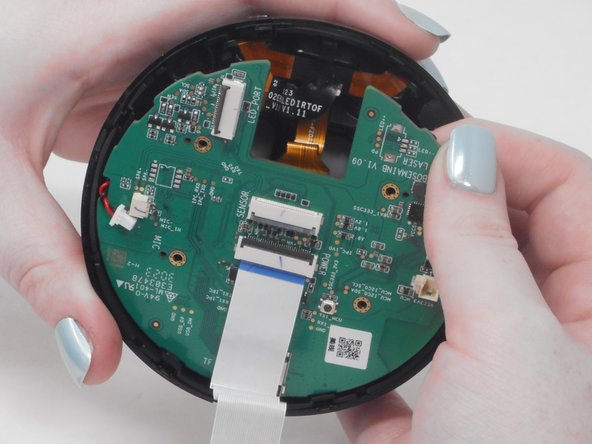
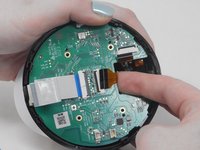
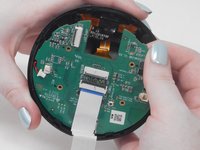
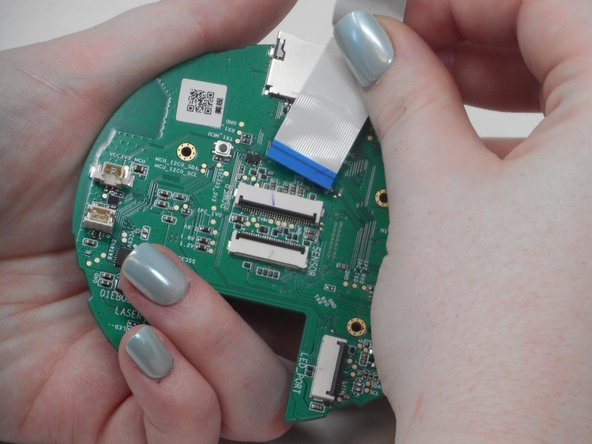
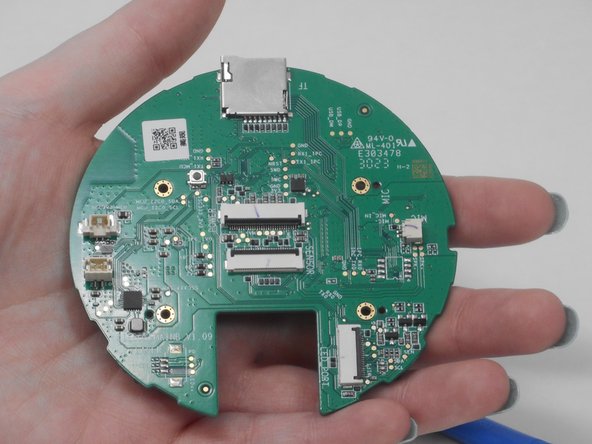
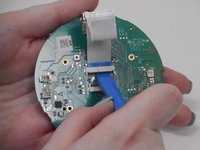
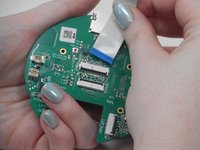
    • Use the ifixit opening tool to disconnect the blue & white ribbon cable.

    • Gently pull the blue & white ribbon cable out of the gray connector tab.

    Pergunte ao FixBot

    Comentar

  13. Enabot EBO SE Camera Replacement, Camera: passo 13, imagem 1 %32 Enabot EBO SE Camera Replacement, Camera: passo 13, imagem 2 %32 Enabot EBO SE Camera Replacement, Camera: passo 13, imagem 3 %32
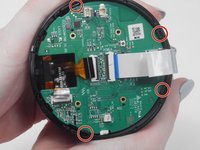
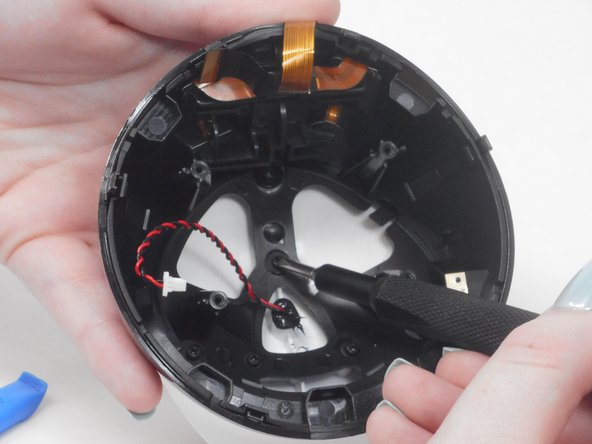
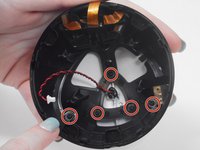
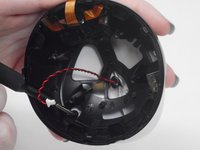
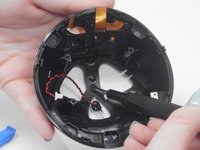
    • Use a Phillips #00 screwdriver to remove all five 7.4 mm screws from the upper casing.

    Pergunte ao FixBot

    Comentar

  14. Enabot EBO SE Camera Replacement: passo 14, imagem 1 %32 Enabot EBO SE Camera Replacement: passo 14, imagem 2 %32
    • Place your fingers in the space between the black casing and white lid.

    • Pull black casing towards you to separate the two parts.

    Pergunte ao FixBot

    Comentar

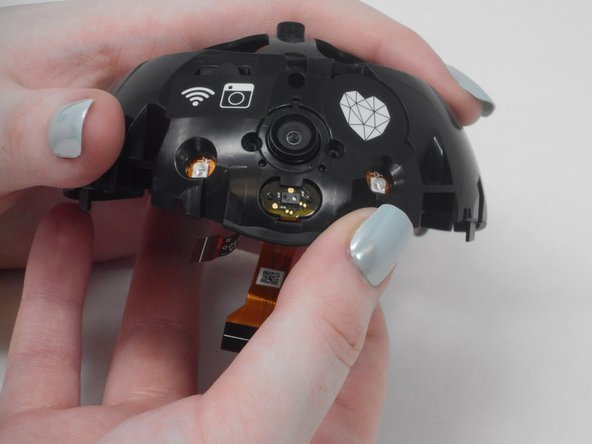
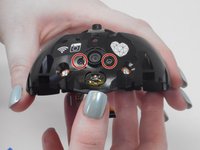
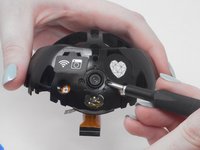
  15. Enabot EBO SE Camera Replacement: passo 15, imagem 1 %32 Enabot EBO SE Camera Replacement: passo 15, imagem 2 %32 Enabot EBO SE Camera Replacement: passo 15, imagem 3 %32
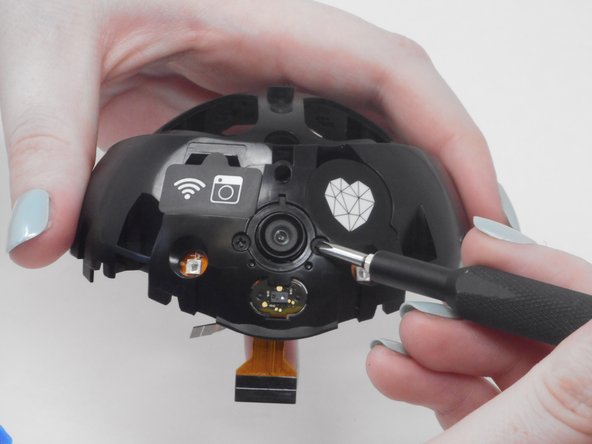
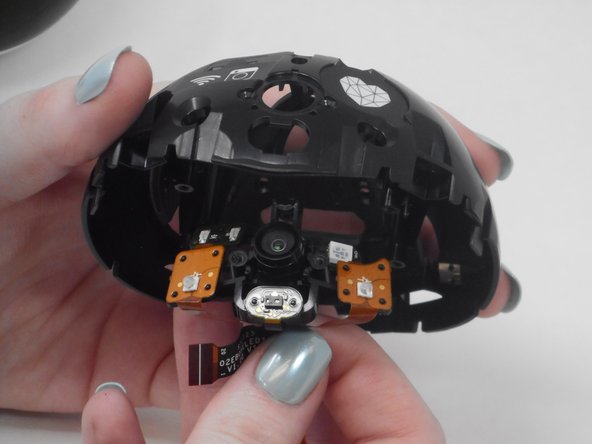
    • Remove the two 6 mm Phillips #00 screws on either side of the camera.

    Pergunte ao FixBot

    Comentar

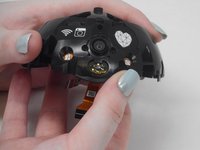
  16. Enabot EBO SE Camera Replacement: passo 16, imagem 1 %32 Enabot EBO SE Camera Replacement: passo 16, imagem 2 %32 Enabot EBO SE Camera Replacement: passo 16, imagem 3 %32
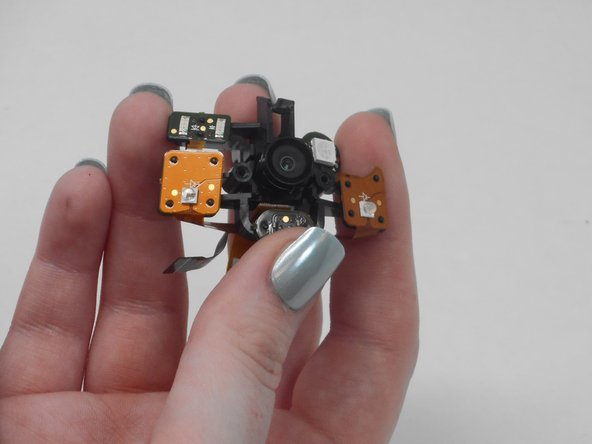
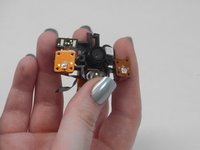
    • Gently remove the camera until it comes out of the casing.

    Pergunte ao FixBot

    Comentar

Conclusão

To reassemble your device, follow these instructions in reverse order.

Cancelar: não concluí este guia.

Oscar Parra

Membro desde: 02/16/24

109 Reputação

Autoria de 1 guia

0Comentários do guia

Comentar

Visualizações:

Últimas 24 horas: 0

Últimos 7 dias: 7

Últimos 30 dias: 43

Ao todo: 605