Introdução
The Ematic EXP8 was released by Ematic in September of 2012 as an entry level tablet with a 9.7 inch screen.
O que você precisa
-
-
-
Place the device on a firm, flat surface. Be sure to have adequate room for putting aside tools, small parts etc.
 Pergunte ao FixBot
-
-
-
Rotate the device and examine the sides. Remove all four 4mm screws with a screwdriver.
-
-
-
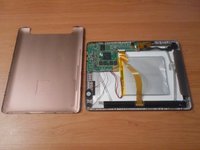
Gently wedge a prying tool under the back panel cover, releasing it from the latches inside.
-
-
-
-
Remove the cable (yellow) from over the top of the battery by gently unhooking at it's insertion.
-
-
-
Remove the positive and negative battery cables by using a soldering gun.
-
-
-
Use a prying tool to carefully dislodge the battery from the adhesive on it's under-side. Discard faulty battery.
-
-
-
Place new battery in the same position as the old one. Additional adhesive may be required to ensure the battery will not move.
-
-
-
Using a soldering tool, connect the new positive and negative cables to their appropriate places on the motherboard.
-
-
-
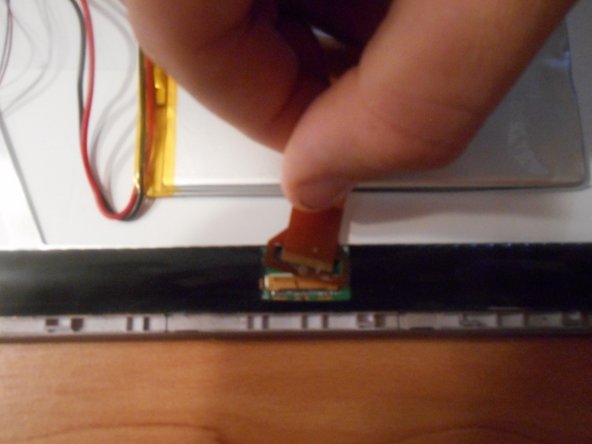
Re-connect yellow cable over the top of the battery to it's insertion point.
-
-




To reassemble your device, follow these instructions in reverse order.
Cancelar: não concluí este guia.
Uma outra pessoa concluiu este guia.

Equipe

Montana Tech, Team 3-1, Shirk Fall 2015 Membro de Montana Tech, Team 3-1, Shirk Fall 2015
MTUM-SHIRK-F15S3G1
3 Membros
1 Guia de autoria
2Comentários do guia
Very nice guide! The steps are in a logical order and hands are used to show how to replace the battery. When you say in step 2, "remove all four 4mm screws with a screwdriver," include the type of screwdriver they need to use to remove the screws in that step. Your pictures are all focused and in a logical order, but adding markups to the pictures will add more clarity for the user. If you set the white balance of the pictures so that the background looks white, it will allow all of the device parts to stand out more. Also, you don't need to add steps about reassembling the device. The conclusion "to reassemble your device, follow these instructions in reverse order" covers the reassembly of the device.
I'm not sure where to add a comment about your device page, so I'll just add one here.
Your device page is set up correctly and has good background information about the device. Make sure to add more additional links to help users double check that they are using the correct repair guides for their device.
The link to your troubleshooting page isn't showing up as a link. To figure out how to make a link, look at another repair guide that has working links. Click on "edit," and use their link set up as an example of how to set up your own link.
