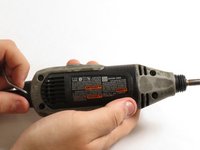
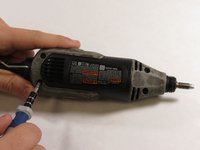
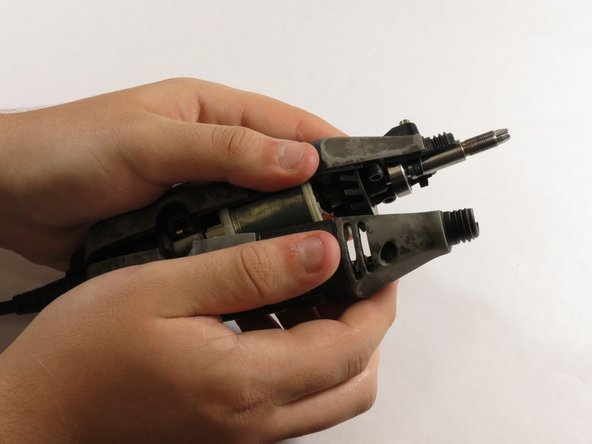
Ir para o conteúdo principal

Dremel MultiPro 395 Casing Replacement

O que você precisa

  1. Dremel MultiPro 395 Casing Replacement, Casing: passo 1, imagem 1 %32 Dremel MultiPro 395 Casing Replacement, Casing: passo 1, imagem 2 %32
    Ferramenta utilizada nesse passo:
    Flathead 3/32" or 2.5 mm Screwdriver
    $5.49
    Comprar
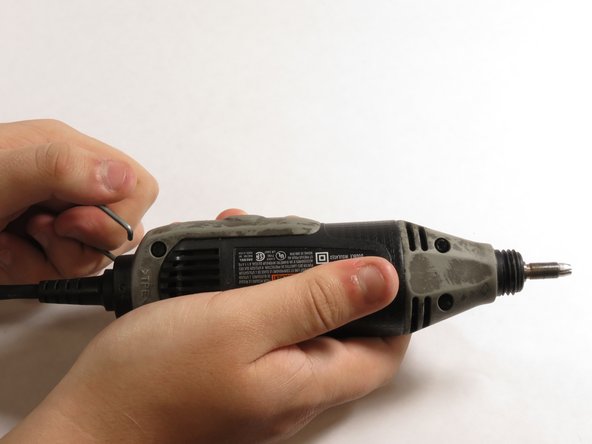
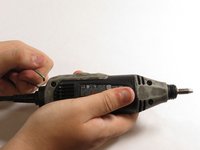
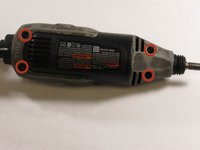
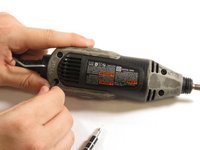
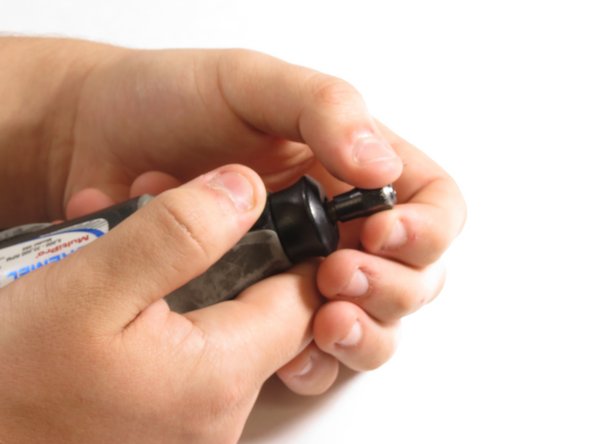
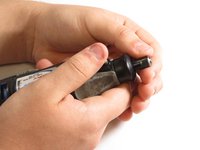
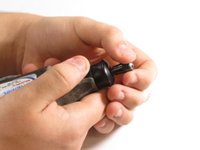
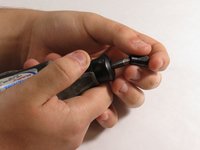
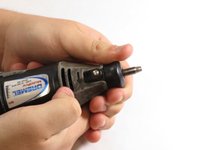
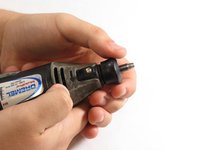
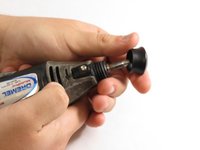
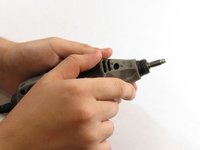
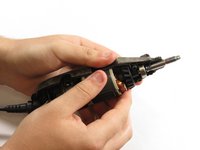
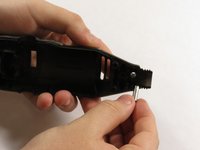
    • Remove the blue caps located on either side of the MultiPro, using a 3 mm flathead screwdriver.

  2. Dremel MultiPro 395 Casing Replacement: passo 2, imagem 1 %32 Dremel MultiPro 395 Casing Replacement: passo 2, imagem 2 %32
    • Carefully remove the carbon brushes attached at the end of the springs by gently pulling on the springs using your hands.

  3. Dremel MultiPro 395 Casing Replacement: passo 3, imagem 1 %32 Dremel MultiPro 395 Casing Replacement: passo 3, imagem 2 %32
    • Pull one side of the hanger up and then pull away from the Multipro until the other side can be pulled out.

  4. Dremel MultiPro 395 Casing Replacement: passo 4, imagem 1 %32 Dremel MultiPro 395 Casing Replacement: passo 4, imagem 2 %32 Dremel MultiPro 395 Casing Replacement: passo 4, imagem 3 %32
    • Remove the 4 screws located on the bottom of the Multipro with a T15 screwdriver.

  5. Dremel MultiPro 395 Casing Replacement: passo 5, imagem 1 %32 Dremel MultiPro 395 Casing Replacement: passo 5, imagem 2 %32 Dremel MultiPro 395 Casing Replacement: passo 5, imagem 3 %32
    • Hold down the collet lock, remove the chuck cap from the top of the Multipro by screwing counterclockwise.

  6. Dremel MultiPro 395 Casing Replacement: passo 6, imagem 1 %32 Dremel MultiPro 395 Casing Replacement: passo 6, imagem 2 %32 Dremel MultiPro 395 Casing Replacement: passo 6, imagem 3 %32
    • Remove the black housing cap from the Multipro located directly below the chuck cap.

  7. Dremel MultiPro 395 Casing Replacement: passo 7, imagem 1 %32 Dremel MultiPro 395 Casing Replacement: passo 7, imagem 2 %32 Dremel MultiPro 395 Casing Replacement: passo 7, imagem 3 %32
    • Pull the bottom side of the casing up to remove it.

  8. Dremel MultiPro 395 Casing Replacement: passo 8, imagem 1 %32 Dremel MultiPro 395 Casing Replacement: passo 8, imagem 2 %32 Dremel MultiPro 395 Casing Replacement: passo 8, imagem 3 %32
    • Gently lift the motor shaft out of the Multipro.

  9. Dremel MultiPro 395 Casing Replacement: passo 9, imagem 1 %32 Dremel MultiPro 395 Casing Replacement: passo 9, imagem 2 %32 Dremel MultiPro 395 Casing Replacement: passo 9, imagem 3 %32
    • Pull the lock pin and its casing out of the other side of the Multipro case.

Conclusão

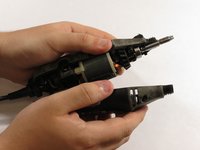
To reassemble your device, follow these instructions in reverse order.

2 outras pessoas executaram este guia.

Um comentário

A link to parts is always nice,

bari - Responder

Adicione um comentário

Exibir estatísticas:

Últimas 24 horas: 0

Últimos 7 dias: 3

Últimos 30 dias: 8

Duração total: 2,107