Ir para o conteúdo principal
Participe da comunidade de reparos - Criar conta

Disassembling the Linksys E1200

O que você precisa

    1. Disassembling the Linksys E1200, Cover and Circuit Board: passo 1, imagem 1 %32 Disassembling the Linksys E1200, Cover and Circuit Board: passo 1, imagem 2 %32 Disassembling the Linksys E1200, Cover and Circuit Board: passo 1, imagem 3 %32
      • Opening the device will void your warranty.

      • Anti-slip pads cover three screws that hold the device together. Pry off the pads to access the screws.

      • Remove the three screws.

      • Save the pads for reassembly.

      Pergunte ao FixBot

      Comentar

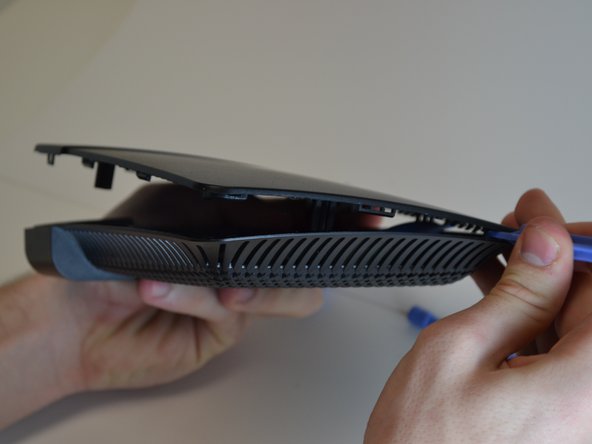
    2. Disassembling the Linksys E1200: passo 2, imagem 1 %32 Disassembling the Linksys E1200: passo 2, imagem 2 %32 Disassembling the Linksys E1200: passo 2, imagem 3 %32
      • Once the three screws are removed, the device is ready for disassembly.

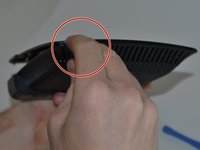
      • Push up on the rear flap while holding down on the rest of the body. This will open a small gap.

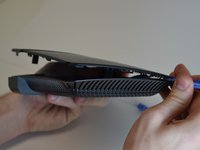
      • Insert the plastic opening tool in the gap and begin prying on the corner.

      • Continue to pry around the body of the case. Separate both sides of the case with this method.

      Pergunte ao FixBot

      Comentar

    3. Disassembling the Linksys E1200: passo 3, imagem 1 %32 Disassembling the Linksys E1200: passo 3, imagem 2 %32
      • Once the sides are released, the front of the cover can be removed.

      • Use a plastic opening tool to separate the front of the cover from the body.

      • It is helpful to use a different plastic opening tool as a wedge on the sides to prevent them from snapping back together.

      Pergunte ao FixBot

      Comentar

    4. Disassembling the Linksys E1200: passo 4, imagem 1 %32 Disassembling the Linksys E1200: passo 4, imagem 2 %32 Disassembling the Linksys E1200: passo 4, imagem 3 %32
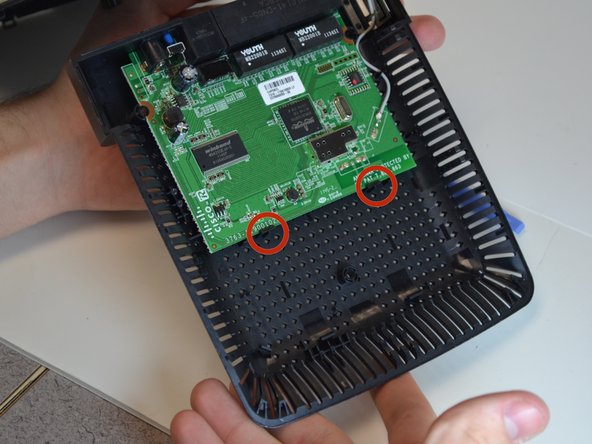
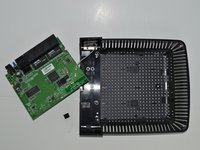
      • The cover can now be removed.

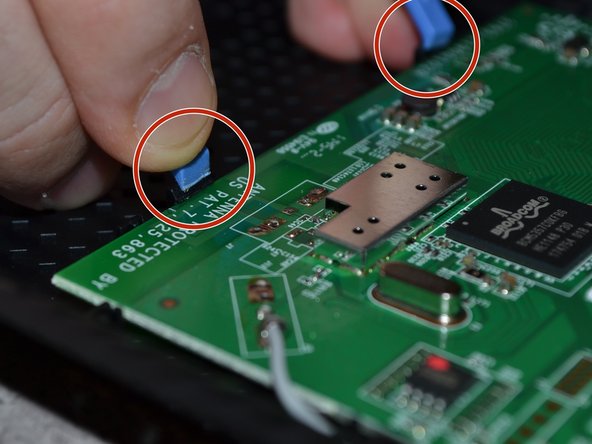
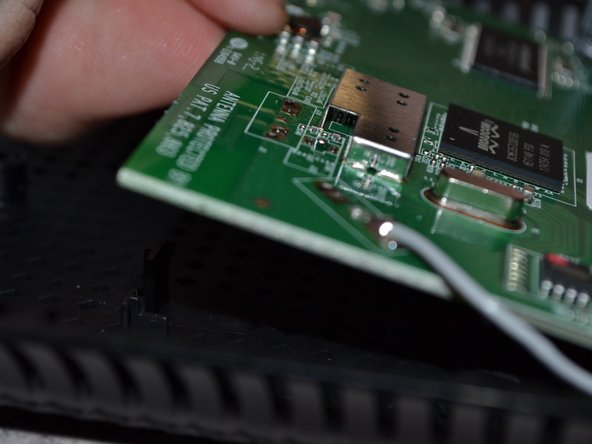
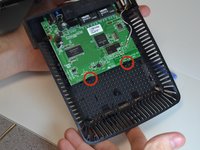
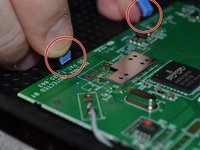
      • To repair anything on the circuit board, use the plastic opening tool to pull back on the two tabs holding it down.

      • Use caution when pulling on the tabs as they are stiff and easy to break.

      • Keep the tabs if they snap off. The tabs can be reattached with glue when reassembling the device.

      Pergunte ao FixBot

      Comentar

    5. Disassembling the Linksys E1200: passo 5, imagem 1 %32 Disassembling the Linksys E1200: passo 5, imagem 2 %32 Disassembling the Linksys E1200: passo 5, imagem 3 %32
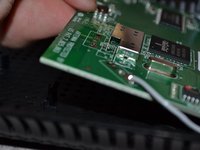
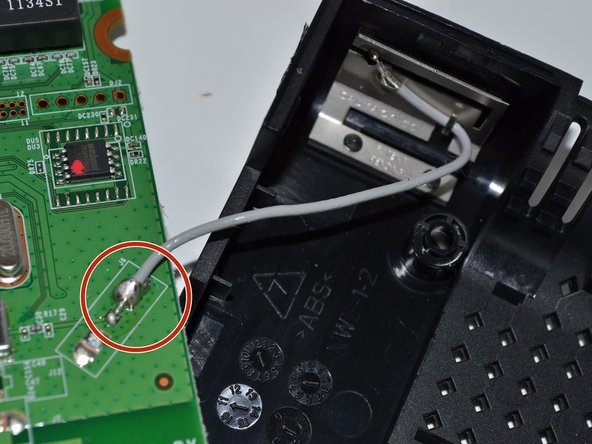
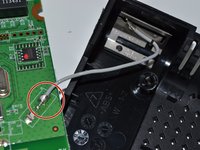
      • If the antenna needs to be disconnected, desolder the connection and reattach it prior to reassembly.

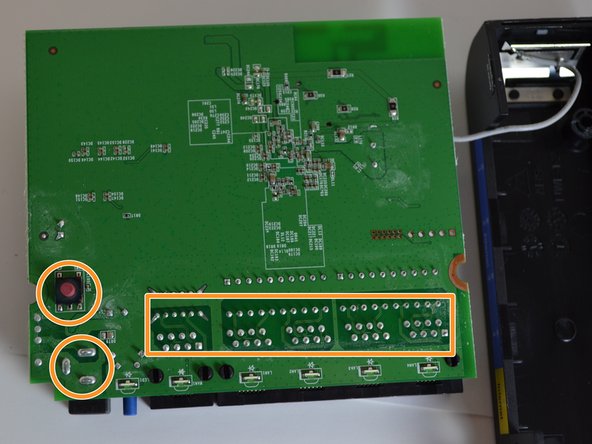
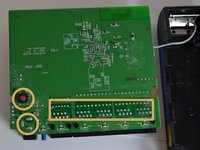
      • If the ethernet ports, power port, or reset button are damaged, the large solder points allow you to replace them.

      • Many components on the board cannot be serviced. These components were attached by a machine and cannot be removed.

      Pergunte ao FixBot

      Comentar

Conclusão

To reassemble your device, follow these instructions in reverse order.

Cancelar: não concluí este guia.

13 outras pessoas executaram este guia.

Equipe

Michigan Tech, Team 5-4, Lauer Spring 2014 Membro de Michigan Tech, Team 5-4, Lauer Spring 2014

MTU-LAUER-S14S5G4

3 Membros

Autoria de 23 guias

0Comentários do guia

Comentar

Visualizações:

Últimas 24 horas: 1

Últimos 7 dias: 10

Últimos 30 dias: 45

Ao todo: 7,765