O que você precisa
-
-
Place the subwoofer on it legs to protect the driver. Be careful not to touch the driver/speaker on the bottom when you handle the case.
-
Using the 3mm hex tool, remove only the outer rim of screws, starting from the bottom.
-
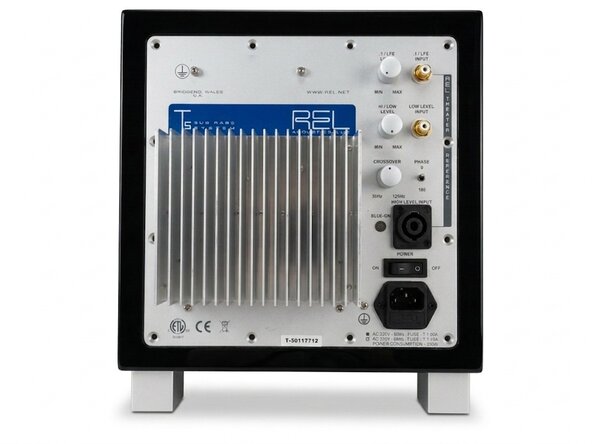
Make sure to support the plate amp by gripping the heat sink.
-
Remove the top screws. Be aware: the heavy transformer is located at the top. Removing the top screws will probably make the plate amp tilt out of the case.
-
Using the heatsink, carefully lift the plate amp out of the case. Again: it's heavier than you might expect!
 Pergunte ao FixBot
-
-
-
The plate amp is still connected to the driver via faston connectors. I found it easiest to disconnect the driver connectors, but removing them from the amplifier side works equally well.
-
-
-
You've now removed the plate amp. Set it aside on the heatsink side. The height of the heatsink will make sure that the controls are not damaged.
-
Now is a good time to check the voltage rails for residual voltage. Everything after the rectifier bridge should be <45V, but always take appropriate precautions when it comes to mains powered devices.
-
-
-
-
Snip all tywraps, such that all cables can be manipulated freely.
-
-
-
Disconnect all connectors that tie to the transformer
-
Make sure that all leads can be manipulated freely.
-
-
-
Start loosening the screws on the back using the m3 hex tool
-
Don't remove them fully, yet though.
-
-
-
Turn the amp on it's back.
-
Remove the nuts from the screws that where loosened on the back.
-
Remove the philips screws using a #2.
-
-
-
Loosen the dampening rubber by running a Halberd Spudger underneath it.
-
The rubber is not adhered to the aluminium and is pretty tough, so a moderate amount of force is allowed.
-
-
-
You can now remove the transformer from the plate. Be careful not to damage the controls on the plate now that the assembly is a lot lighter.
-




To reassemble your device, follow these instructions in reverse order.

