Introdução
This guide will instruct you to take the left cover off of the camcorder.
O que você precisa
-
-
Remove the six 7.9mm Phillips #0 screws on the back and bottom.
-
Remove the one 3.8mm Phillips #0 screw on the bottom.
-
Remove the two 7.5mm Phillips #0 screws on the back and bottom.
 Pergunte ao FixBot
-
-
-
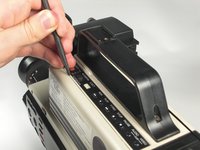
Remove 5.8mm Phillips #1 screw from the side button panel.
-
Slide the viewfinder all the way to the right and remove the 7.9mm Phillips #0 screw.
-
-
-
-
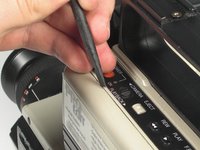
Pry along the seam on the top side near the buttons with a spudger.
-
-
-
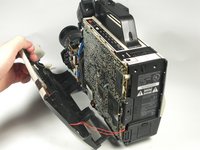
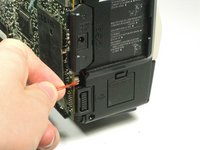
Pull the left panel away from the rest of the camcorder.
-
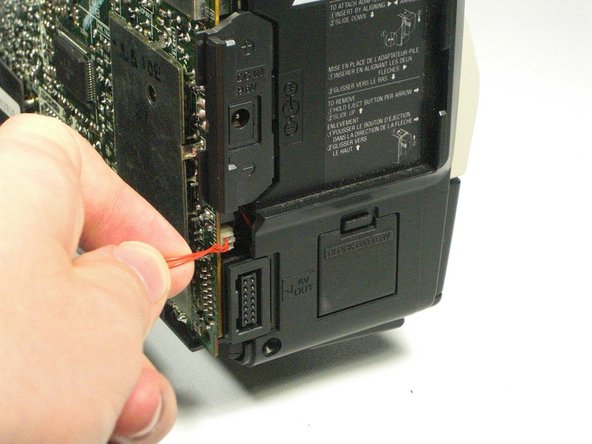
Unplug the red speaker cable located at the rear of the device.
-


To reassemble your device, follow these instructions in reverse order.

Equipe

Cal Poly, Team 5-20, Amido Winter 2011 Membro de Cal Poly, Team 5-20, Amido Winter 2011
CPSU-AMIDO-W11S5G20
4 Membros
Autoria de 7 guias