Ir para o conteúdo principal
Participe da comunidade de reparos - Criar conta

Disassembling IBM ThinkPad A30 Upper Case

O que você precisa

    1. Disassembling IBM ThinkPad A30 Upper Case, Battery: passo 1, imagem 1 %32 Disassembling IBM ThinkPad A30 Upper Case, Battery: passo 1, imagem 2 %32
      • Flip the ThinkPad over so that it is upside down.

      • Slide the highlighted tab to the left.

      • With your finger on the tab, remove the battery by lifting it upwards away from the laptop.

      Pergunte ao FixBot

      Comentar

    1. Disassembling IBM ThinkPad A30 Upper Case, Hard Drive: passo 2, imagem 1 %32 Disassembling IBM ThinkPad A30 Upper Case, Hard Drive: passo 2, imagem 2 %32 Disassembling IBM ThinkPad A30 Upper Case, Hard Drive: passo 2, imagem 3 %32
      • Remove the highlighted screw with a Phillips #1 screwdriver.

      • Pull the hard drive out.

      Pergunte ao FixBot

      Comentar

    1. Disassembling IBM ThinkPad A30 Upper Case, Upper Case: passo 3, imagem 1 %32
      • Make sure the laptop is upside down and oriented in the direction shown.

      • Remove the six 16.7mm screws inside the circled holes.

      Pergunte ao FixBot

      Comentar

    2. Disassembling IBM ThinkPad A30 Upper Case: passo 4, imagem 1 %32
      • Rotate the ThinkPad so that the hard drive bay is facing you.

      • Remove the black cover to reveal a 14.8mm screw.

      • Remove the uncovered screw with a Phillips #0 screwdriver.

      Pergunte ao FixBot

      Comentar

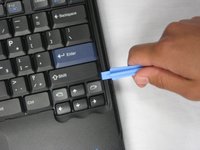
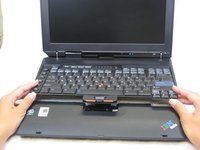
    3. Disassembling IBM ThinkPad A30 Upper Case: passo 5, imagem 1 %32 Disassembling IBM ThinkPad A30 Upper Case: passo 5, imagem 2 %32
      • Flip the ThinkPad over and open the LCD panel.

      • Pry apart the keyboard with a plastic opening tool or with your fingers.

      Pergunte ao FixBot

      Comentar

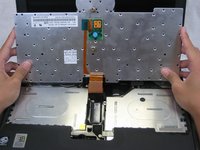
    4. Disassembling IBM ThinkPad A30 Upper Case: passo 6, imagem 1 %32 Disassembling IBM ThinkPad A30 Upper Case: passo 6, imagem 2 %32 Disassembling IBM ThinkPad A30 Upper Case: passo 6, imagem 3 %32
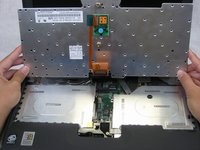
      • Be careful not to pull out the keyboard carelessly; there is a connector underneath it!

      • Lift the front end of the keyboard as shown.

      • Using your fingers, remove the black film cover.

      Pergunte ao FixBot

      Comentar

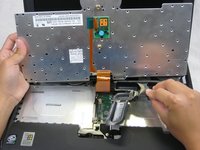
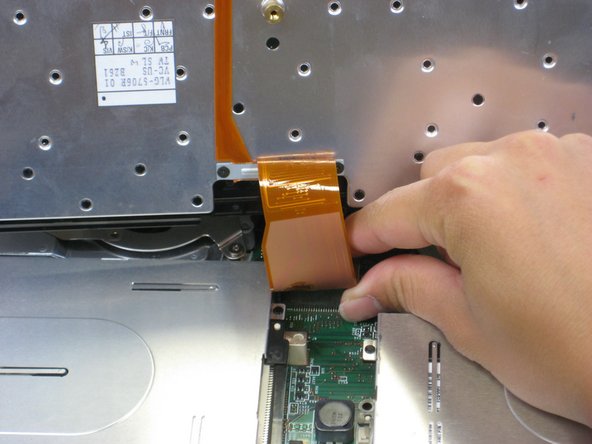
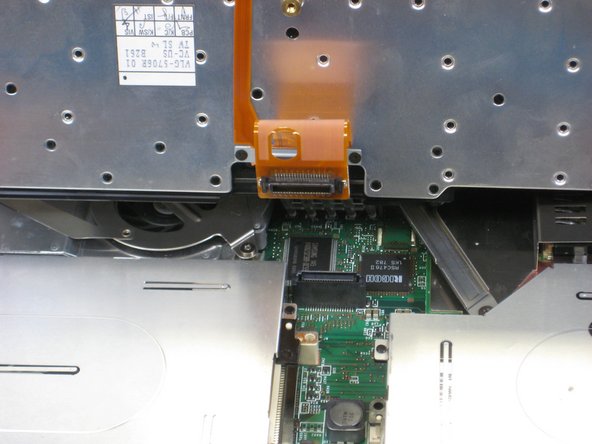
    5. Disassembling IBM ThinkPad A30 Upper Case: passo 7, imagem 1 %32 Disassembling IBM ThinkPad A30 Upper Case: passo 7, imagem 2 %32 Disassembling IBM ThinkPad A30 Upper Case: passo 7, imagem 3 %32
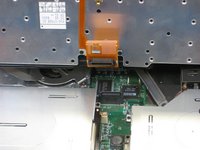
      • Locate the connector attached to the motherboard.

      • Disconnect the ribbon cable by removing the connector.

      Pergunte ao FixBot

      Comentar

    6. Disassembling IBM ThinkPad A30 Upper Case: passo 8, imagem 1 %32 Disassembling IBM ThinkPad A30 Upper Case: passo 8, imagem 2 %32
      • Lift and remove the keyboard.

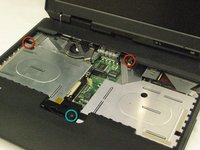
      • Remove the two 5.6mm screws.

      • Remove the 16.7mm screw.

      Pergunte ao FixBot

      Comentar

    7. Disassembling IBM ThinkPad A30 Upper Case: passo 9, imagem 1 %32 Disassembling IBM ThinkPad A30 Upper Case: passo 9, imagem 2 %32 Disassembling IBM ThinkPad A30 Upper Case: passo 9, imagem 3 %32
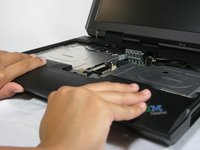
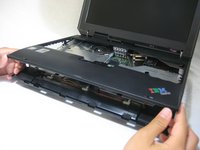
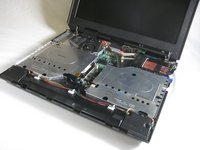
      • You will need to use a little force. Be wary of the tabs.

      • Pry off the upper case with your hands.

      Pergunte ao FixBot

      Comentar

Conclusão

To reassemble your device, follow these instructions in reverse order.

Cancelar: não concluí este guia.

Uma outra pessoa concluiu este guia.

Alan

Membro desde: 10/07/10

380 Reputação

Autoria de 6 guias

Equipe

Cal Poly, Team 4-44, Amido Fall 2010 Membro de Cal Poly, Team 4-44, Amido Fall 2010

CPSU-AMIDO-F10S4G44

4 Membros

Autoria de 77 guias

0Comentários do guia

Comentar

Visualizações:

Últimas 24 horas: 1

Últimos 7 dias: 6

Últimos 30 dias: 36

Ao todo: 2,644