Essa tradução foi gerada por um programa e ainda não foi revisada por uma pessoa. Falas essa língua? Dá uma olhada.
Introdução
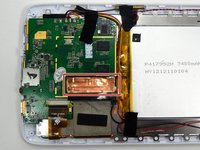
A placa lógica é uma peça essencial de um dispositivo eletrônico. Remover a placa é um passo importante ao acessar ou remover alguns componentes do aparelho. Este guia mostra como realizar essa tarefa.
O que você precisa
-
-
-
Remova quatro parafusos Phillips #00 de 5 mm de cada canto do tablet.
 Pergunte ao FixBot
-
-
-
Coloque a ferramenta de abertura iFixit nos entalhes entre as caixas e separe as tampas.
-
-
-
Repita o segundo passo até que 3/4 da tampa traseira estejam destravados.
-
Continue a remover a tampa traseira puxando-a gentilmente com as mãos.
-
-
-
-
-
Ferramenta utilizada neste passo:Tweezers$4.99
-
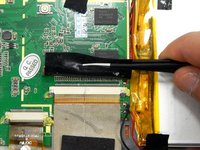
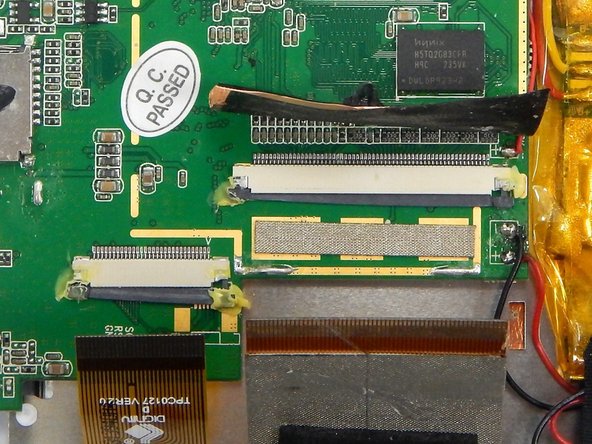
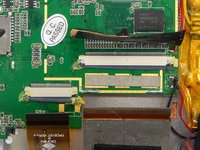
Descole a fita de cobre que cobre o conector do cabo flat com uma pinça.
-
-
-
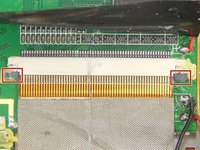
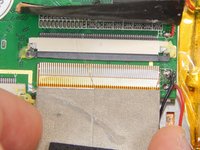
Localize os dois pinos cinzas no conector de fita.
-
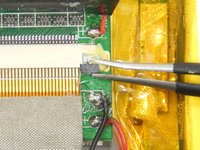
Segure o primeiro pino com uma pinça e puxe-o suavemente em direção à fita. Repita o passo.
-
Puxe suavemente o cabo plano para fora da porta de conexão.
-
-
-
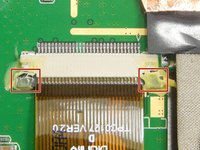
Localize o conector de fita dois.
-
Localize os pinos do conector de fita dois. Repita o passo dois para destravar os pinos.
-
Puxe delicadamente a fita para fora da porta de conexão.
-
-
-
-
-
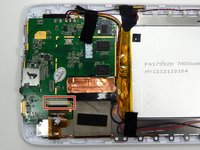
Remova os dois parafusos Phillips #00 da placa-mãe.
-
-
-
Levante a placa-mãe com cuidado e reposicione-a de forma mais eficiente para localizar os componentes desejados.
-
-








Para a remontagem de seu dispositivo, siga estas instruções na ordem inversa.

Equipe

Michigan Tech, Team 1-2, Lauer Spring 2015 Membro de Michigan Tech, Team 1-2, Lauer Spring 2015
MTU-LAUER-S15S1G2
2 Membros
Autoria de 60 guias
