Introdução
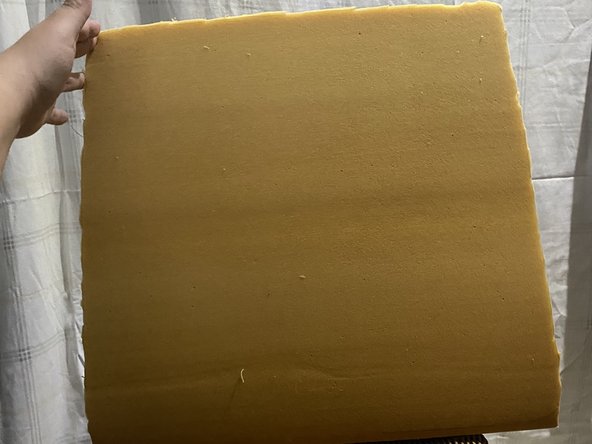
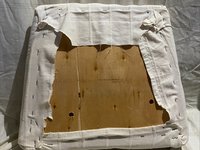
Are you sitting comfortably? If not, it might be time to take a closer look at your dining chair. A damaged or unsupportive seat isn't just unsightly—it can also lead to discomfort and health issues like poor posture, back pain, and reduced circulation. But there's good news: you don't need to discard your favorite chair.
This guide is designed to help you replace a worn or damaged chair seat, which is a practical and cost-effective way to improve your seating arrangement and maintain your well-being.
Whether you're a DIY novice or an experienced hand, you'll find detailed step-by-step instructions, helpful photos, and expert tips to guide you through the repair process. Ready to restore comfort and style to your dining area? Grab your tools, and let's give your chair a new lease on life, ensuring it's both safe and stylish!
O que você precisa
-
-
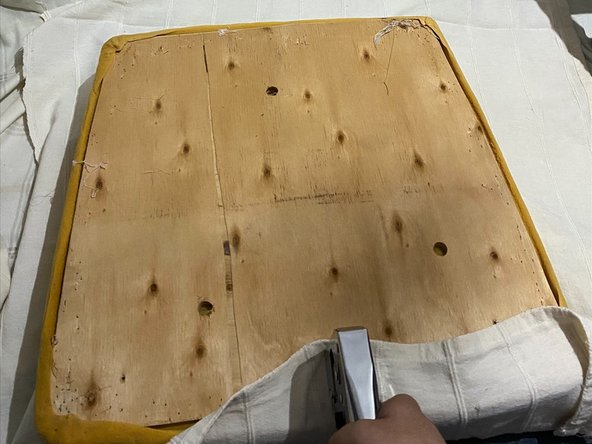
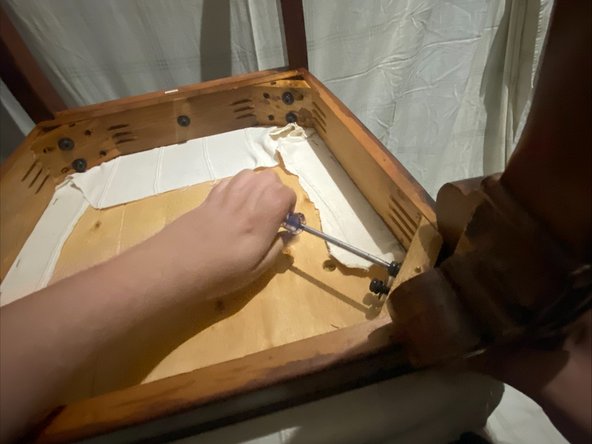
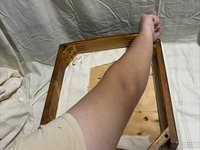
Flip the chair upside down to reveal bolts
-
unscrew the bolts off the base of the chair
-
-


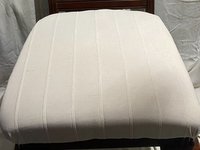


If you followed along with the steps, you should now be looking at a chair that not only looks awesome but feels great to sit in too. Just remember, the skills you've learned today aren't just for fixing chairs—they can apply to all sorts of furniture projects. So keep your tools handy and your creativity flowing. Thanks for sticking with me through this process. Here's to many more successful DIY adventures!
If you followed along with the steps, you should now be looking at a chair that not only looks awesome but feels great to sit in too. Just remember, the skills you've learned today aren't just for fixing chairs—they can apply to all sorts of furniture projects. So keep your tools handy and your creativity flowing. Thanks for sticking with me through this process. Here's to many more successful DIY adventures!
Cancelar: não concluí este guia.
Uma outra pessoa concluiu este guia.
Equipe

CSU Los Angeles, Team 1-83, Harris Spring 2024 Membro de CSU Los Angeles, Team 1-83, Harris Spring 2024
CSULA-HARRIS-S24S1G83
1 Membro
1 Guia de autoria
Um comentário
You skipped a lot of steps that would have been helpful. Like step 3 measure and cut what? It looks like foam for the seat. How do I know whether I need to replace the foam or just add more foam? What type of foam do I use? Should I place a filler on top of the foam? What about the fabric for step 4? What type of fabric do I need? How do I figure out how much fabric to use? What steps do I use to staple the fabric in place so it's tight and will stay put?
Good tutorial if someone just needs a refresher on the steps. But there's no way a first timer is following this and coming out with anything but frustration.