Essa tradução foi gerada por um programa e ainda não foi revisada por uma pessoa. Falas essa língua? Dá uma olhada.
Introdução
Este guia explica como desmontar a Vtech Kidizoom Camera.
O que você precisa


 Pergunte ao FixBot


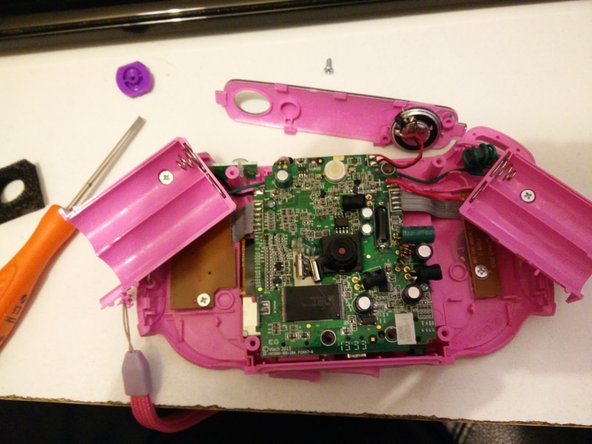
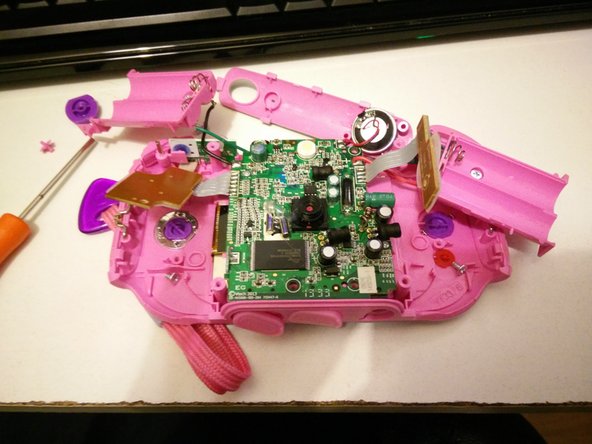
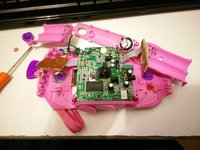


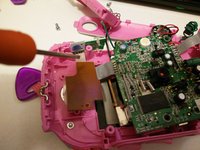
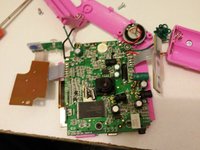
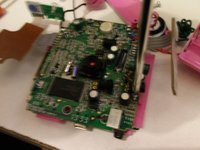

Para remontar o seu dispositivo, siga estas instruções na ordem inversa.
Cancelar: não concluí este guia.
13 outras pessoas executaram este guia.

5Comentários do guia
In the very first step be aware that the you just need to remove the paper ring. In the photo above this is pink and on mine it was orange.
I made the mistake of thinking I had to use some force with a screwdriver, to remove the ring on the front, which resulted in me scratching the chrome ring.
Once you have removed the paper ring, you can see the screws (or they may be under the left over sticky backing to the paper but are easy to find).
These photos were extremely helpful and I was able to repair the camera.
The problem with mine, was that it would not switch on. We replaced the batteries, but still no good.
After using the above photos, I opened the camera and discovered that one of the two cables to one of the battery holders, had come loose.
In the process of resoldering the broken cable, the second battery cable also came off … mainly due to the use of VERY thin wire and minimum solder.
Anyway, the camera is now working again and my son is very happy.
Thank you! It worked great with the Kidizoom Touch 5.0, Same principle. The Trigger was Stuck and with your instruction i was able to Open and fix it!
Thanks! I had the newer Kidzoom touch 5.0 model. It works similar but after the same principle: First remove the camera objective ring. I could repair the (mechanical) damage…
Thanks a lot, also in my case the trigger button of the kidizoom touch 5.0 was stuck. I followed the instruction and was able to fix it. Thereby I scratched a bit the silver ring. This may could be prevented if the locator of the notches are known/considered while trying to remove the outer ring.
Hi, has anyone any experience of taking the Vtech Kidizoom Action Cam HD apart mine charges but will not switch on (loose wire i suspect) but i can't see how to disassemble. Cheers Alan.
