Introdução
The internal screen should be replaced is if there is no display showing. The screen may be damaged from cracks or scratches. You should be cautious when reassembling the headset, as to not damage the new screen.
O que você precisa
-
-
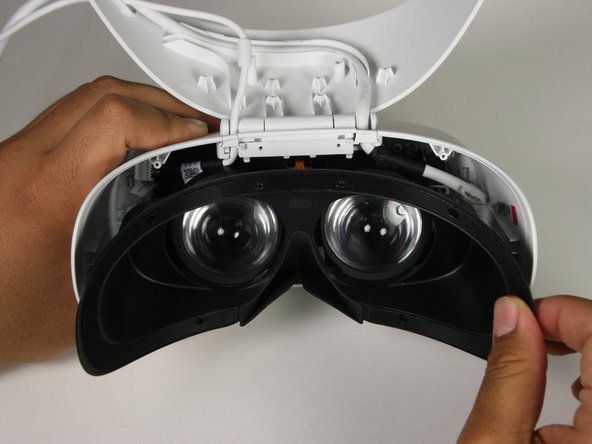
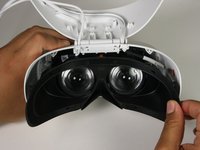
Remove the black foam padding by peeling away slowly.
-
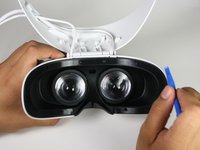
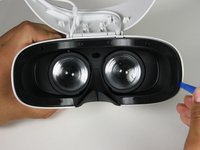
Remove the front and back padding from the headset by peeling away slowly.
 Pergunte ao FixBot
-
-
-
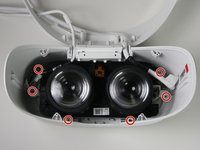
Remove the six 5.5mm PH000 screws from the cover by rotating counter-clockwise.
-
-
-
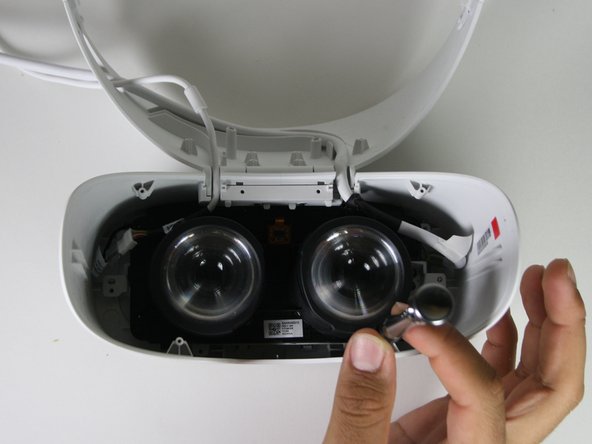
Remove the cover using one of the plastic opening tools, and then carefully pull it from the casing.
-
-
-
-
Remove the six 5.5mm PH000 screws from the cover by rotating counter-clockwise.
-
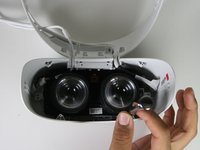
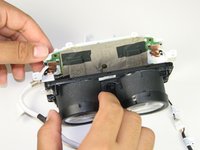
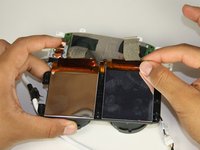
Carefully remove the lens and motherboard assembly from the white casing.
-
-
-
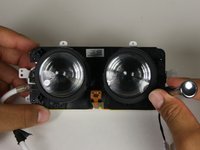
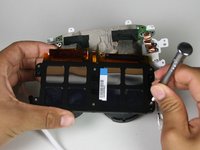
Remove the four 2.5 mm PH000 screws by rotating counter-clockwise.
-
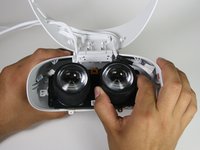
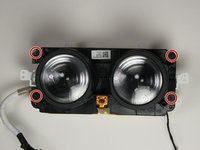
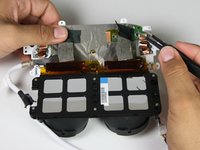
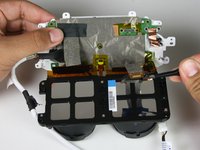
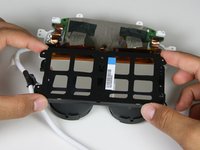
Separate the lenses from the motherboard panel.
-
-
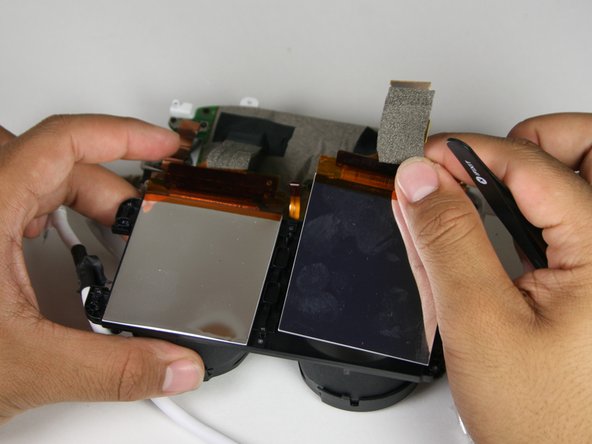
Ferramenta utilizada neste passo:Tweezers$4.99
-
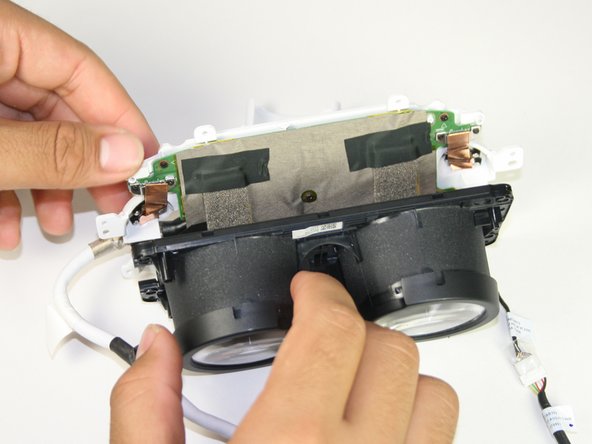
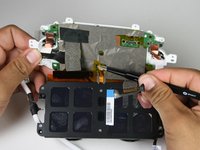
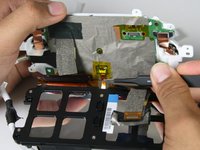
Take off the tape using the blunt nosed tweezers to disconnect the flat-topped connector from the motherboard.
-
-
-
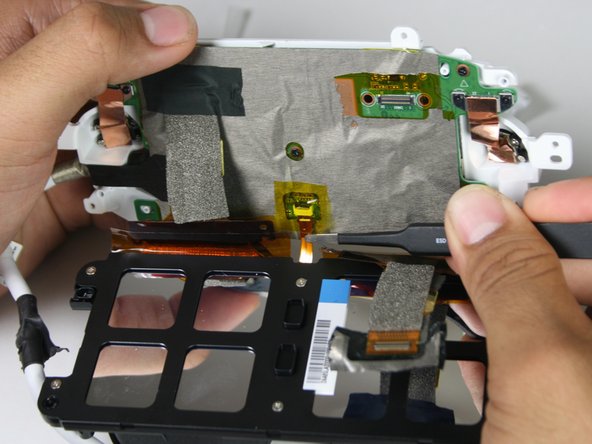
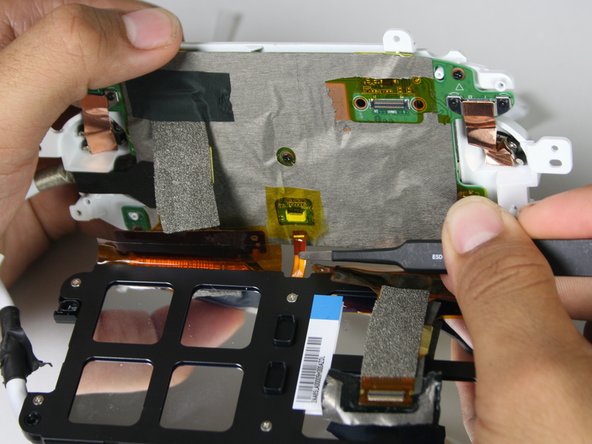
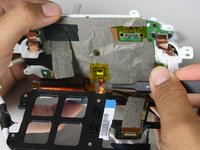
Lift the yellow tape with tweezers.
-
Remove the ribbon cable from the screen to the motherboard with tweezers.
-
-
-
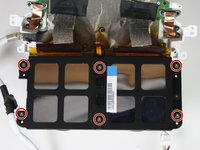
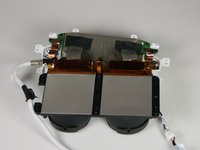
Remove the six 3.4mm PH000 screws by rotating counter-clockwise connecting the back panel to the screen.
-
Remove the back panel from the screen by carefully pulling apart the two.
-


To reassemble your device, follow these instructions in reverse order.
Equipe

Cal Poly, Team S17-G1, White Fall 2018 Membro de Cal Poly, Team S17-G1, White Fall 2018
CPSU-WHITE-F18S17G1
4 Membros
Autoria de 12 guias