Introdução
This repair process involves going into the computer, therefore,you will need to be gentle with electronic components. Also, consider working on this repair in a clean environment so no small pieces of the computer are lost.
O que você precisa
-
-
-
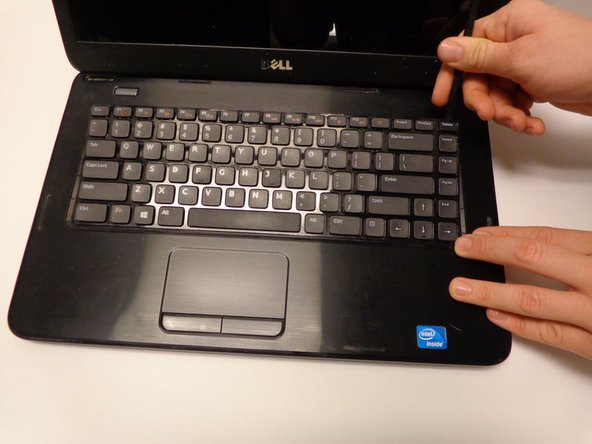
Turn off notebook
-
Set the notebook upside down with the battery facing away from you.
-
Locate the unlock and release sliding tabs on the bottom right and left hand corners of the battery respectively.
 Pergunte ao FixBot
-
-
-
Slide the right tab to the right to unlock the battery.
-
Slide and hold the the left tab to the left to release the battery from the unit.
-
Finally, remove the battery by sliding it away from the unit and yourself.
-
-
-
-
-
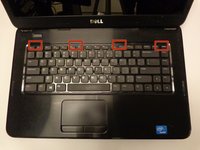
Locate the four tabs along the top edge of the keyboard.
-
Using the spudger, push the tabs away from the keyboard and pull the keyboard up away from the laptop.
-
-
-
-
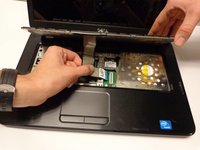
Slide the keyboard forward towards the screen to release the bottom tabs.
-
-
-
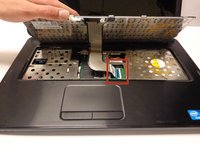
Carefully lift the board up and locate the connecting cable.
-
Gently pull the end of the cable free from the port on the laptop.
-
-
-
-
-
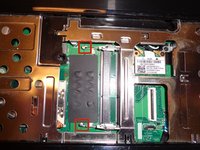
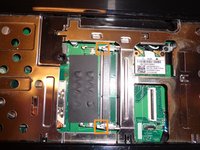
There are two connecting pins for the lower chip.
-
There are two connecting pins for the upper chip.
-
Pull the pins away from the sides of the chip(s) to release it.
-


To reassemble your device, follow these instructions in reverse order.
Cancelar: não concluí este guia.
18 outras pessoas executaram este guia.
Equipe

USF Tampa, Team 16-2, Watkins Winter 2015 Membro de USF Tampa, Team 16-2, Watkins Winter 2015
USFT-WATKINS-W15S16G2
3 Membros
Autoria de 5 guias