Introdução
Before beginning the Dell Inspiron 1526 keyboard replacement guide, be sure that you have all of the tools listed. Because there are some small delicate steps involved, make sure that you are in an environment free of distractions that is well lit.
O que você precisa
-
-
-
Slide the unlock button to the left to release the battery.
-
Slide the battery away from the laptop to remove.
 Pergunte ao FixBot
-
-
-
-
-
Loosen the two 3.5mm Phillips #1 screws in the battery bay.
-
-
-
Flip the laptop over.
-
Lift the control cover by prying the right side of the cover with an iFixit opening tool.
-
-
-
-
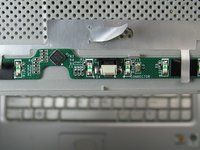
Carefully lift the control cover up and forward to reveal a single ribbon cable.
-
-
Ferramenta utilizada neste passo:Tweezers$4.99
-
Use tweezers to squeeze the tabs on the connector and remove the ribbon cable.
-
-
-
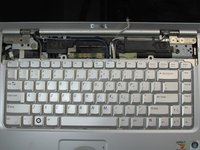
Remove the two 3mm Phillips #1 screws at the top of the keyboard where the control cover was.
-
-
-
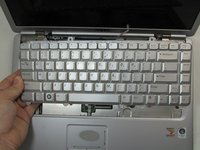
Lift the keyboard gently from the top, but do not remove completely.
-
Looking under the keyboard, towards the touch-pad in the center, lift up the black tab on the connector with tweezers for the keyboard ribbon cable.
-
-




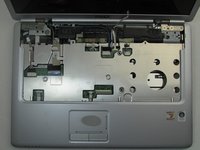
To reassemble your device, follow these instructions in reverse order.

Equipe

Embry-Riddle Aeronautical University, Team S20-G3, Branham Fall 2019 Membro de Embry-Riddle Aeronautical University, Team S20-G3, Branham Fall 2019
ERAU-BRANHAM-F19S20G3
4 Membros
Autoria de 5 guias
