Ir para o conteúdo principal
Participe da comunidade de reparos - Criar conta

DeWalt DWD112 Brush Replacement

O que você precisa

  1. DeWalt DWD112 Brush Replacement, Power Cord: passo 1, imagem 1 %32
    • Remove seven TR20 Torx Security screws from the side of the drill.

    Pergunte ao FixBot

    Comentar

  2. DeWalt DWD112 Brush Replacement: passo 2, imagem 1 %32
    • Remove the top cover to reveal the inside of the drill.

    • Set the top cover of the drill aside.

    Pergunte ao FixBot

    Comentar

  3. DeWalt DWD112 Brush Replacement: passo 3, imagem 1 %32
    • The power cord and the trigger act as a single part and must be replaced together.

    • Using one hand grab the trigger box and with the other grab the end of the wire connecting to the trigger box and disconnect the wire.

    Pergunte ao FixBot

    Comentar

  4. DeWalt DWD112 Brush Replacement: passo 4, imagem 1 %32
    • Disconnect the second connected wire from the top of the trigger box.

    Pergunte ao FixBot

    Comentar

  5. DeWalt DWD112 Brush Replacement: passo 5, imagem 1 %32
    • Lift the trigger box up to reveal the bottom side.

    • Disconnect the first connected wire from the bottom of the trigger box.

    Pergunte ao FixBot

    Comentar

  6. DeWalt DWD112 Brush Replacement: passo 6, imagem 1 %32
    • Disconnect the last wire from the trigger box using the same method from the previous step.

    Pergunte ao FixBot

    Comentar

  7. DeWalt DWD112 Brush Replacement: passo 7, imagem 1 %32
    • After all four wires are disconnected, the trigger and power cord are separated from the drill.

    • The power cord and trigger can be set aside if further disassembly is required.

    Pergunte ao FixBot

    Comentar

  8. DeWalt DWD112 Brush Replacement, Armature: passo 8, imagem 1 %32
    • Take note of the keyless chuck and the meshing of the gears.

    Pergunte ao FixBot

    Comentar

  9. DeWalt DWD112 Brush Replacement: passo 9, imagem 1 %32 DeWalt DWD112 Brush Replacement: passo 9, imagem 2 %32
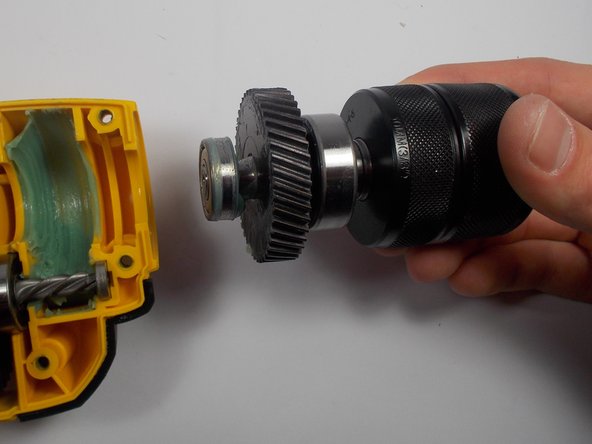
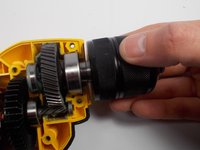
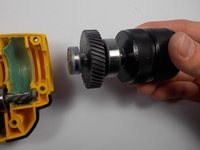
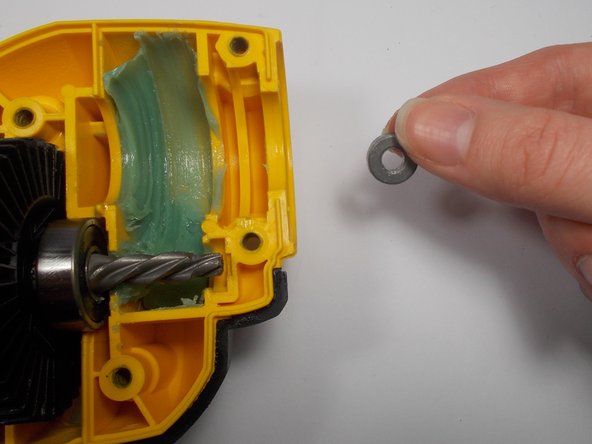
    • Grab the metal chuck by the rotating spindle as if you are to tighten in a drill bit.

    • Lift the metal chuck out of its resting place and set aside.

    Pergunte ao FixBot

    Comentar

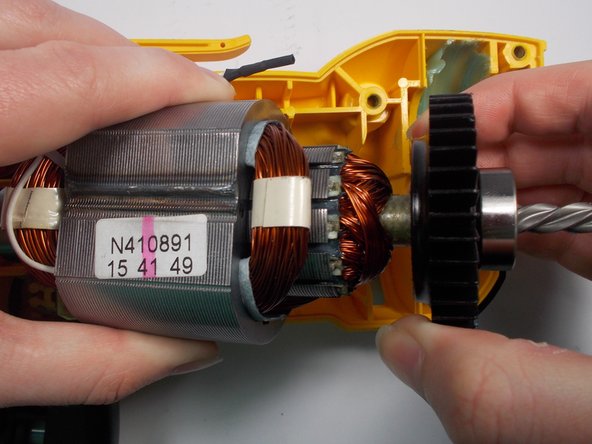
  10. DeWalt DWD112 Brush Replacement: passo 10, imagem 1 %32 DeWalt DWD112 Brush Replacement: passo 10, imagem 2 %32 DeWalt DWD112 Brush Replacement: passo 10, imagem 3 %32
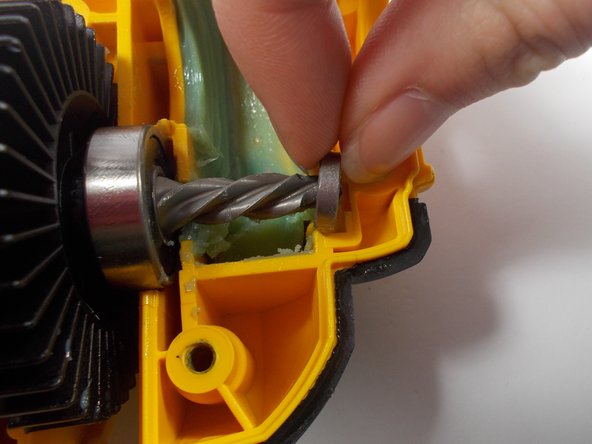
    • With your left hand, grab hold of the field, which is the large metal block with coils looped around the inside.

    • Use your other hand to take the bearing out from the end of the gear connected to the armature.

    Pergunte ao FixBot

    Comentar

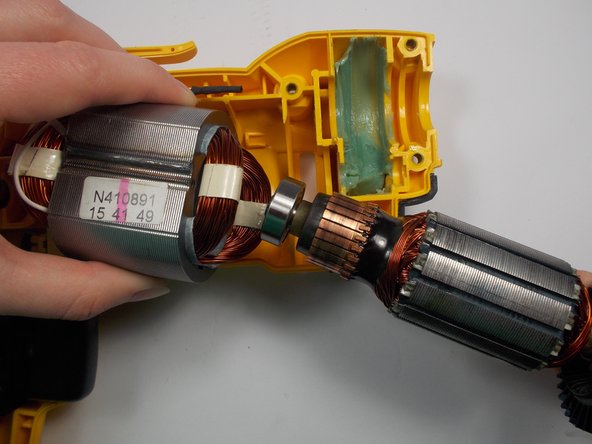
  11. DeWalt DWD112 Brush Replacement: passo 11, imagem 1 %32 DeWalt DWD112 Brush Replacement: passo 11, imagem 2 %32 DeWalt DWD112 Brush Replacement: passo 11, imagem 3 %32
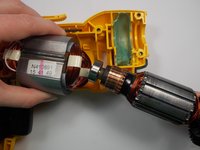
    • Lift the field up once more with one hand and grab the cooling fan with the other hand and gently slide the armature out of the field.

    • The brushes will now be disconnected from the armature, meaning no current can flow from the power cord to the motor.

    Pergunte ao FixBot

    Comentar

  12. DeWalt DWD112 Brush Replacement, Field: passo 12, imagem 1 %32 DeWalt DWD112 Brush Replacement, Field: passo 12, imagem 2 %32 DeWalt DWD112 Brush Replacement, Field: passo 12, imagem 3 %32
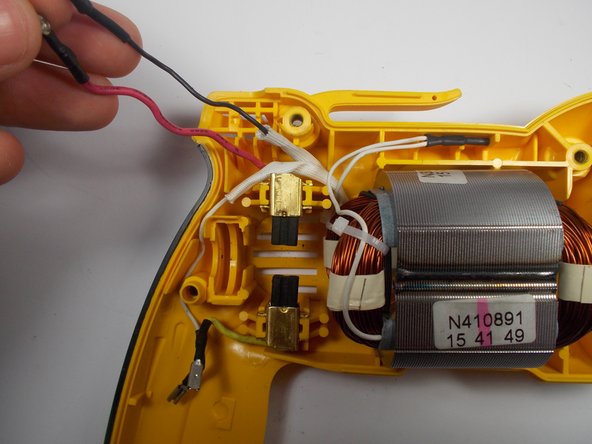
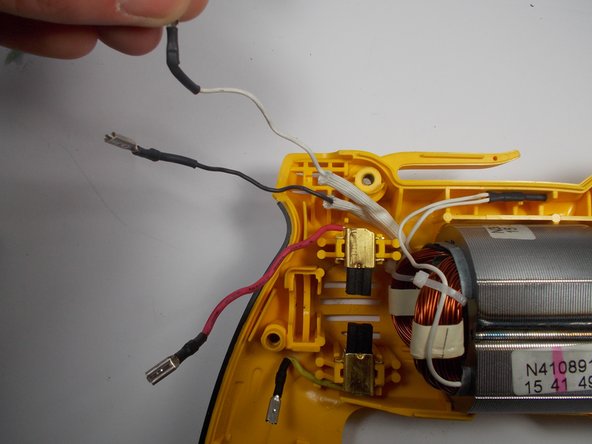
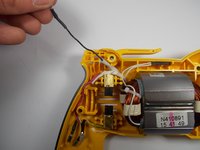
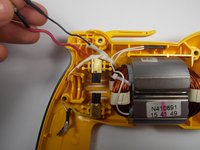
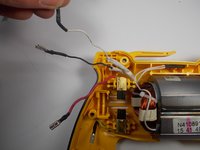
    • Move the black wire clear from any obstruction.

    • Repeat this step for the white wire and the red wire.

    Pergunte ao FixBot

    Comentar

  13. DeWalt DWD112 Brush Replacement: passo 13, imagem 1 %32 DeWalt DWD112 Brush Replacement: passo 13, imagem 2 %32
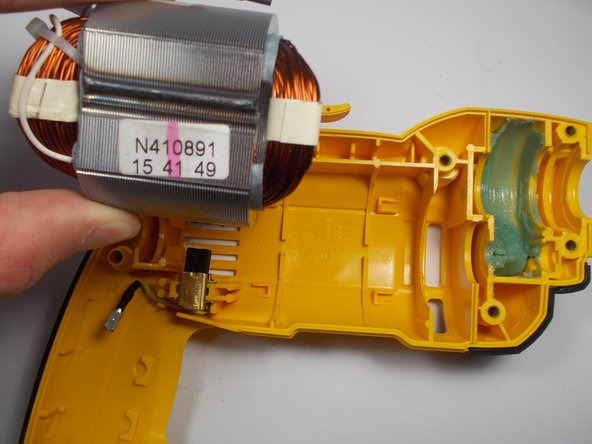
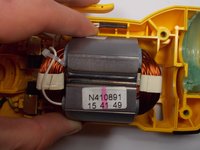
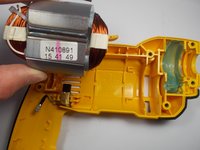
    • The field is disconnected from all other parts.

    • Grab the field and gently lift it out of the case.

    Pergunte ao FixBot

    Comentar

  14. DeWalt DWD112 Brush Replacement, Brush: passo 14, imagem 1 %32 DeWalt DWD112 Brush Replacement, Brush: passo 14, imagem 2 %32
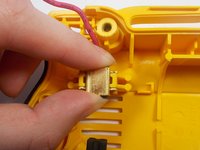
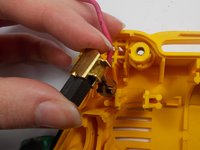
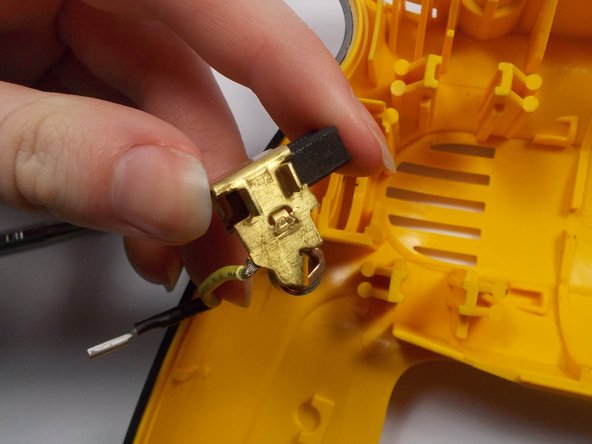
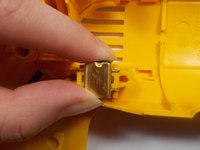
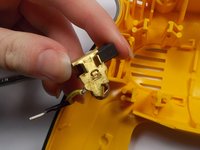
    • Using two fingers, press the brush into the metal casing.

    • Firmly pull out the brush using the same two fingers.

    Pergunte ao FixBot

    Comentar

  15. DeWalt DWD112 Brush Replacement: passo 15, imagem 1 %32 DeWalt DWD112 Brush Replacement: passo 15, imagem 2 %32
    • Repeat the same process to remove the second brush.

    Pergunte ao FixBot

    Comentar

Conclusão

To reassemble your device, follow these instructions in reverse order.

Cancelar: não concluí este guia.

Equipe

0Comentários do guia

Comentar

Visualizações:

Últimas 24 horas: 0

Últimos 7 dias: 6

Últimos 30 dias: 40

Ao todo: 1,406